- Secure order
- Easy return shipment
- Service-Hotline +32 50 89 35 27
Instructions No. 3472
Difficulty: Beginner
Working time: 3 Hours


Start your craft project by mixing Keraflott casting compound with water to form a creamy, lump-free mixture. Make sure you stir thoroughly until there are no more lumps. A uniform mixture is crucial to obtain beautiful, smooth castings later on.
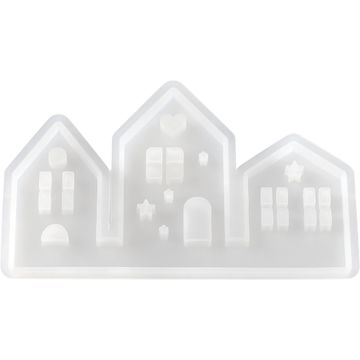
Filling the silicone moldsNow it gets exciting! Carefully pour the finished mixture into your silicone molds. A little tip: tap gently against the mold to remove any trapped air bubbles and distribute the casting compound evenly. This will ensure that the surface of your castings is nice and smooth.
Drying and hardeningOnce the castings have hardened, you can carefully remove them from the molds. This is a crucial step: leave them to dry completely in the air. This will give the castings optimum strength. If you notice any rough edges, don't worry - they can easily be smoothed out with a little sandpaper .
Decorate to your heart's contentHere comes the creative part! You can paint your castings however you like. Acrylic paints are ideal for this. For a special effect, you can also stick vellum paper behind the castings to create a beautiful translucency. Be creative and design the castings to suit your taste!
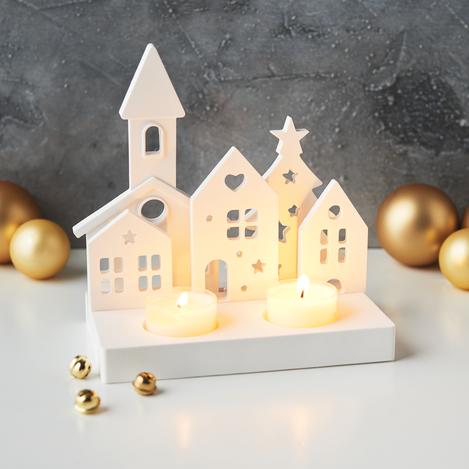
Assembling the Christmas sceneThe final steps are child's play: insert the casting molds into the tealight holders. with the plug-in edge and then place tea lights in the hollows of the castings. Et voilà - you have created an atmospheric Christmas scene that will make your home shine in festive splendor.
These instructions will turn a simple idea into a real highlight in your Christmas decorations. Would you like to embellish your Christmas landscape further or tackle other creative projects? Then visit our online store and find everything you need. Start your creative Christmas project today!