- Secure order
- Easy return shipment
- Service-Hotline +32 50 89 35 27
Instructions No. 4060
Difficulty: Beginner
Working time: 2 Hours
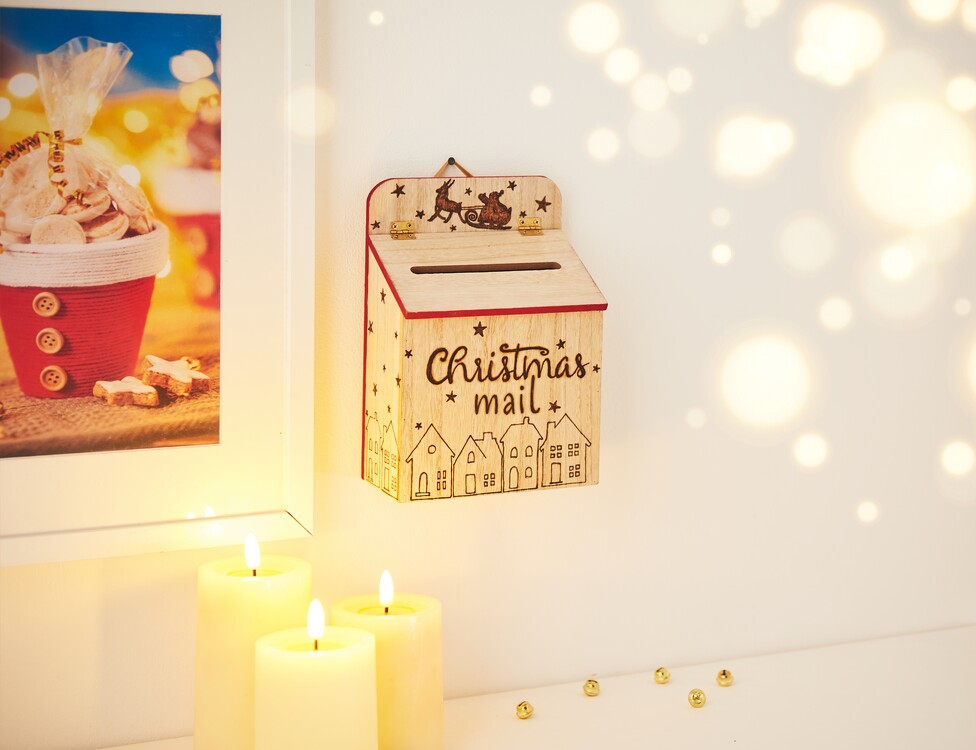
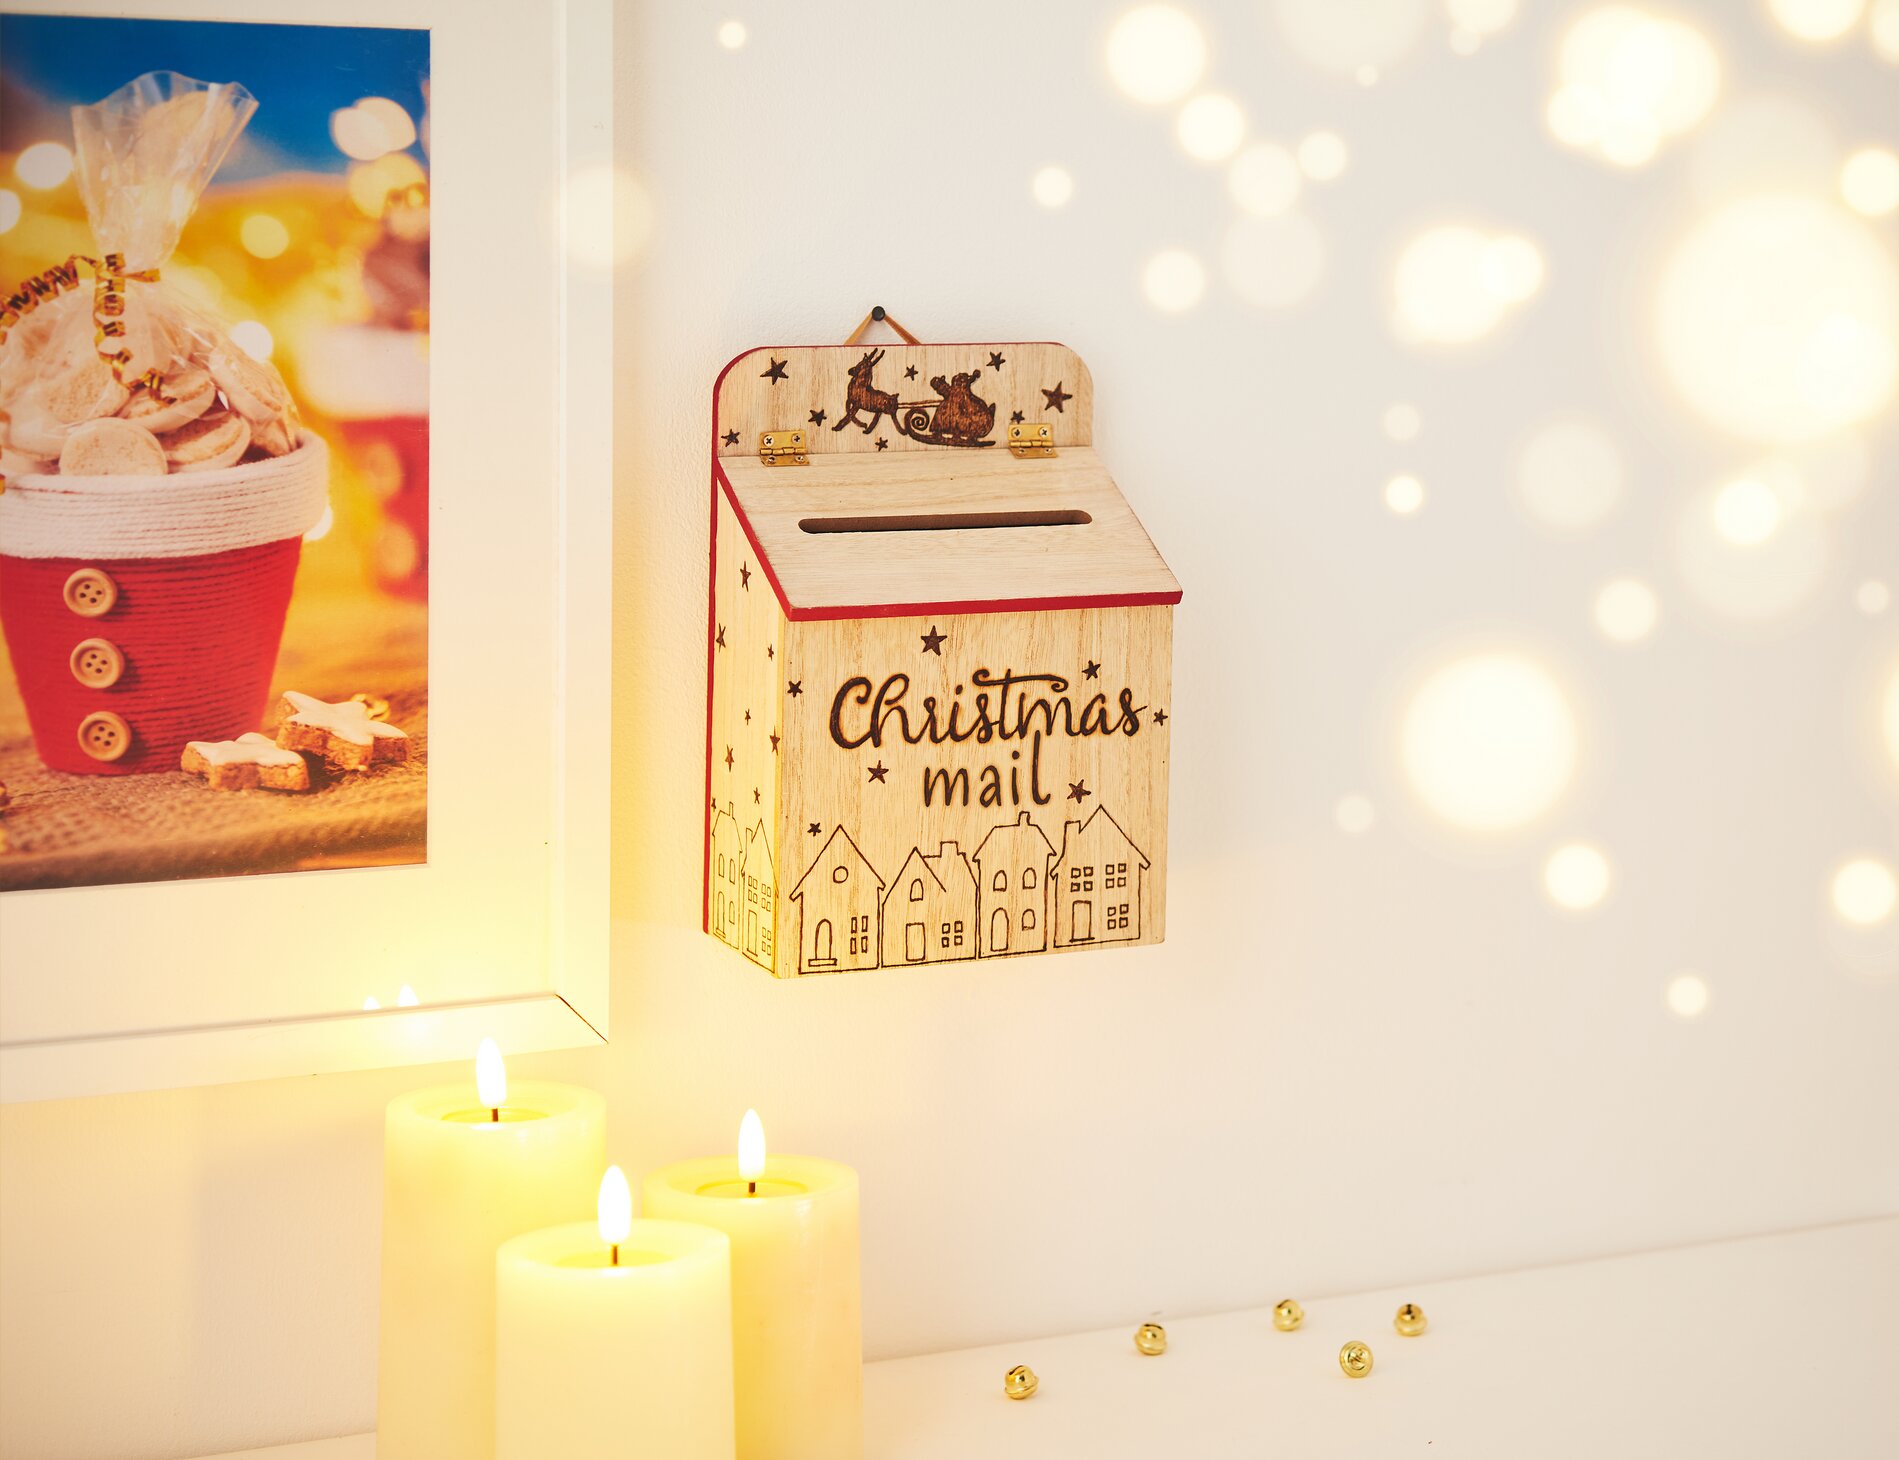
Design a Wooden Christmas Mailbox with “ wooden burning ” You’ll transform a simple wooden mailbox into an atmospheric “ christmas decoration ” for wish lists, cards, and little notes. “ wooden burning ” looks particularly elegant in the “ nature ” color scheme because the dark lines stand out like a drawing on the wood and require very little paint.
1) Sketch the design – stencil, Transfer the lettering and stars Transfer the “ stencil ” design onto the mailbox using a pencil. For the lettering and stars, print out the template and place graph paper between the template and the mailbox. Graphite paper is a type of tracing paper that transfers your lines to the wood when pressure is applied. It’s best to secure the template and graphite paper with a bit of adhesive tape, so nothing slips, and then trace the outlines with a pencil. Remove the template and check that all the lines are clearly visible.
2) wooden burning: Trace the lines slowly—for clear outlines without “fading” Let the pyrography pen heat up thoroughly and briefly test the temperature on a scrap of wood or an inconspicuous spot. Then slowly trace the pre-drawn lines. The steady pace ensures that the burn mark turns a uniform dark color. At corners and small details, it’s better to make several short strokes rather than one hasty long one. If a line is too light, go over it a second time instead of pressing harder—this keeps the wood looking nicer and makes the edges appear more precise.
3) Paint the edge in “ carmine red ”—a warm accent for the Christmas look Once all the burn lines are finished, add a colored border: Paint the edge of the mailbox with “ handicraft paint. ” This subtle shade of red instantly evokes the Christmas spirit without obscuring the wood’s natural character. Use just a little paint on your brush and trace the edge in smooth strokes. Let the paint dry thoroughly before touching or hanging the mailbox.
4) Optional: Hanging It Up—Practical for Hallways and Kids’ Rooms If you’d like to use the Christmas mailbox as wall decor, screw two hangers onto the back. Attach a ribbon, to them so the mailbox hangs securely but can still be easily removed when it’s time to retrieve mail. Make sure to position the hooks at the same height so that the mailbox hangs straight.
5) Finishing touches—to keep your DIY looking great for a long time Erase any visible pencil lines only after the wooden burning has cooled completely. This will prevent smudges.
Now it’s your turn: Design your wooden mailbox with “ wooden burning ” as a personalized “ christmas decoration ” and use it for wish lists, “ christmas cards ,” or little Advent greetings. You’ll find matching templates, pyrography supplies, and colors in the online shop—stop by and get started on your next winter project.