Prepare your workspace and smooth out the child's apron
Protect your work area from paint stains with a wipeable cloth or old newspapers! Then quickly iron the apron to smooth it out. Handprints, stamps, and stencil designs come out much cleaner on wrinkle-free fabric. Also, slip a piece of cardboard into the children’s apron so the front and back don’t stick together and the paint doesn’t bleed through there either.
Planning Fabric Painting Properly: Position, Motif and Color Areas
Lay the apron out in front of you and decide where you want your design to go: centered on the chest, above the pocket, or as a scattered pattern across the entire surface. If you’re working with finger paint, pens or stencils, a quick dry test will help: Place your hand on the fabric or lightly mark the area with a wipe-off guide line. This ensures the Christmas motif will look balanced later on and nothing will disappear at the edge or under the tie.
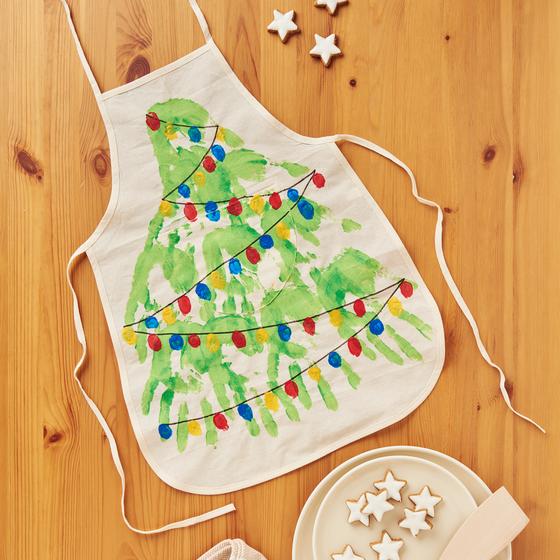
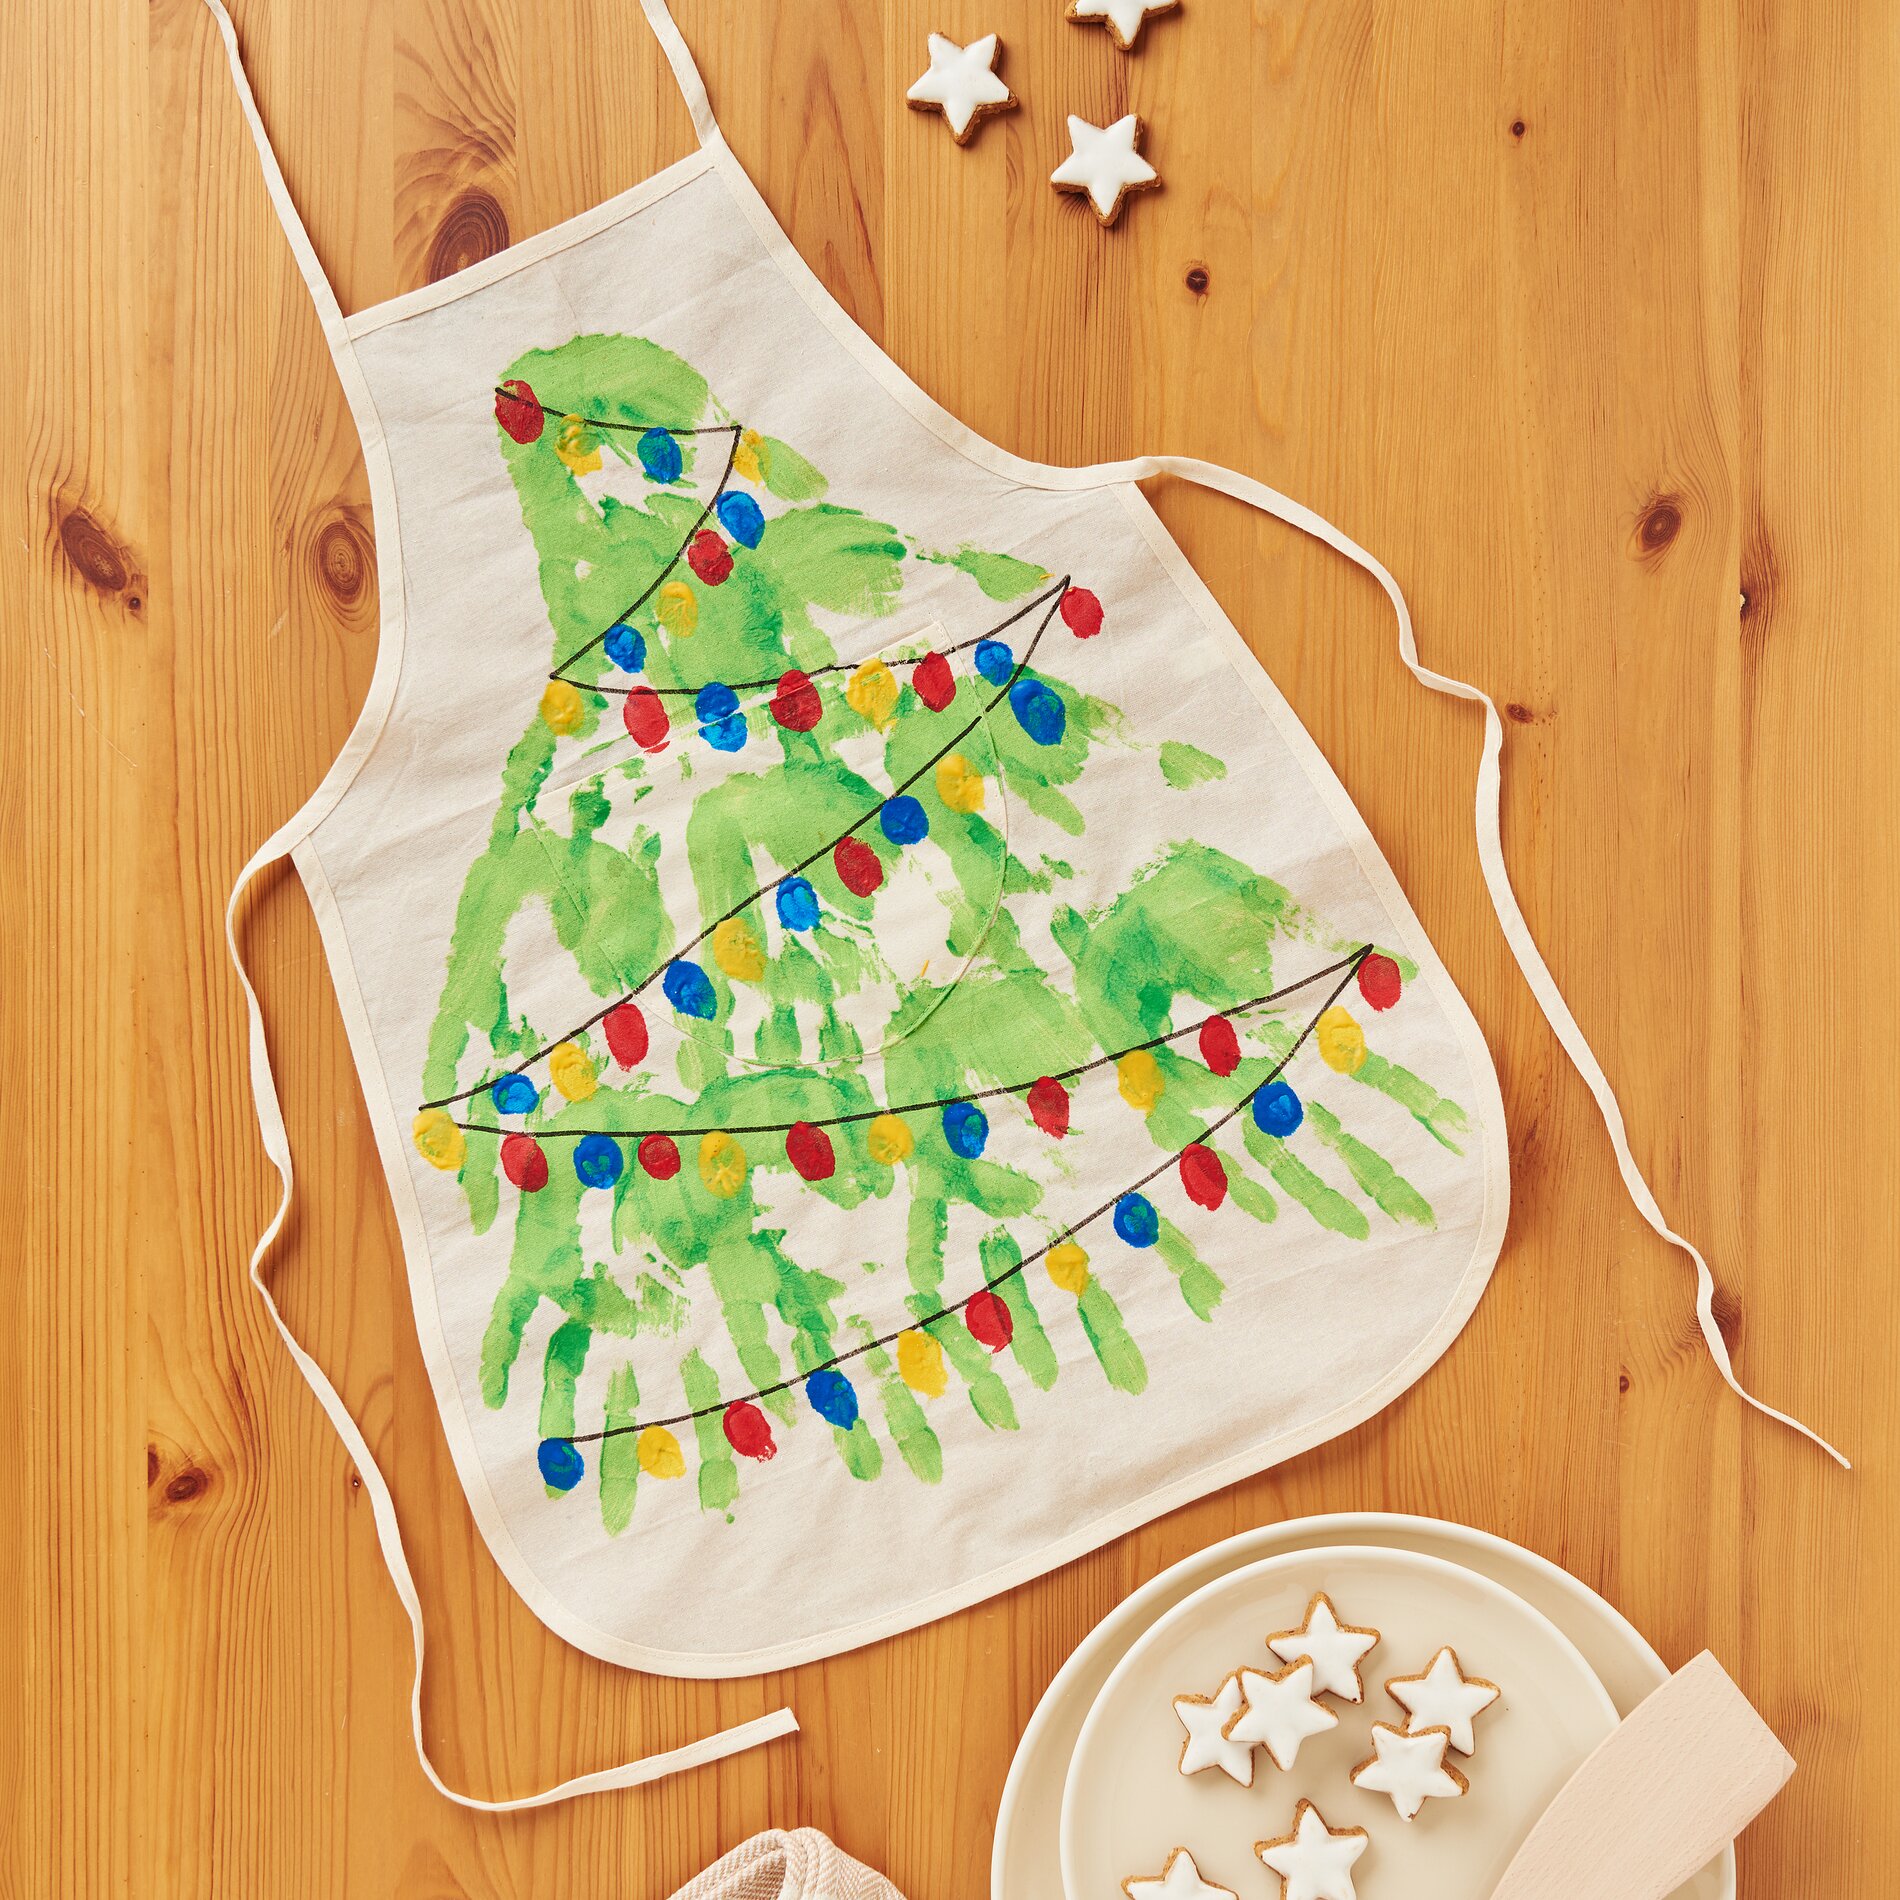
Christmas Tree Apron with Handprints (Fabric Painting for Christmas)
Coat one hand evenly with paint. Place the first handprint at the bottom of the apron and press your fingers down lightly so that the “branches” are clearly visible. Repeat this toward the top with slightly offset handprints to create the shape of a Christmas tree. Let the paint dry before continuing so the outlines don’t smudge.
chain of light and add “light bulbs”
To create the chain of light , draw a loose, curved line across the tree with a black pen. This line serves as the basic “cable” shape and adds depth to the design.
Dip your index finger into colorful “ finger paint ” and dab small dots along the line. These are the “light bulbs.” Make sure to leave some space between the dots so that the “ chain of light ” looks lively and doesn’t become a solid block of color.
Smiley Apron with Sponge Stamps (Children’s Fabric Painting)
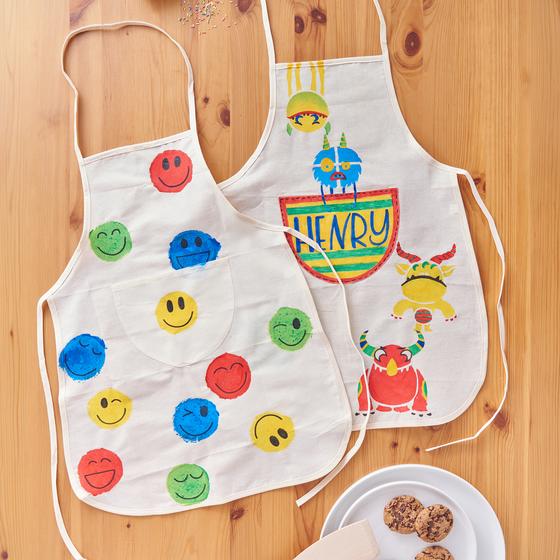
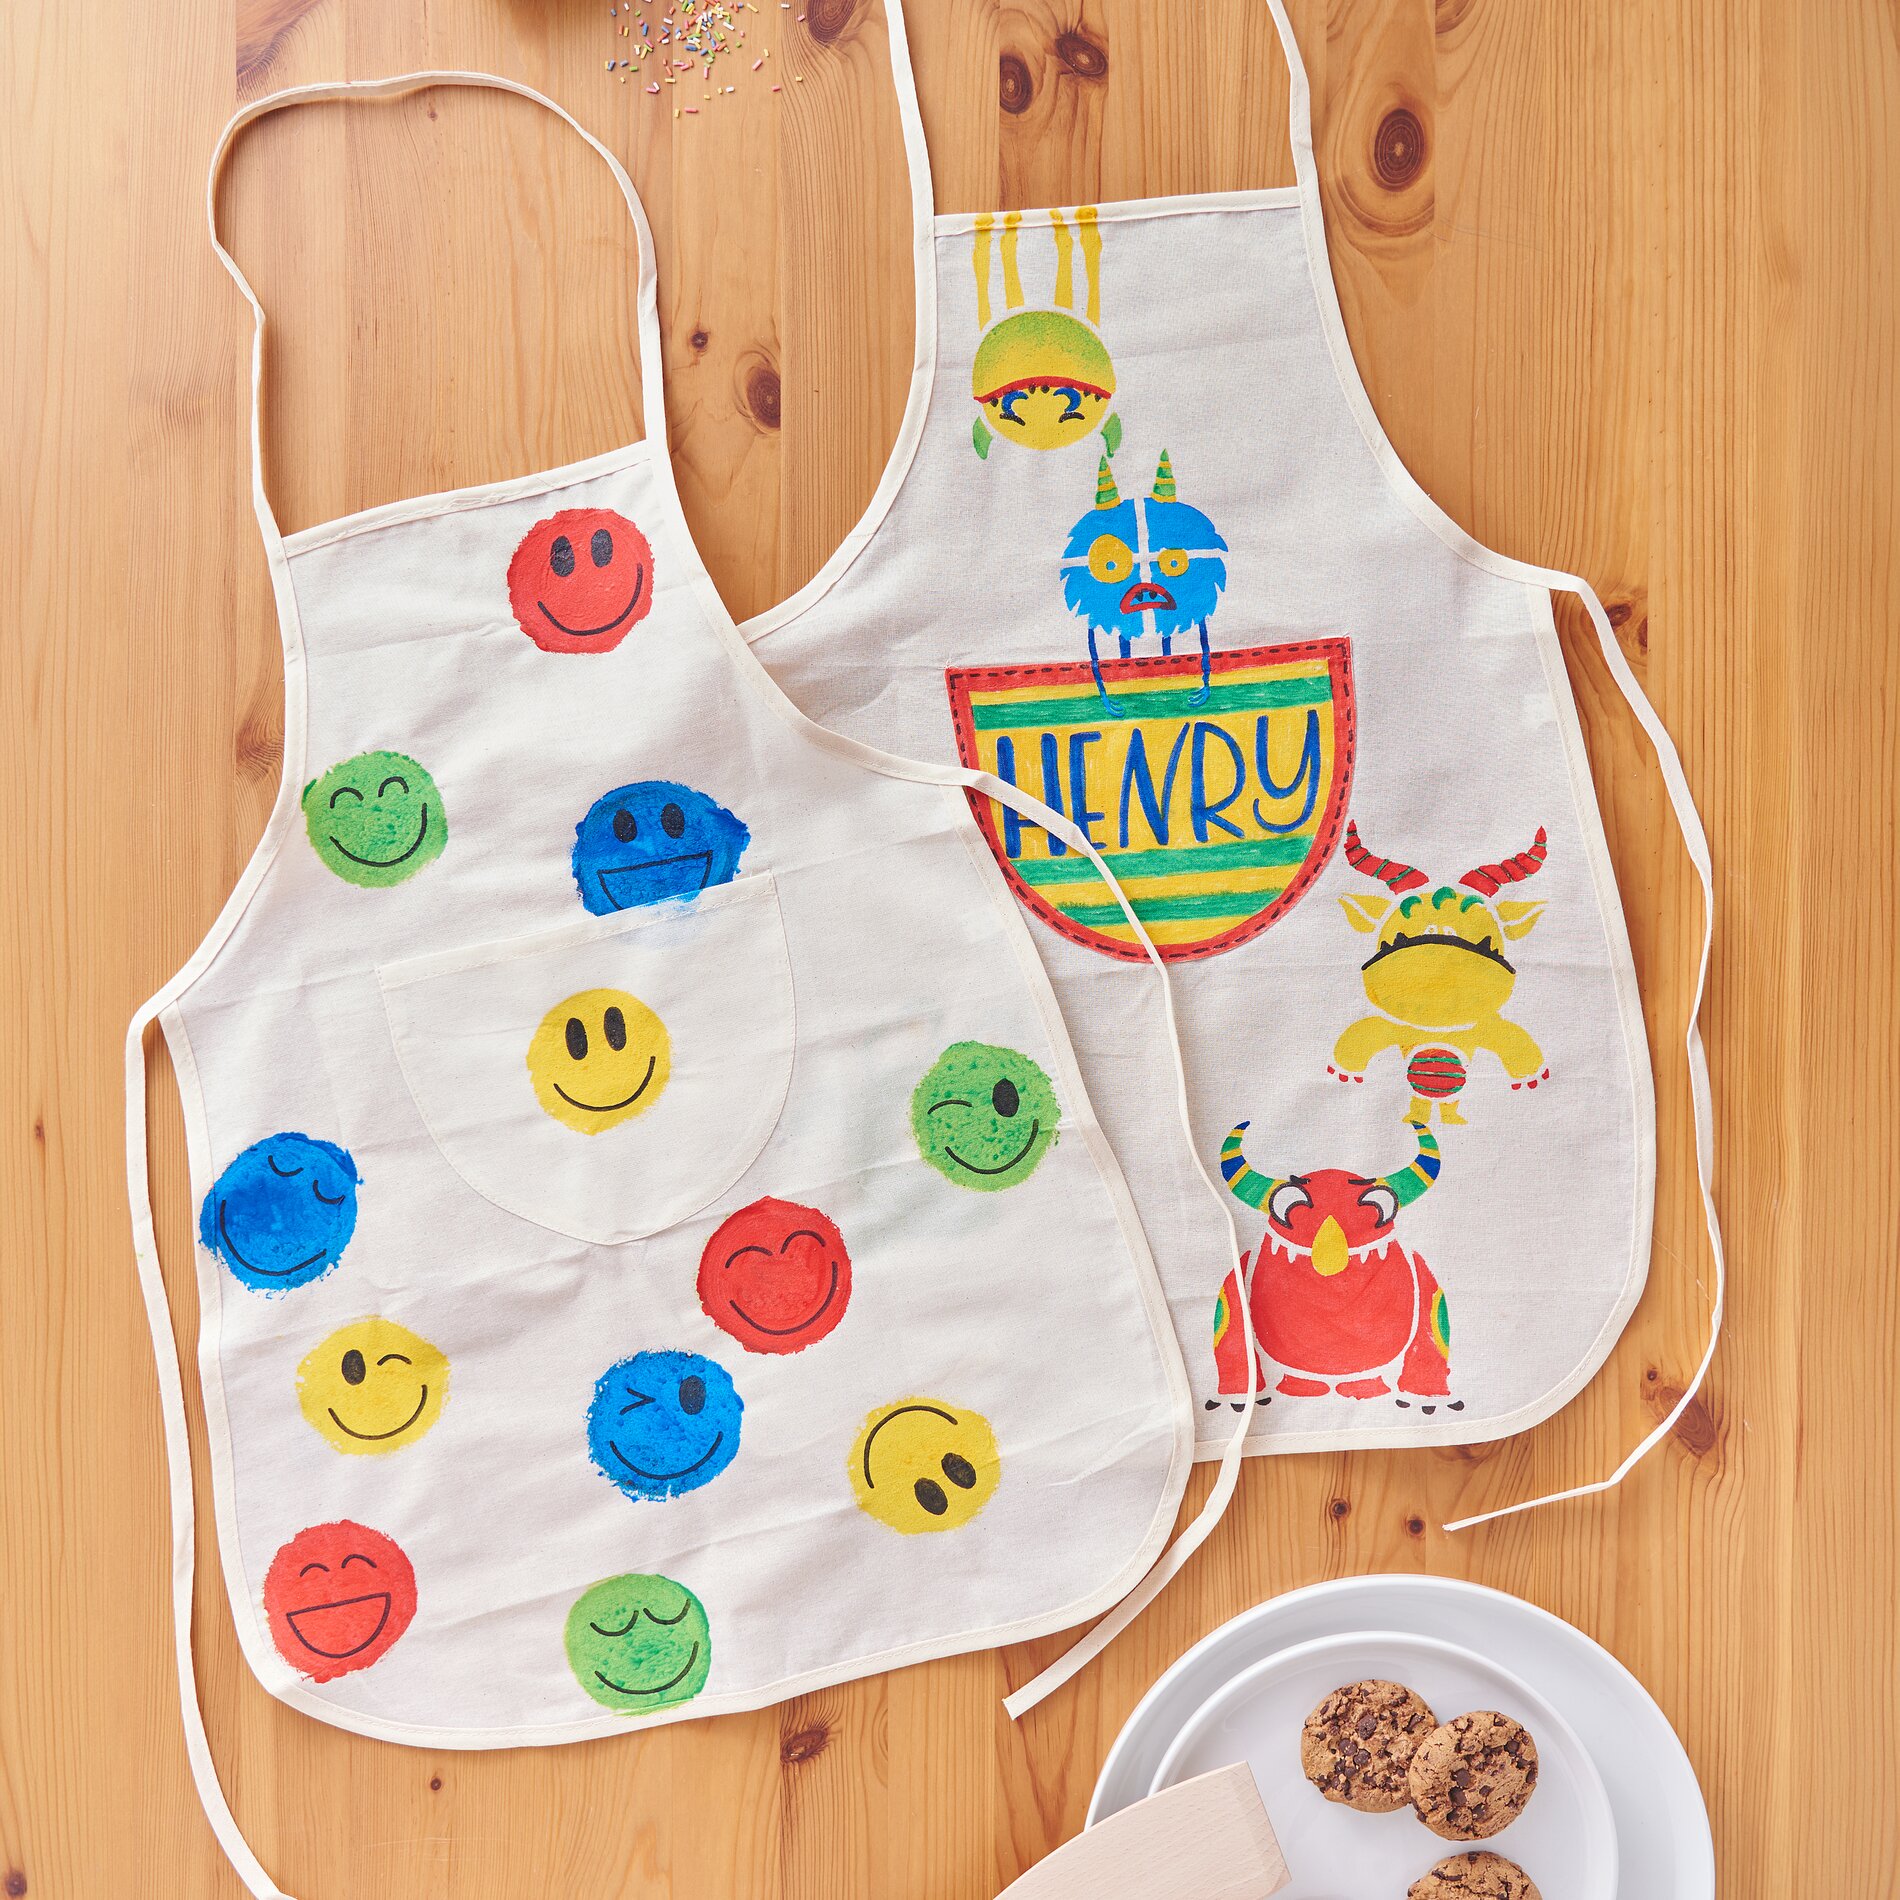
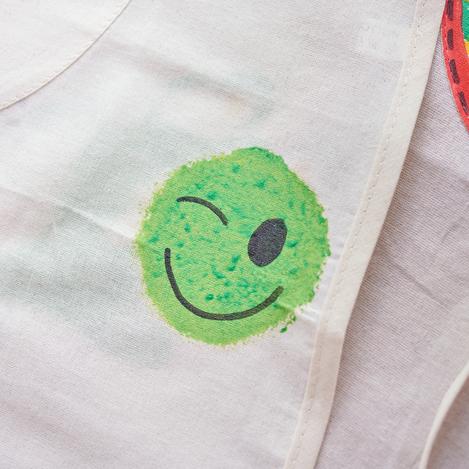
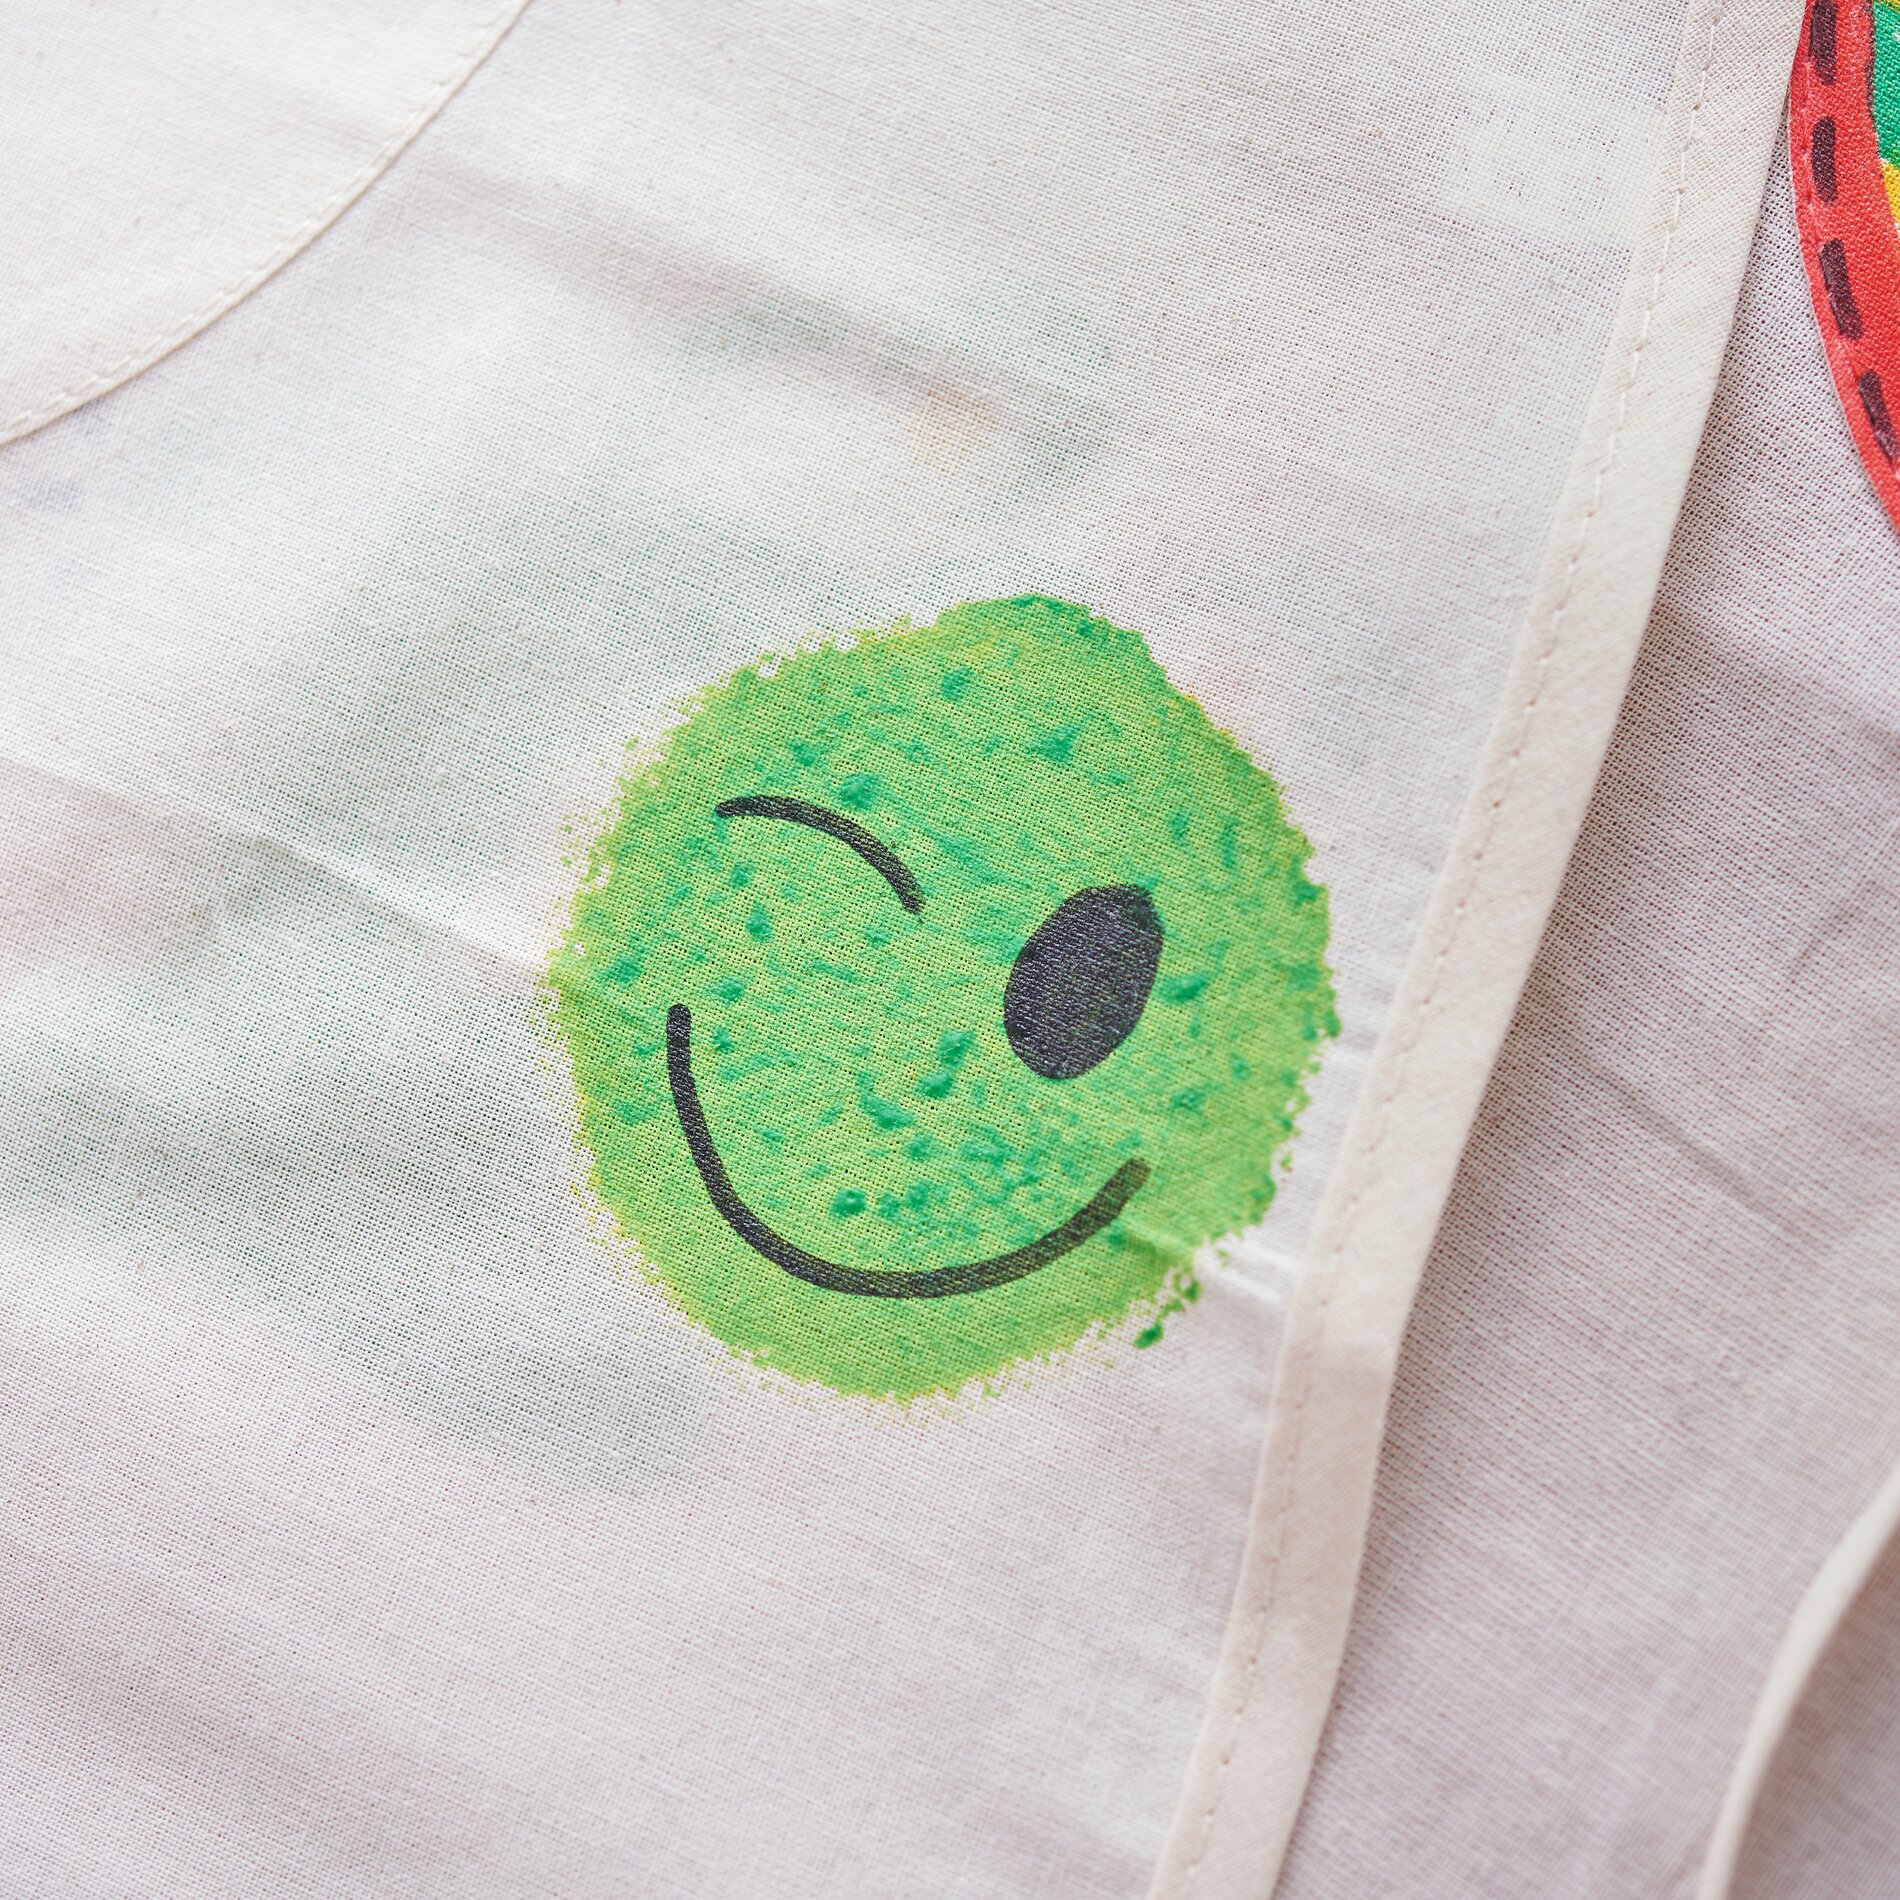
Pick up some paint with a painting sponge and press it onto the fabric like a stamp. This creates round patches of color that will later become smiley faces. Vary the colors and distribute the marks loosely across the apron so the pattern looks fresh. Let everything dry thoroughly before drawing on the faces. Draw faces with markers: from friendly to cheeky.
Use markers to draw eyes and mouths on the dried colored circles. A little trick for great results: Draw the eyes first, then the mouth, and keep the lines clear rather than too delicate. This way, the smiley faces will remain easy to recognize even after the paint is set. You can combine different expressions to give the kids’ apron some real personality while baking or doing crafts.
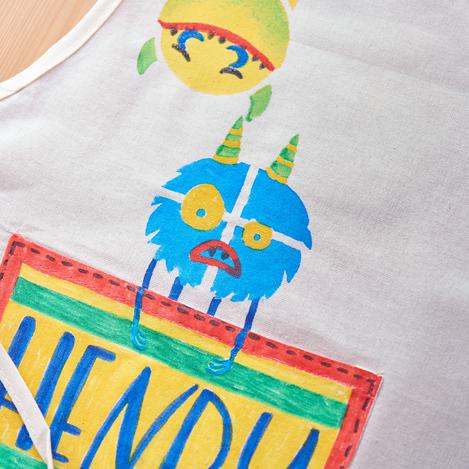
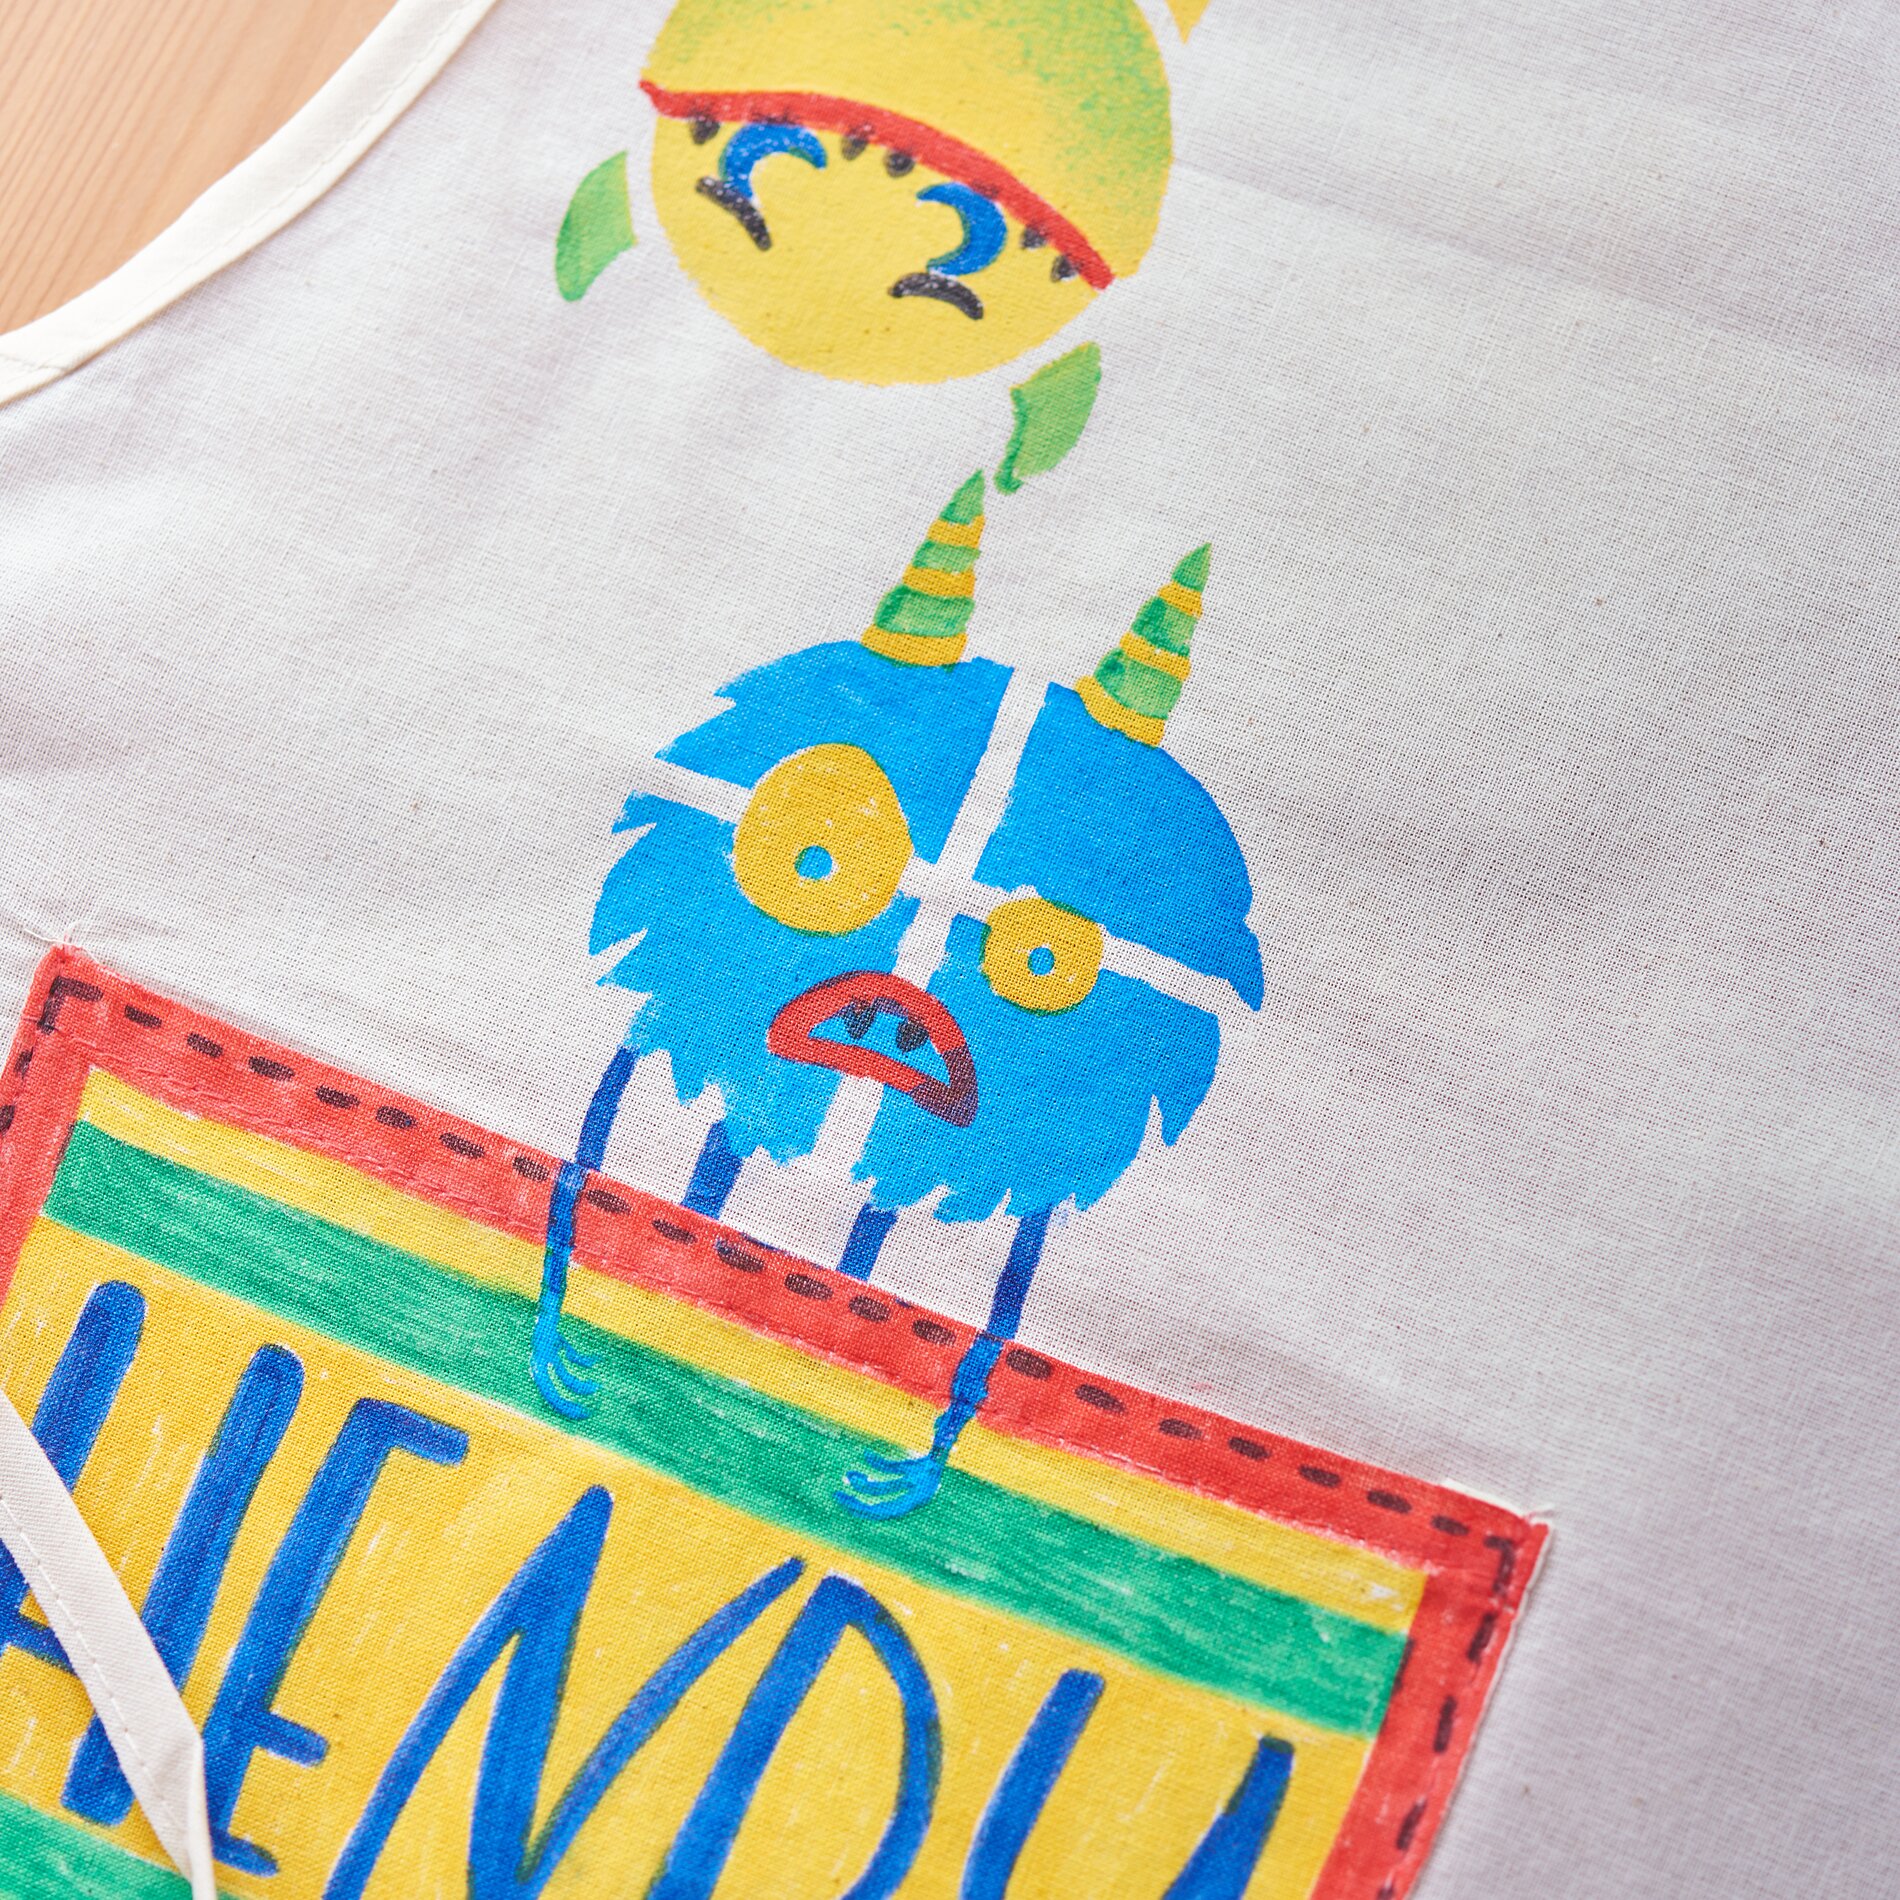
Design a Monster Apron with “ stencil ” (Simple and Eye-Catching)
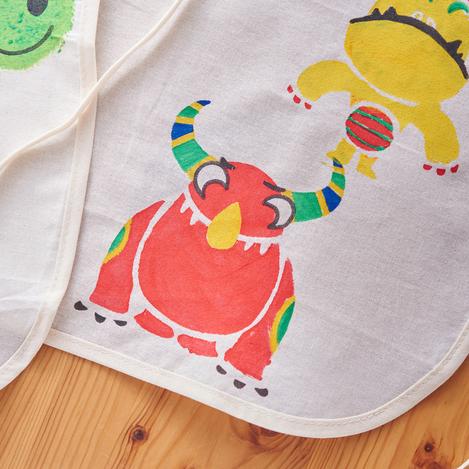
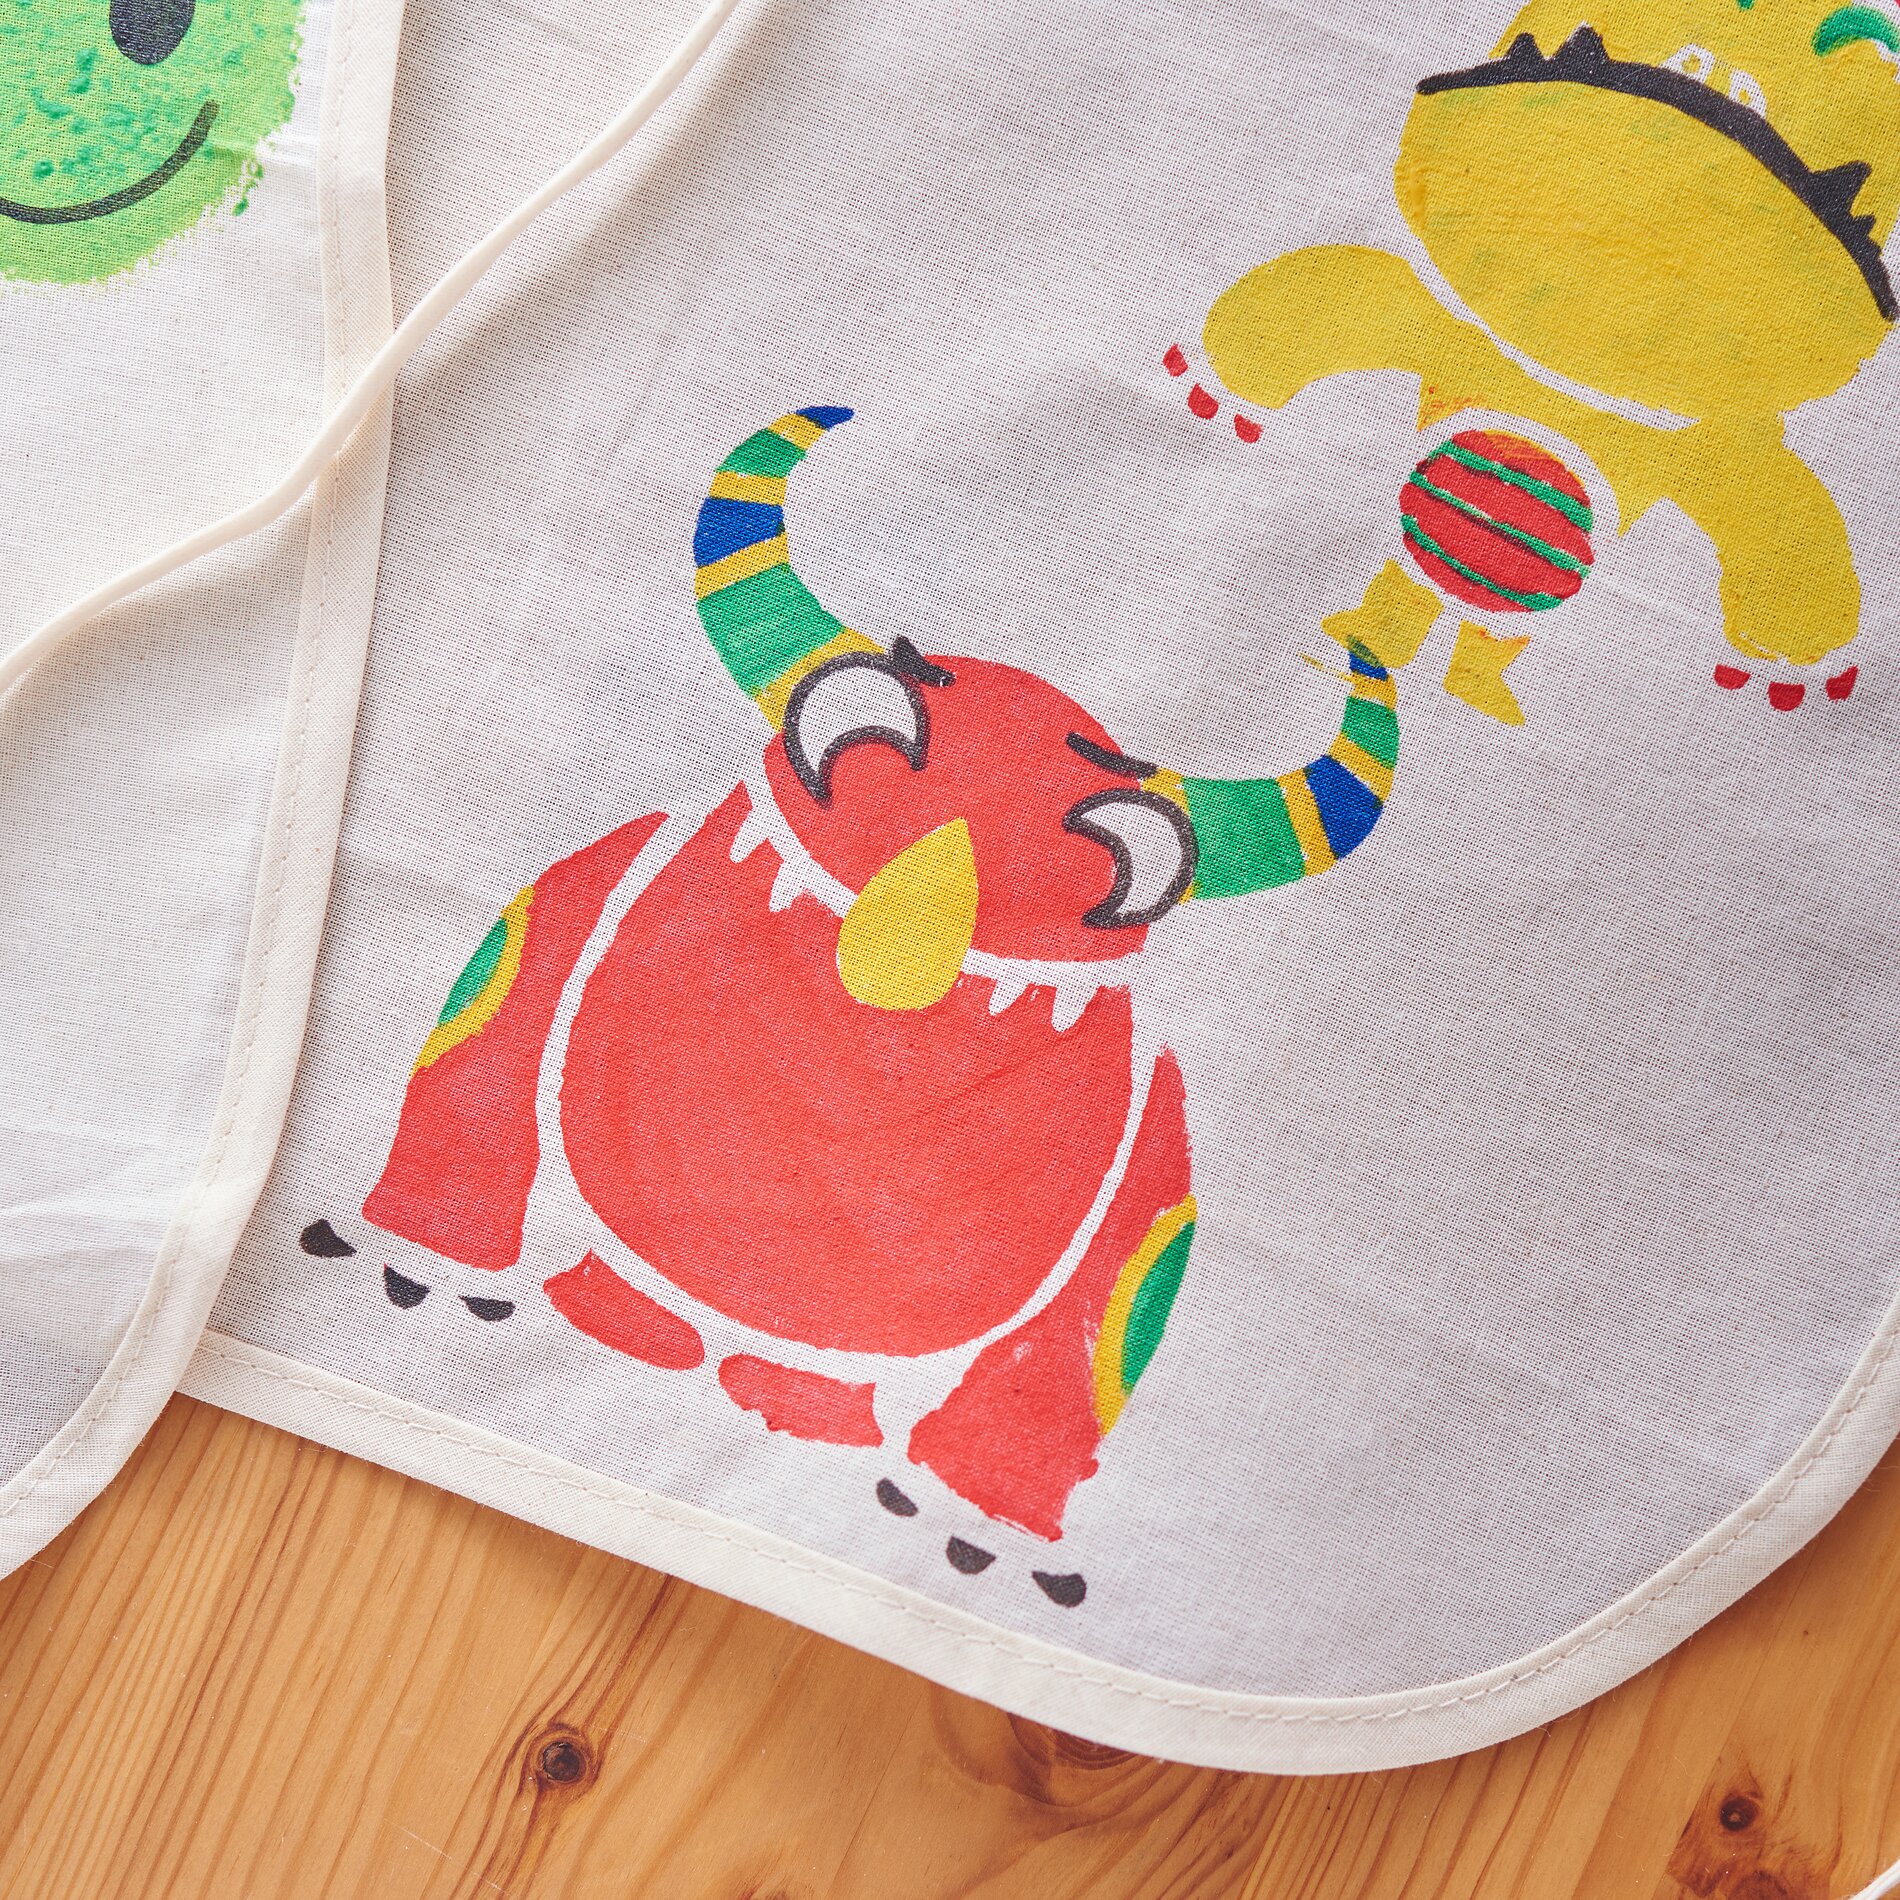
Choose a stencil design that’s easy to color in. Spray the back of the “ stencil ” sparingly with spray adhesive. Spray adhesive is a removable adhesive that temporarily holds the “ stencil ” in place so nothing bleeds underneath. Place the “ stencil ” on the apron and press it down firmly, especially along the edges. This ensures clean outlines.
stencil Coloring and Adding Details
Color in the design within the stencil —using pens, stippling brushes, or your fingers, depending on your style. When dabbing (instead of painting), press the paint vertically onto the fabric. This prevents paint from seeping under the edge. Then carefully peel off the stencil while the paint is still soft. Rinse the stencil immediately under running water so it’s ready for use with other Christmas designs.
Let it dry and set the fabric paint
Let the painted children’s apron dry for at least 24 hours. Only then should you set the fabric paint with an iron: Iron for about 5 minutes on the cotton setting. Place parchment paper or a thin cloth between the design and the iron to protect the colors. Setting the paint makes it durable and ensures it stays vibrant even with use.
After setting, the fabric is washable up to 40°C. To keep the designs looking vibrant for a long time, it’s best to wash the apron inside out and avoid harsh rubbing on the painted areas.
Now it’s your turn
Pick your favorite design—Christmas tree, smiley faces, or monsters—and create a kids’ apron that’ll bring lots of joy during the holiday season while baking cookies and doing crafts. You’ll find matching paints, markers, and stencils in the online shop so you can get started right away.