- Secure order
- Easy return shipment
- Service-Hotline +32 50 89 35 27
Instructions No. 3050
Difficulty: Beginner
Working time: 5 Hours
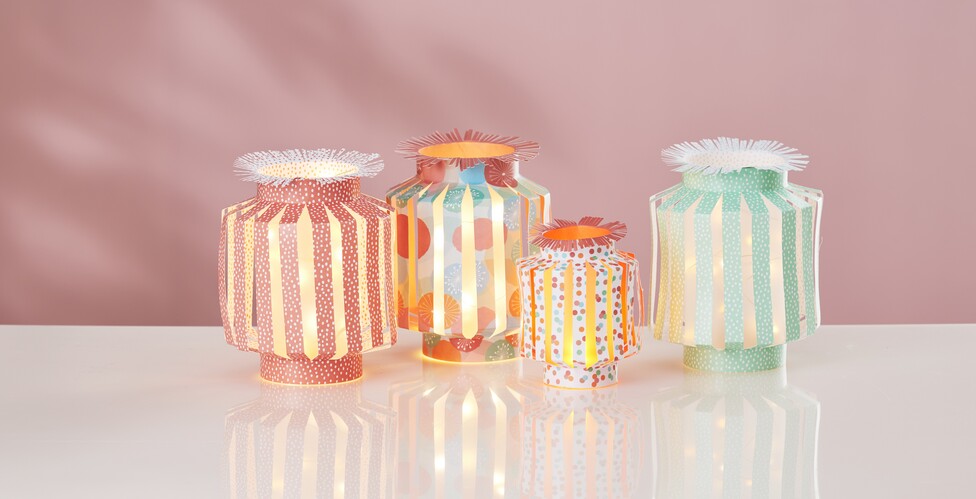
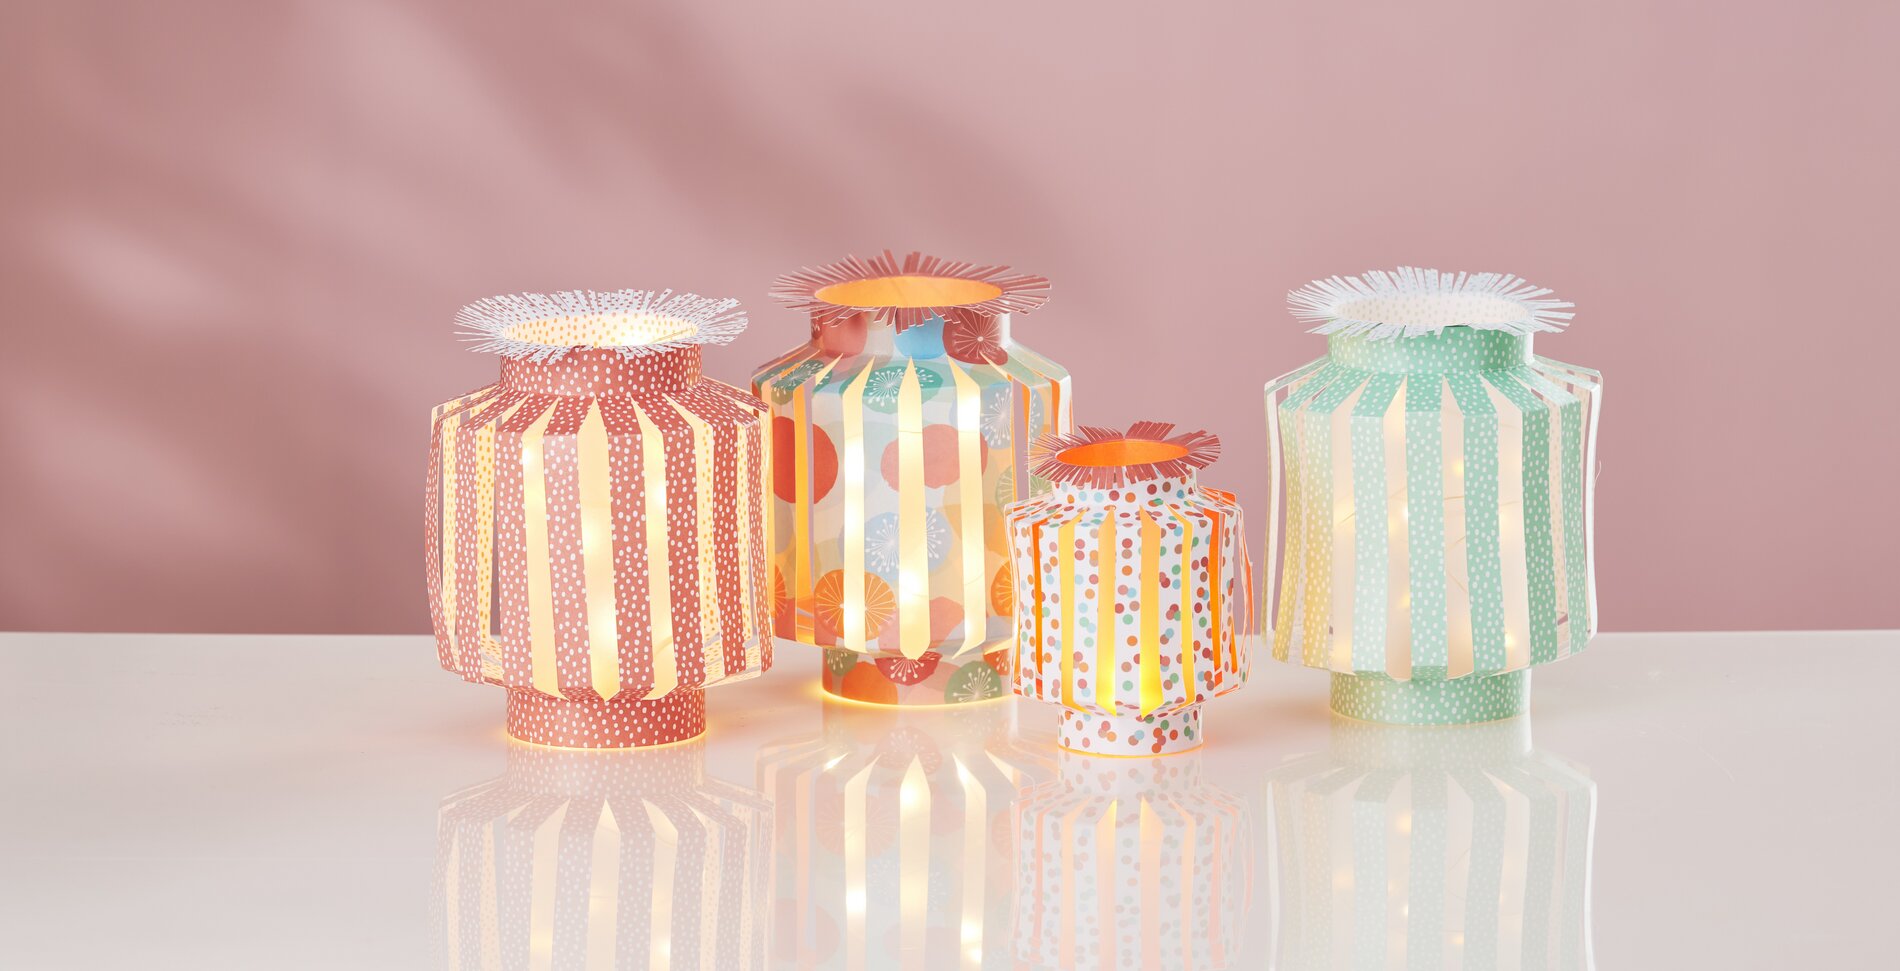
Make a lantern from decorative motif paper
Coat both sides of the paper with two layers napkin varnish. This way, the lanterns are better protected from flying debris if they are to stand or hang outside.
Draw a line 2 cm apart on each of the two long sides of the paper and then a line 3 cm apart. Fold these lines with a folding bone.
Turn your Paper and now draw parallel lines on the short side, each 1.5 cm apart. Cut away the last piece of paper where you can no longer draw 1.5 cm. Now cut these lines (on the short side) with a scalpel up to the vertical folded edges: Make sure that you cut only right up to the lines with a 2 cm gap. Bend the folded lines and glue the lantern together at the short ends using double-sided adhesive tape .
lamp foil cut to size
Now measure the height and circumference of the circle and cut the lamp foil to fit. Draw an additional 1 cm adhesive edge. Cut out the lamp foil and glue them together. Place them in the lantern and glue them at points along the 2 cm edge of the lantern.
Final touches for perfect Paper-lanterns
Then cut 4 cm wide strips, fold them in the middle and cut fringes into one side. Glue this strip to the top of the lantern. Now place a chain of light inside. This can be fixed in places with hot glue. A tea light can also be placed in the middle.


