- Secure order
- Easy return shipment
- Service-Hotline +32 50 89 35 27
Instructions No. 2116
Difficulty: Beginner
Working time: 2 Hours
An old art is coming back to life: Papermaking. This technique involves making something new out of old paper. In this instruction we show you different ideas that you can implement at home.

Paper making - the process:
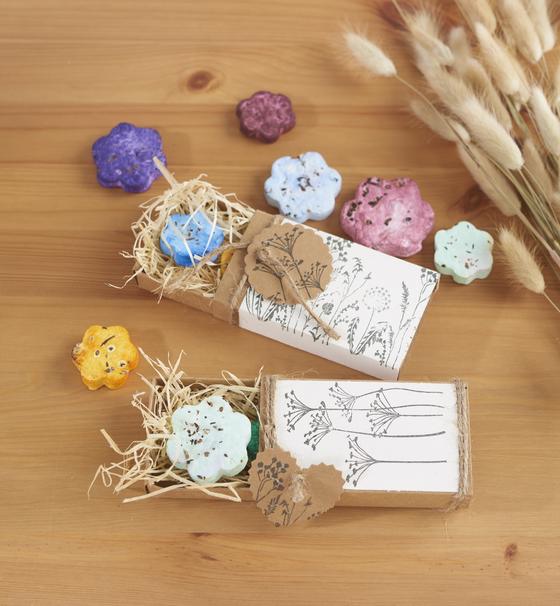

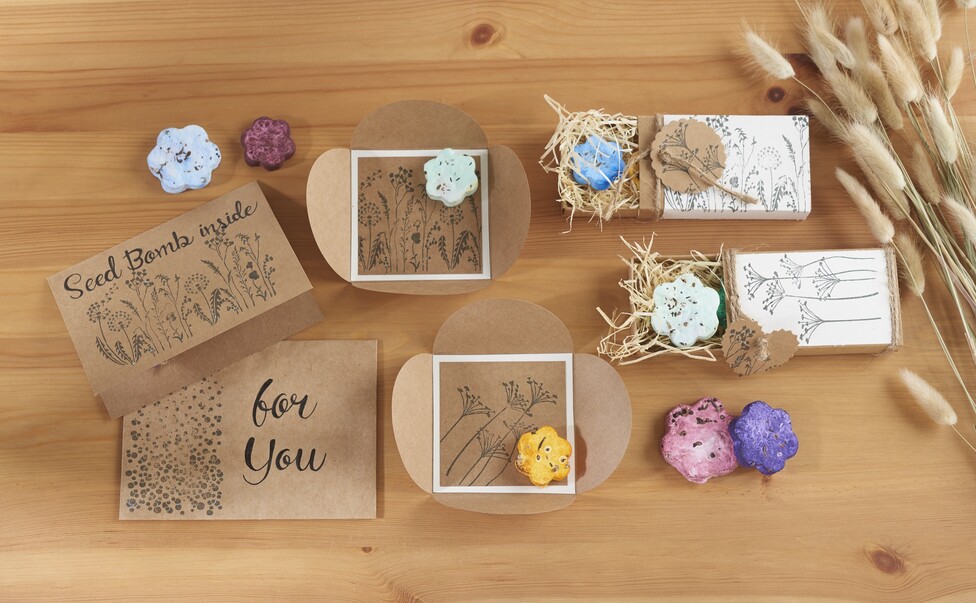
Seed bombs to give away
For this idea, you only work up to step 3.
Now pour some of the mixture into a small bucket and add a few drops of VBS colour concentrate.
Place cookie cutters on a protected work surface and add some flower seed to the cutters. With your hand, get the paper pulp out of the water, squeeze it lightly and put some of it into the cookie cutters. Press the mixture firmly into the mould several times. You can also use some kitchen paper to suck the water out of the paper mixture.
Carefully remove the cutter and leave the seed bombs to dry for 2-3 days. Finally, the seed bombs can be wrapped as a small gift with kraft paper, sisal cords and stamps.


Stationery with relief
For this idea, add some chalk powder to the paper mixture at step 4. Stir vigorously with a spoon.
Use different cookie cutters to press firmly onto a foam rubber plate and then cut out the motifs. Place the foam rubber shapes on the still wet paper mass. Place the second felt plate on top of the mass and roll lightly over it with a rolling pin. Remove the top felt and let the paper dry for several days, depending on its thickness
Remove the foam rubber moulds and carefully detach the paper from the rubber felt. If you wish, you can sprinkle flower seeds into the still damp moulds and press them down lightly. If some areas are still a little damp, allow the paper to dry further.
To decorate, cut a wide strip from the watercolour paper and fold it into a band. You can decorate the paper with stamps and markers.

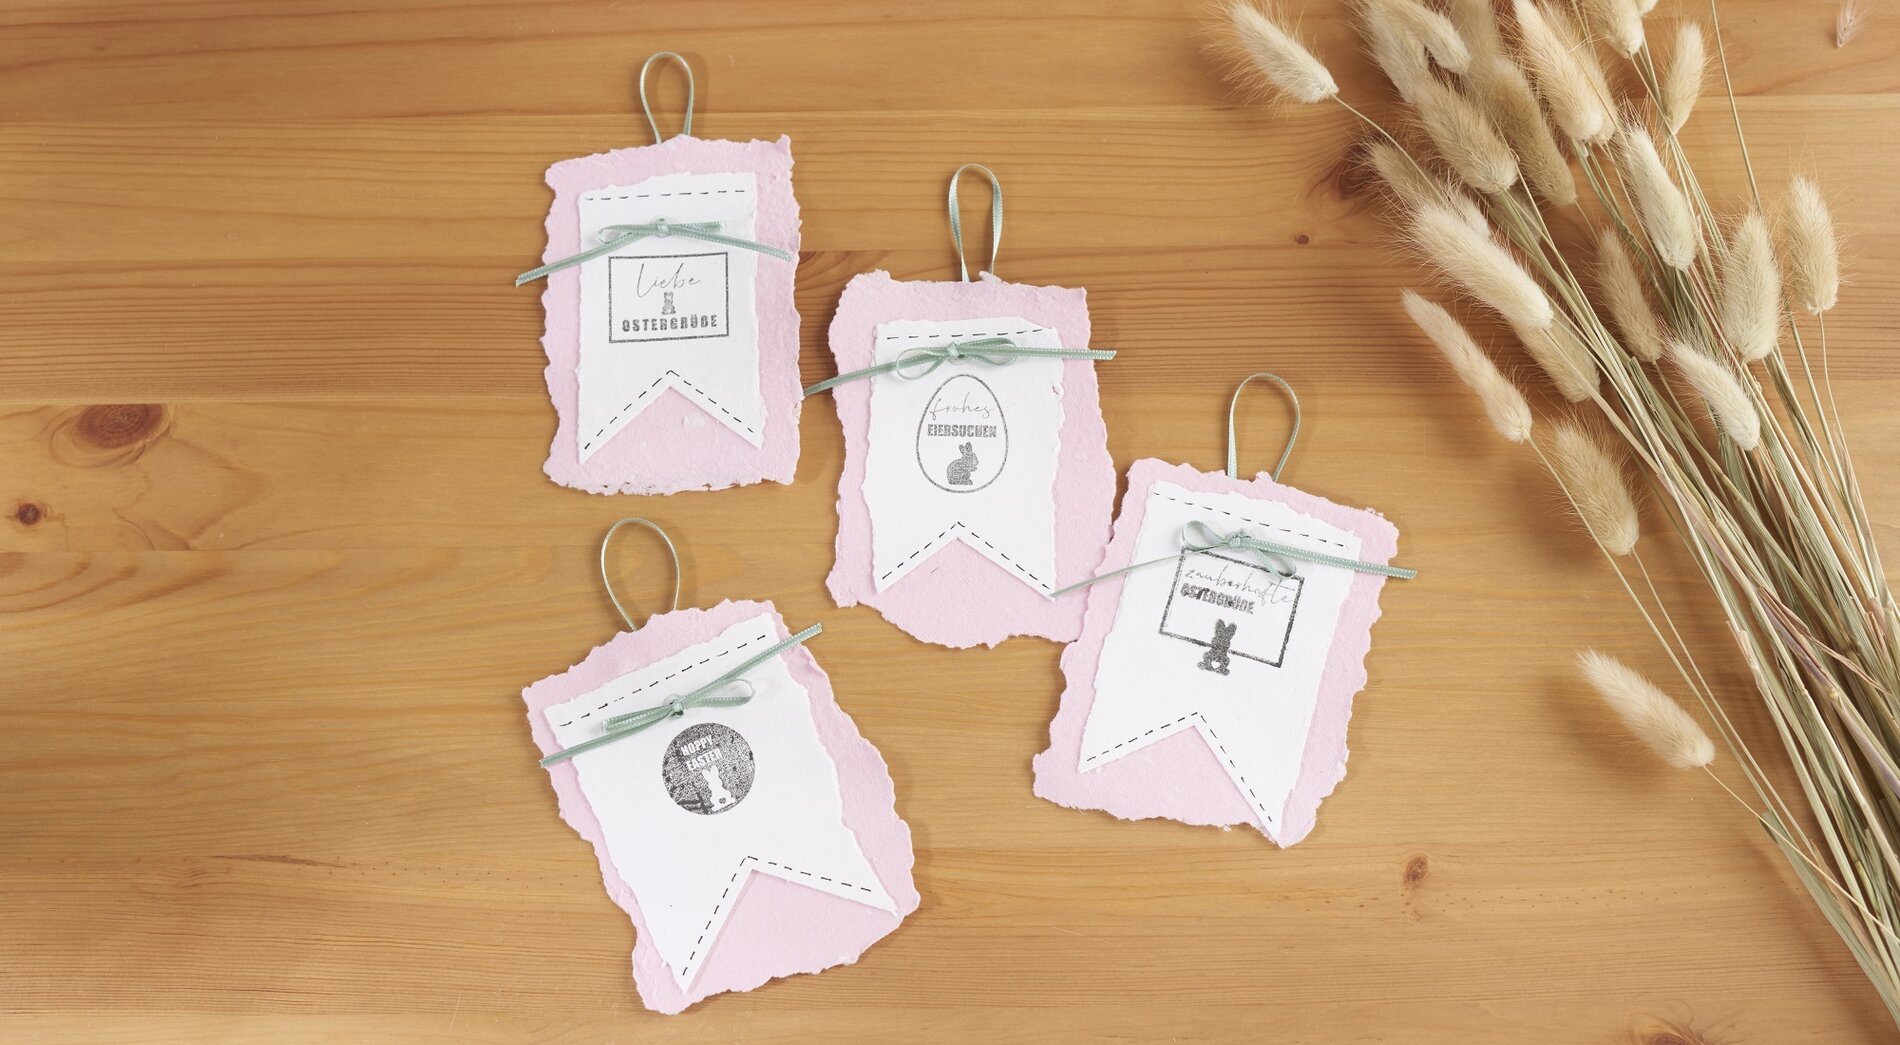
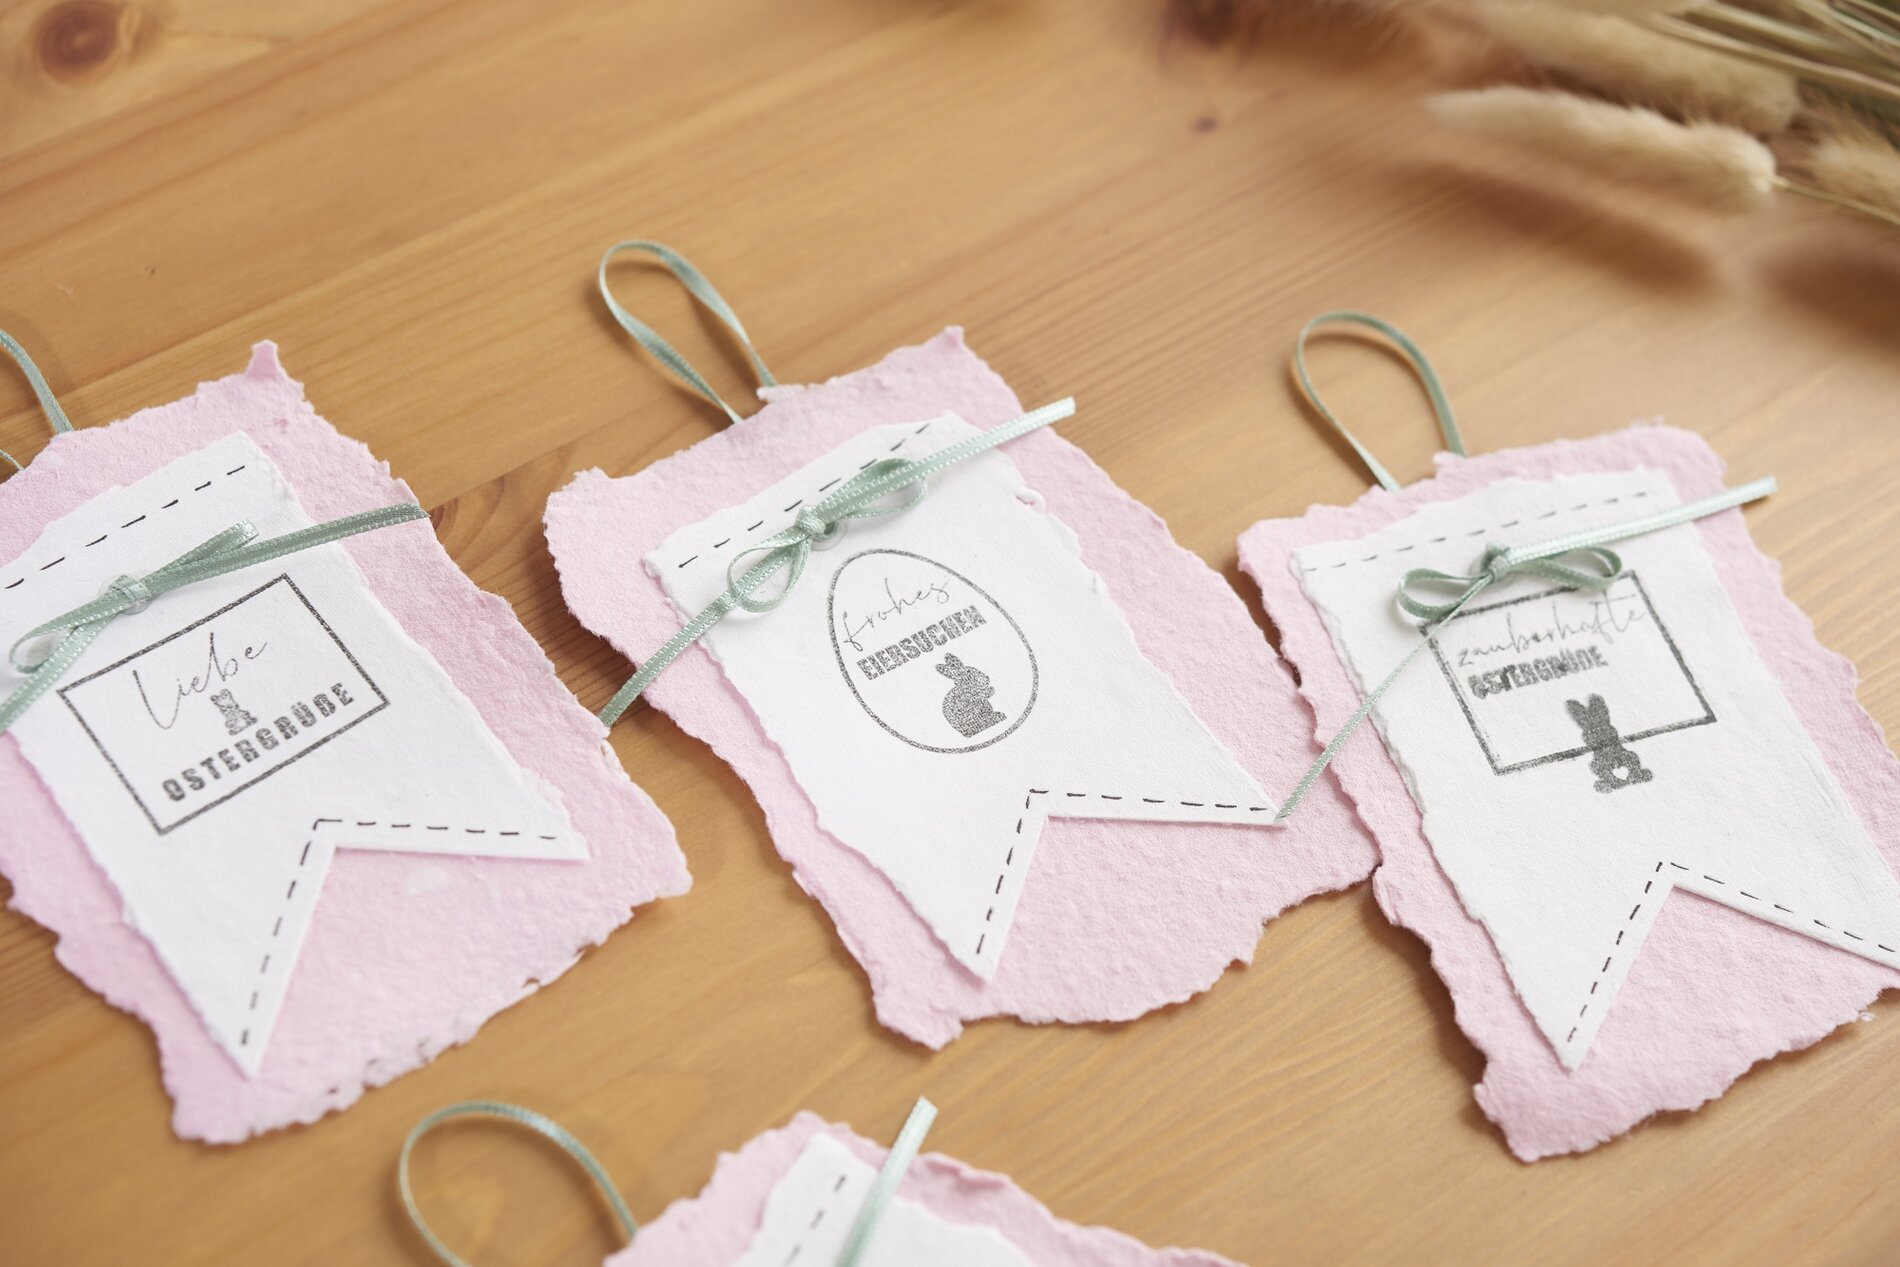
Make paper once from long fibres and once from fine fibres.
For the long-fibre paper, add eucalyptus cellulose instead of cotton cellulose to the mashed mixture. Add VBS colour concentrate. In our example we mixed the colour berry with red.
Proceed as described above for both versions.
Once both papers are finished, you can stamp the white paper and stick a tied bow on it. Glue the paper to the pink coloured paper with craft glue. Attach a ribbon to the back for hanging.

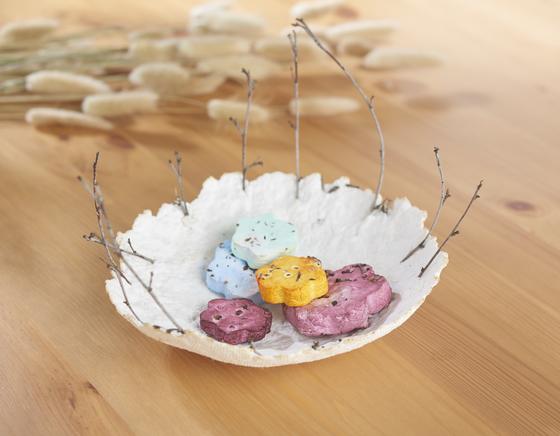
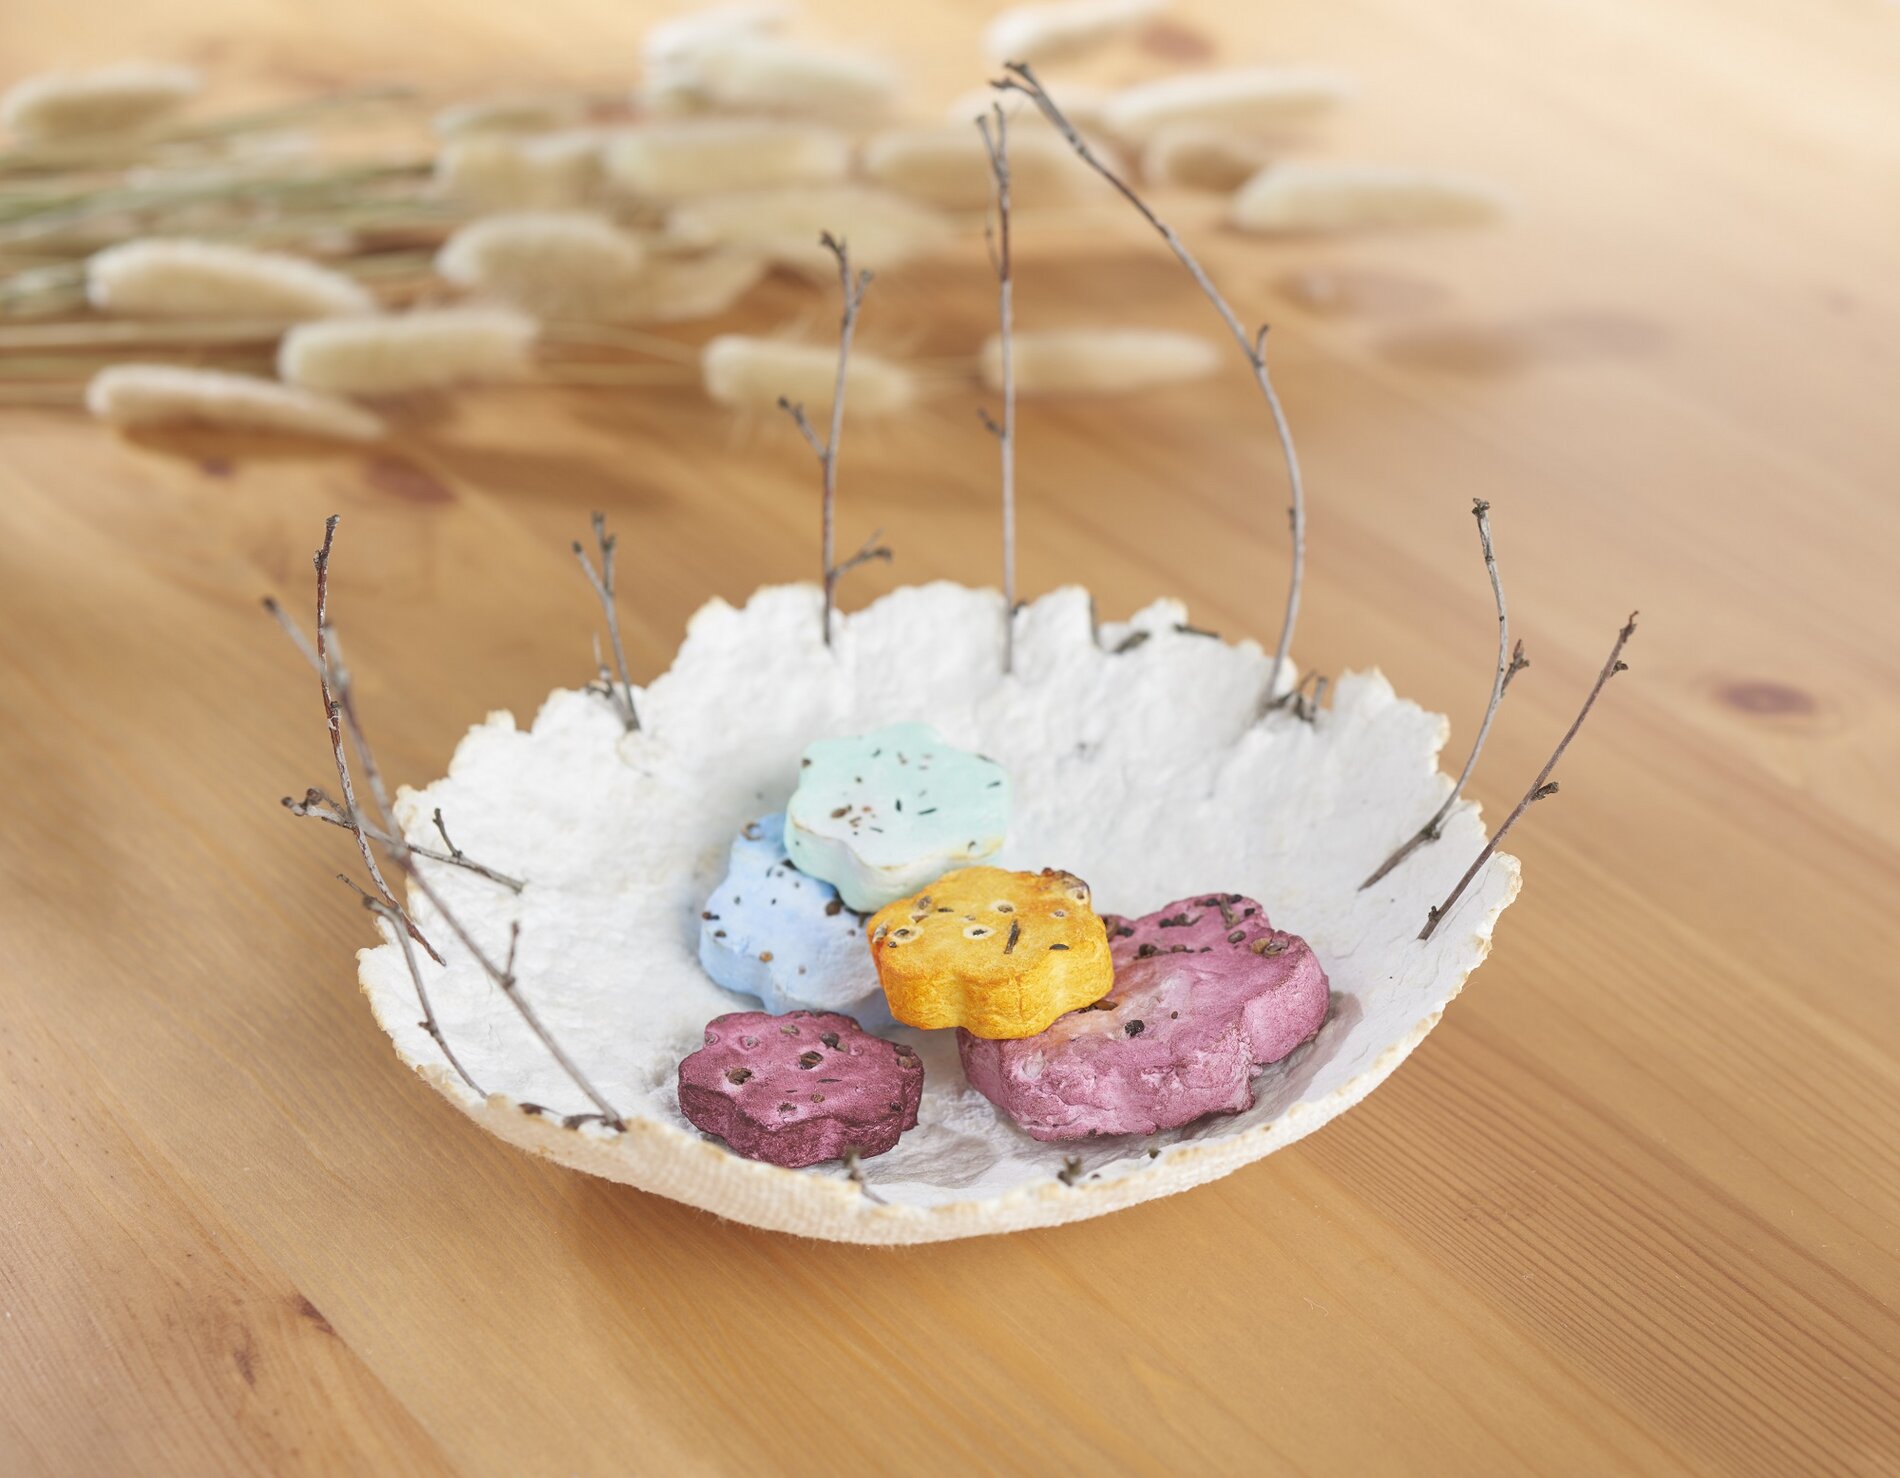
Paper bowl with branches
Work through steps 1-3.
Pour the paper mixture into a sieve and press it down. You can now add fine twigs to the mixture. Allow everything to dry thoroughly.
After several days of drying, you can take the finished bowl out of the sieve. If desired, the edges of the bowl can be accentuated with coloured accents. Craft colours diluted with water are suitable for this.


