- Secure order
- Easy return shipment
- Service-Hotline +32 50 89 35 27
Instructions No. 3431
Difficulty: Beginner
Working time: 3 Hours 30 Minutes

Step-by-step instructions for casting colored cone candles
Melting wax
Start by melting about 120g of composition wax at a low temperature in a melting ladle or universal melting pot. Make sure that the wax does not overheat to ensure the desired quality of the candles.
Add color and fragrance
Depending on how intense you want the color of your candles to be, add wax coloring granules. For a subtle scent, you can also add candle fragrances to stimulate your senses.
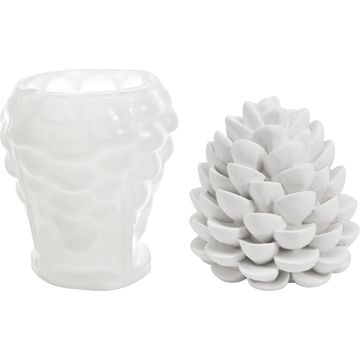
Prepare the wick
Pull the wick through a needle and push it through the bottom of the silicone mould. To pull out the needle, use jewelry pliers as an aid.
Fix the wick
Pull the upper end of the wick into a metal wick holder. This holder ensures that the wick does not slip when pouring and remains straight.
Pour the wax and leave to dry
Now slowly pour the melted, colored and possibly scented wax into the mold. Make sure that the wick holder does not slip. Leave the candle to dry for around 3 hours before carefully removing the colored cone from the mould.
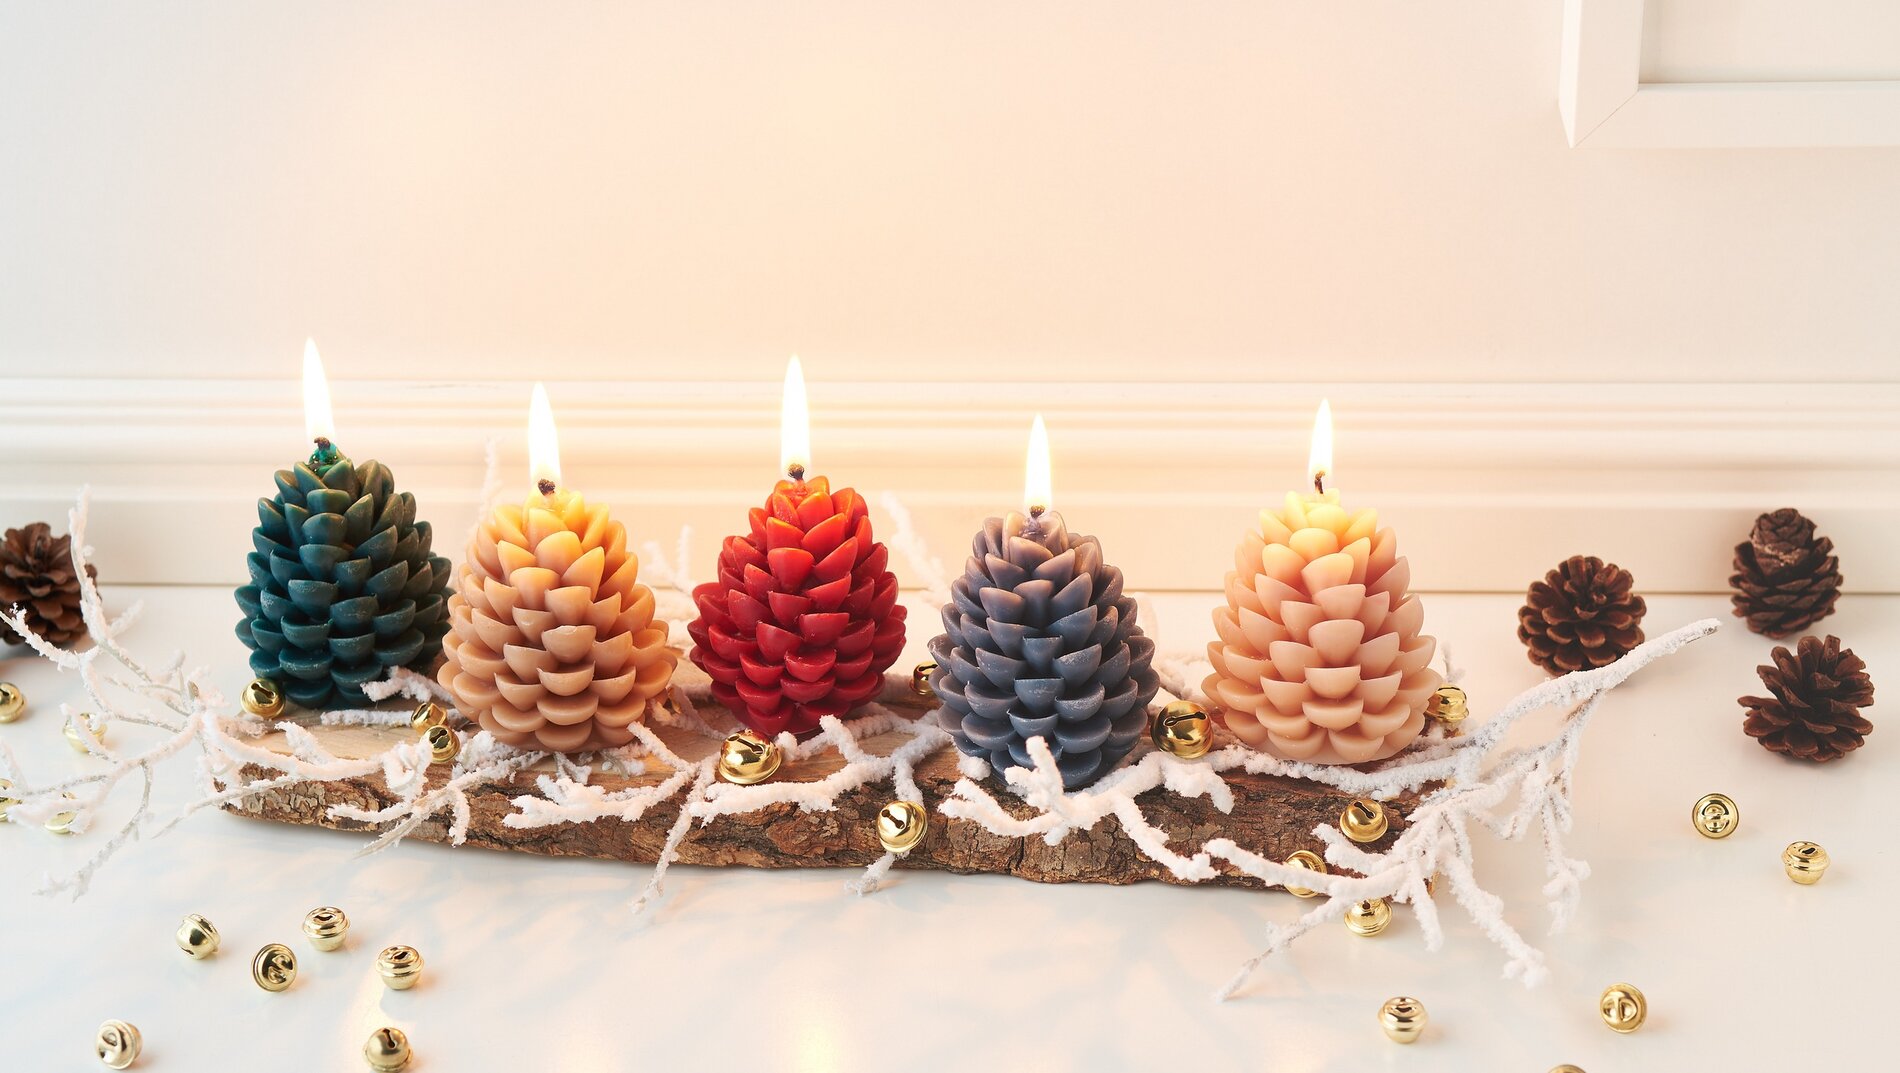
Arranging the decoration
Place the "Winter" twig garland on a bark board and trim it as desired with scissors. Place your colored cone candles between the garland and sprinkle a few jingles on top to create a festive decoration.
Safety advice
Please remember never to leave candles burning unattended!
Let your creativity run wild!
Are you ready to transform your home into an atmospheric ambience with homemade colored cone candles? You'll find everything you need in our online store - from from composition wax to beautiful decorative elements. Start your craft project now and bring some color into the dark winter months. Visit our store and be inspired!