- Secure order
- Easy return shipment
- Service-Hotline +32 50 89 35 27
Instructions No. 3424
Difficulty: Beginner
Working time: 3 Hours
Punch Needle is a trend theme that offers everyone the potential to create impressive works of art. What may seem complicated at first glance is actually simple and versatile. Whether you want to create a unique mural for your home or design a personalized gift - with Punch Needle a world of creativity is open to you! Let's start a simple project together that is fun for beginners and advanced stitchers alike.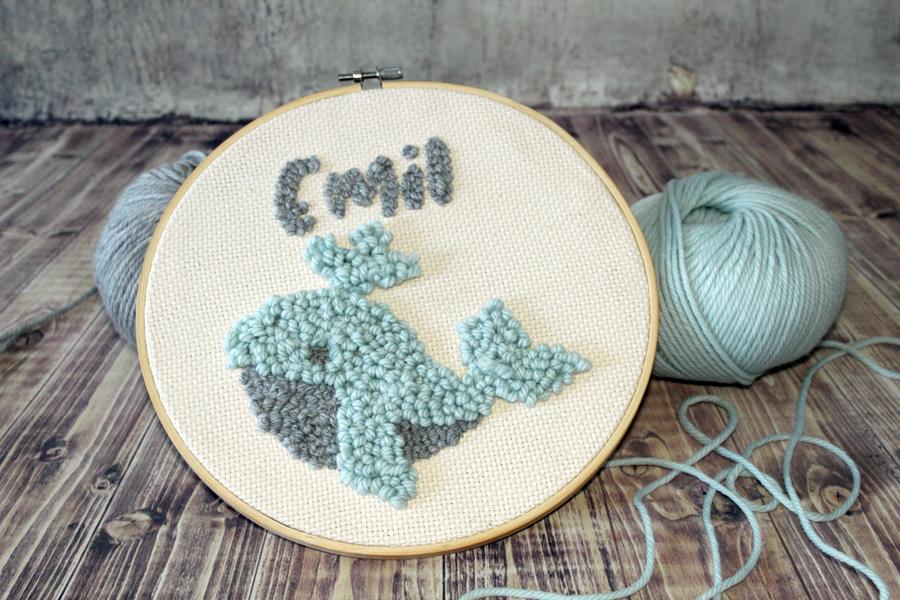
1. Transfer motif & stretch thread
Before you get creative, stretch your fabric as tightly as possible in the embroidery hoop. Roughly cut the fabric to size and transfer your desired motif onto it. For imaginative motifs, you can use a sublimation pen, which will disappear by itself after 1-2 days. Alternatively, you can use a pencil, but you should then work precisely so that no marks are visible later.

To thread the wool, use the threading aid on the Punch Needle. Insert it from the front to the back, pull the thread through the eyelet and pull the thread forward to the tip. Loosen the threading aid and insert it from top to bottom through the hole in the needle point. The thread points upwards.
2. Fill in the motif
Use the built-in grid to determine the loop length. Start with the shortest loop "D". Insert the needle into the fabric, pull the end of the thread through and bring the needle back to the front without lifting it. Slide a piece of further and repeat the process until an area of your motif is filled in. Make sure that the thread from ball always remains loose so that loops can form. If you make a mistake, you can simply pull out the thread and start again.

Once you have completed an area, leave the needle pierced. Loosen the thread, cut the end and shorten it if necessary. Try different loop lengths and work with the front and back to achieve different effects.

3. Finish the project
After filling in the motif, take all the ends of the wool and cut them off. Secure the ends with textile glue. This is optional for wall pictures, but necessary for cushion covers or similar to prevent the wool from fraying. Note that glue spots will harden, so use sparingly.

After the glue has dried, stretch the fabric again if necessary and cut it to fit more precisely. Secure all ends on the back with additional glue. Now find a nice place on your wall for your self-designed Punch Needle Picture.
You can find all the materials you need in our online store. Browse through our range and get the best utensils for your next creative project. Grab your Punch Needle and get creative!