- Secure order
- Easy return shipment
- Service-Hotline +32 50 89 35 27
Instructions No. 3225
Difficulty: Beginner
Working time: 2 Hours

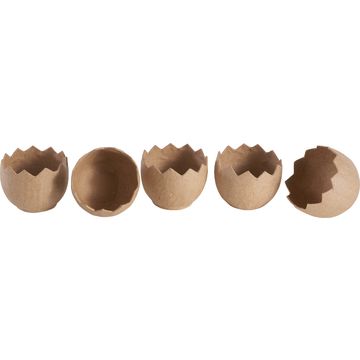
Step 1: Paint the eggshells
Start by painting the eggshells in soft pastel colors. The "Pastel Love" color palette is perfect for giving your bunnies a fresh and cheerful look. Use brushes or sponges to apply the colors evenly and allow the eggshells to dry well. Use pastel colors to bring the lightness and freshness of spring into your home.
Step 2: Prepare the eggshells
Once the paint has dried, carefully fill the painted eggshells with wood wool. The wood wool ensures a natural look. Then place the eggs in the prepared eggshells.
Step 3: Make the ears
Now it's time to make the bunny ears. transfer the ear template to foam sheets and carefully cut out the shapes with scissors. Heat the foam sheets slightly with a hairdryer to give it a natural curl. The heat will cause it to curl slightly and give it a nicer shape that is closer to the natural look of bunny ears.
Step 4: Attach the ears
Glue the prepared foam sheets-ears to the top edge of the eggshells using a small drop of hot glue. Make sure that the ears adhere well. The advantage of hot glue is that it dries quickly and creates a firm bond.
Step 5: Design the whiskers and face
Next, cut out the whiskers. You can use enameled copper wire for this. Carefully glue them to the front of the eggshell using hot glue. The whiskers can easily be rolled into shape using a bamboo skewer, giving them a more lively appearance.
Now glue on the nose and eyes. You can use small hemispheres and wobbly eyes to give them a playful look.
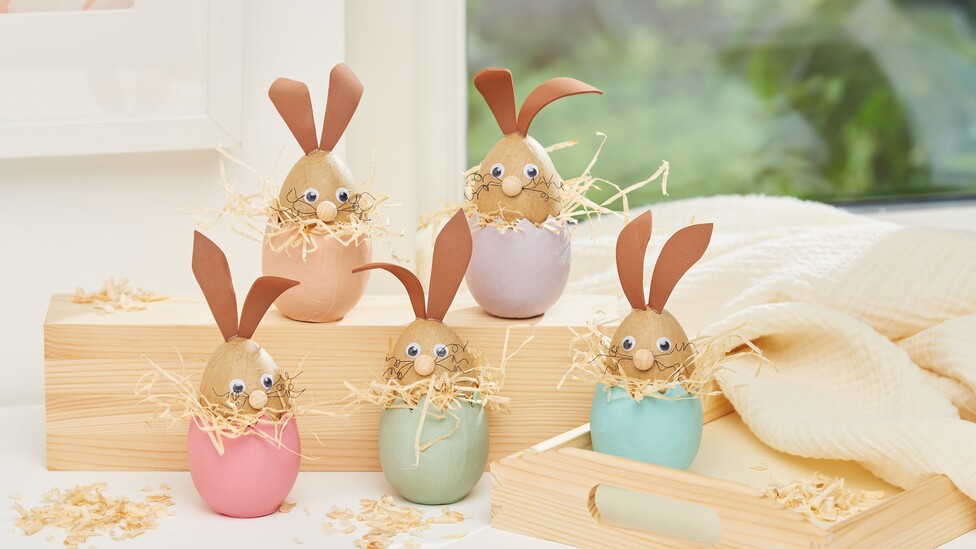
Your Easter bunny is ready!
With these few steps, you have created an original decorative bunny that is guaranteed to attract everyone's attention. Why not make several bunnies at once to create a whole Easter family? Have fun crafting!