Instructions: Step-by-step to your own frog
Transfer and cut out the templates
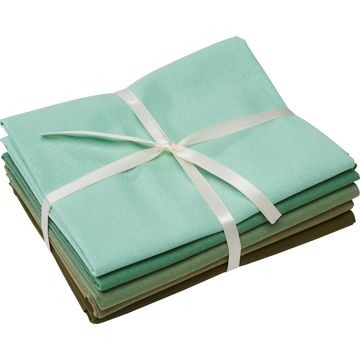
Start by transferring the templates to cardboard and cutting them out. Transfer the templates to the fabric in the same way, also marking a seam allowance of one centimeter. Then cut out the fabric and cardboard: you will need each template three times in total - both fabric and cardboard.
After cutting, topstitch the fabric cuts close to the edge along the seam allowance. Then place the corresponding cut cardboard shape on each fabric cut and pull the yarn tight so that the fabric curls and securely encloses the cardboard. The fabric curls and the cardboard is therefore secure in the fabric. To hold the cardboard and fabric in place even better, zigzag back and forth. When you are finished, you will have three large outer and three small inner shapes covered with fabric.
Sew the fabric together
The next step is to sew the shapes together. Here you can decide whether you want to work with a sewing machine. In this case, however, test how well you can do this. You have layers of cardboard and fabric that need to be sewn neatly. We have decided to sew by hand.
Place an outer fabric piece and an inner fabric piece together, wrong sides facing, so that the smaller piece is centered on the larger one. Sew the small inner shape to the large outer shape using a blind stitch.
Then place two of these joined shapes together so that their small parts are facing each other. Sew them together again with a blind stitch from one point of the curve to the other.
Now it can get a little tricky: Hold the third oval shape in Position, while you also sew it with one half of the bow to the bow of one of the first two shapes:
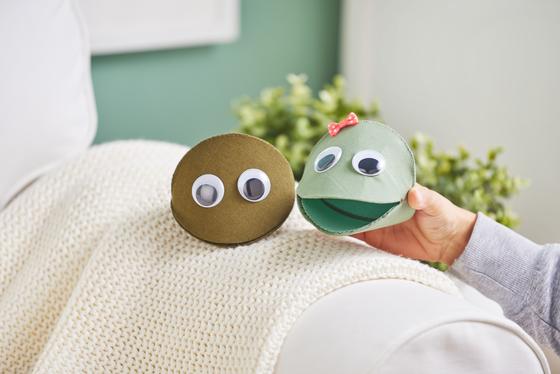
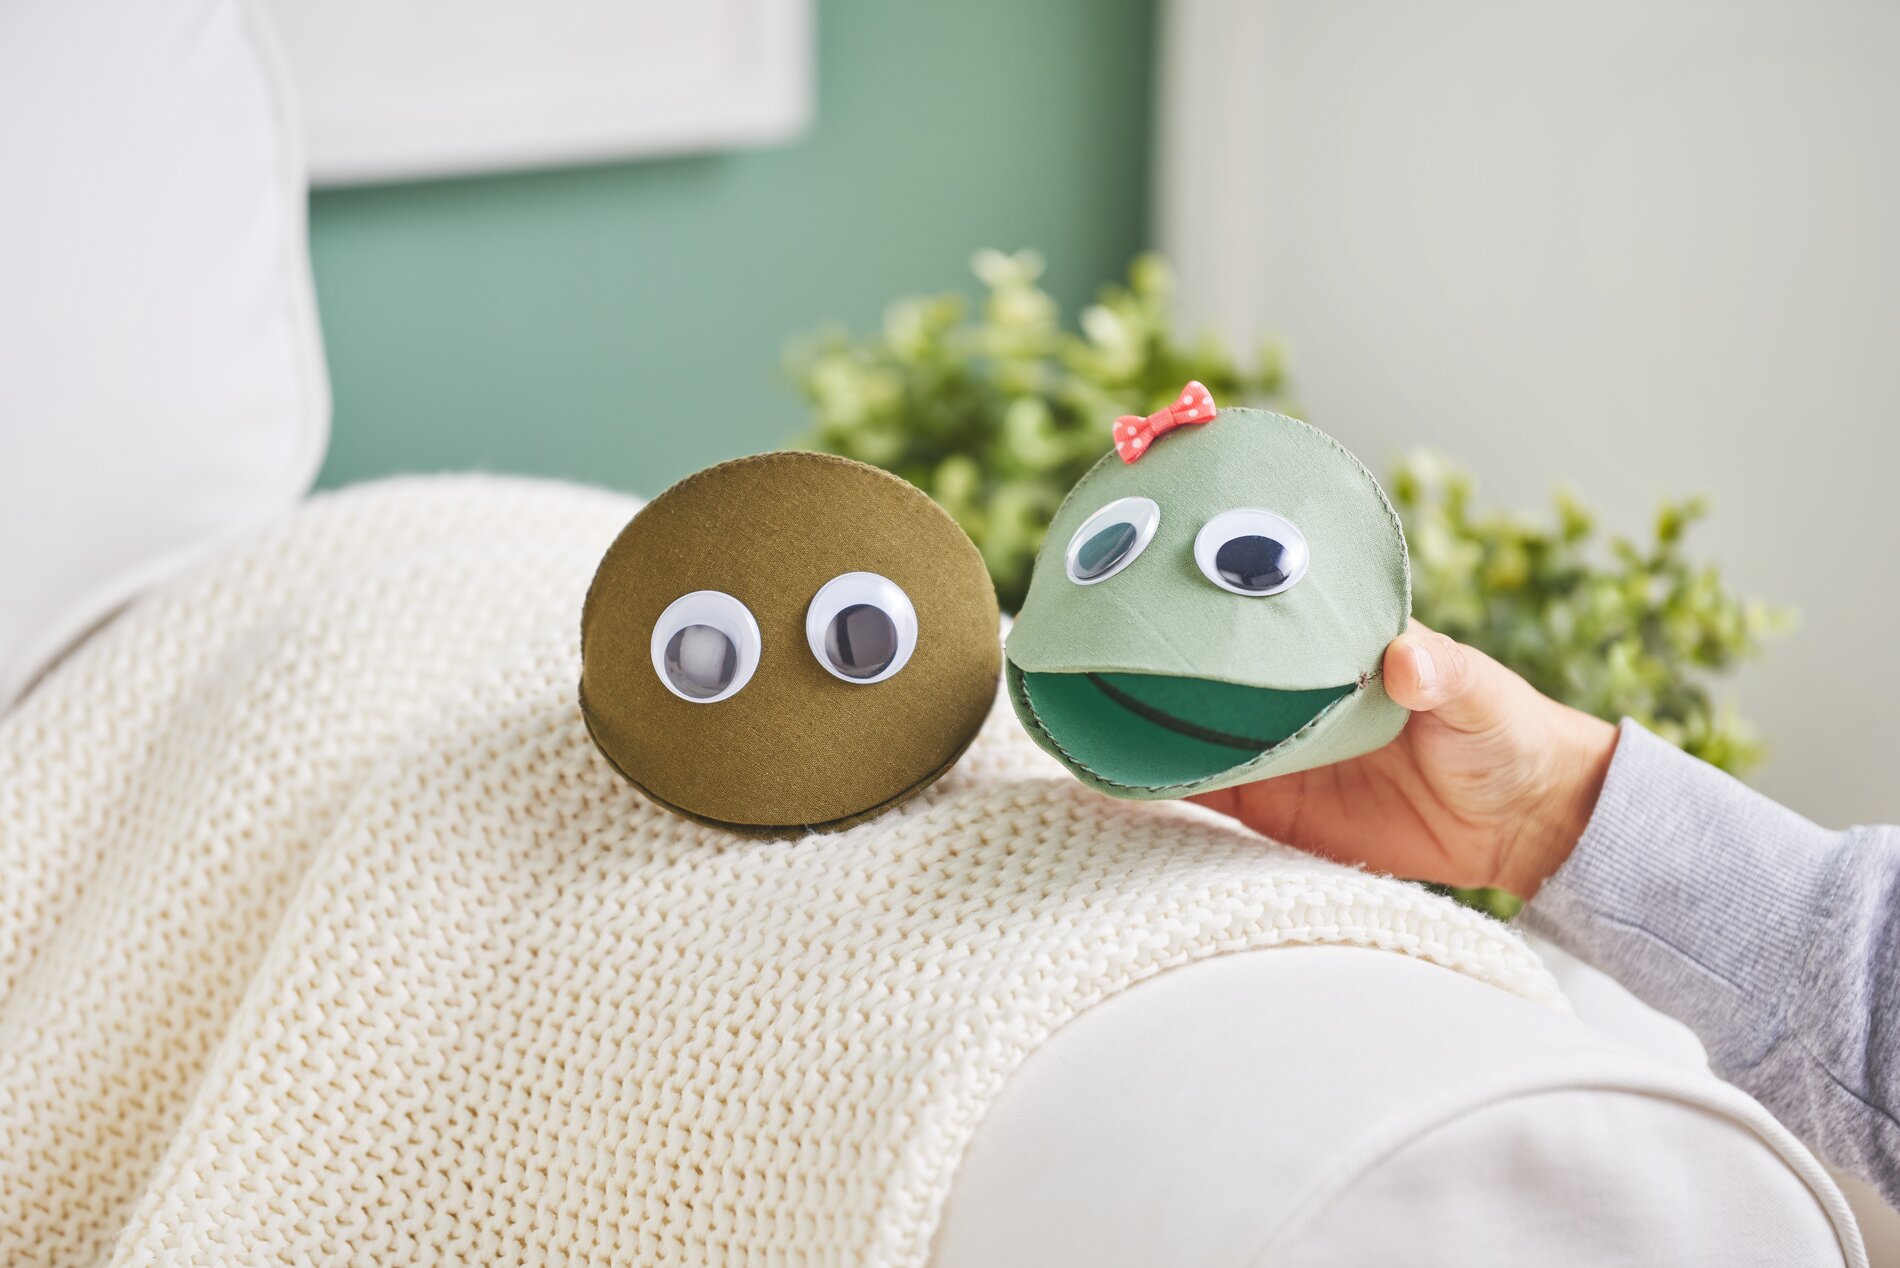
The open side of the oval serves as the frog's mouth. Sew them together by about two centimeters.
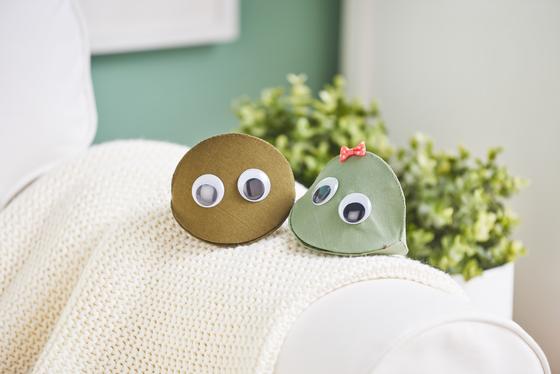
When you have finally glued on two wobbly eyes and possibly a small bow, you will have a funny frog with a mouth that you can snap open and shut!