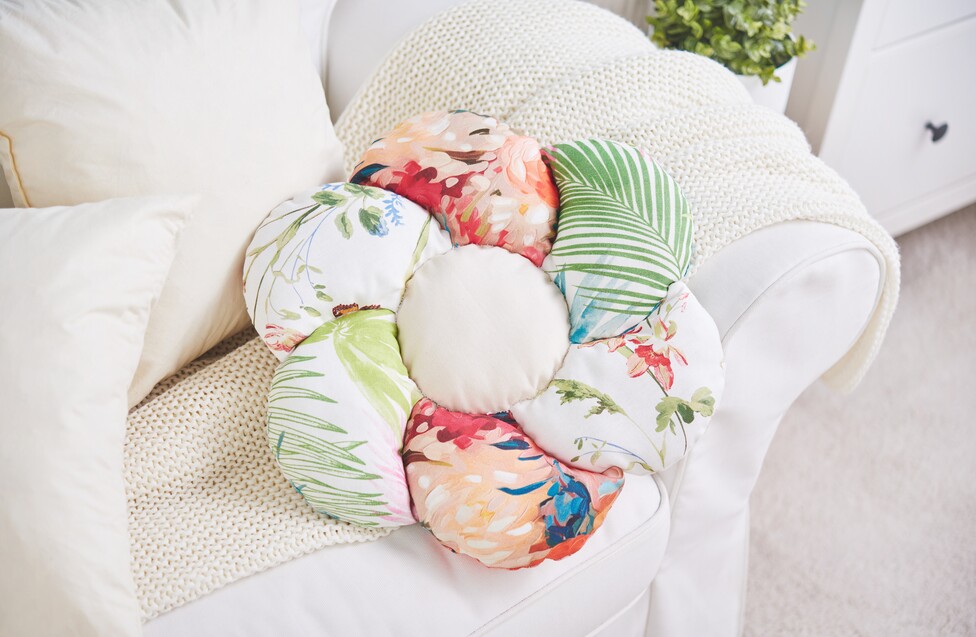
Step 1: Transfer the templates
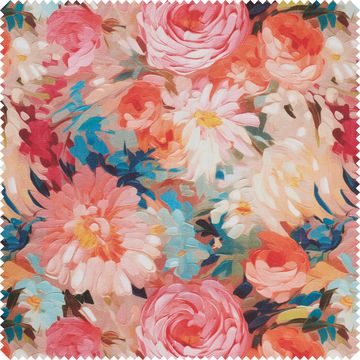
To sew your flower cushion, first transfer the templates to the fabric. Make sure to draw a seam allowance of 1 cm for each piece. For the flowers in particular, it is important to make sure that two identical pieces of fabric fit together exactly.
Step 2: Cutting to size
Now cut out all the pieces of fabric along the lines you have drawn. Precise work is the key here so that your flower cushion gets its perfect shape.
Step 3: Sew the pieces of fabric together
Place two matching pieces of fabric right sides together and sew them together. Leave a small turning opening so that you can turn the piece later.
Step 4: Turning and stuffing
Now turn the sewn-together pieces through the turning opening to the right side. Then stuff them with wadding until they have the desired shape and firmness.
Step 5: Close the turning opening
Sew the turning opening closed close to the edge, either by machine or by hand. A simple straight stitch is suitable for this.
Step 6: Assemble the flower shape
To finish your flower cushion, all the parts are sewn together by hand to form a flower. Start by sewing the flowers to the circle on the curved short side. A loop stitch provides a decorative connection.
Step 7: Joining the petals
To form the petals into a flower, sew them together on their curved long side. A mattress stitch is ideal for this as it creates an invisible seam.
Extra tip:
When sewing by hand, you can use single sewing thread twice to make it more robust. Or you can use warp yarn, which is particularly tear-resistant.
Use the materials list in this idea for your purchase or choose your personal favorite fabrics in our online store. Our wide range of fabrics and yarn will help you to create your perfect flower cushion project!