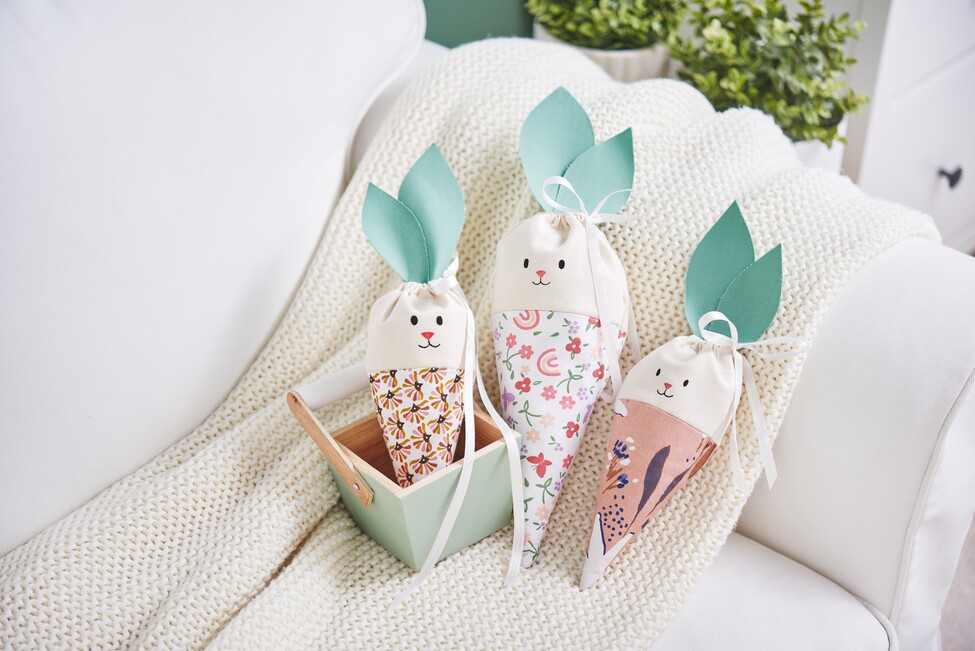
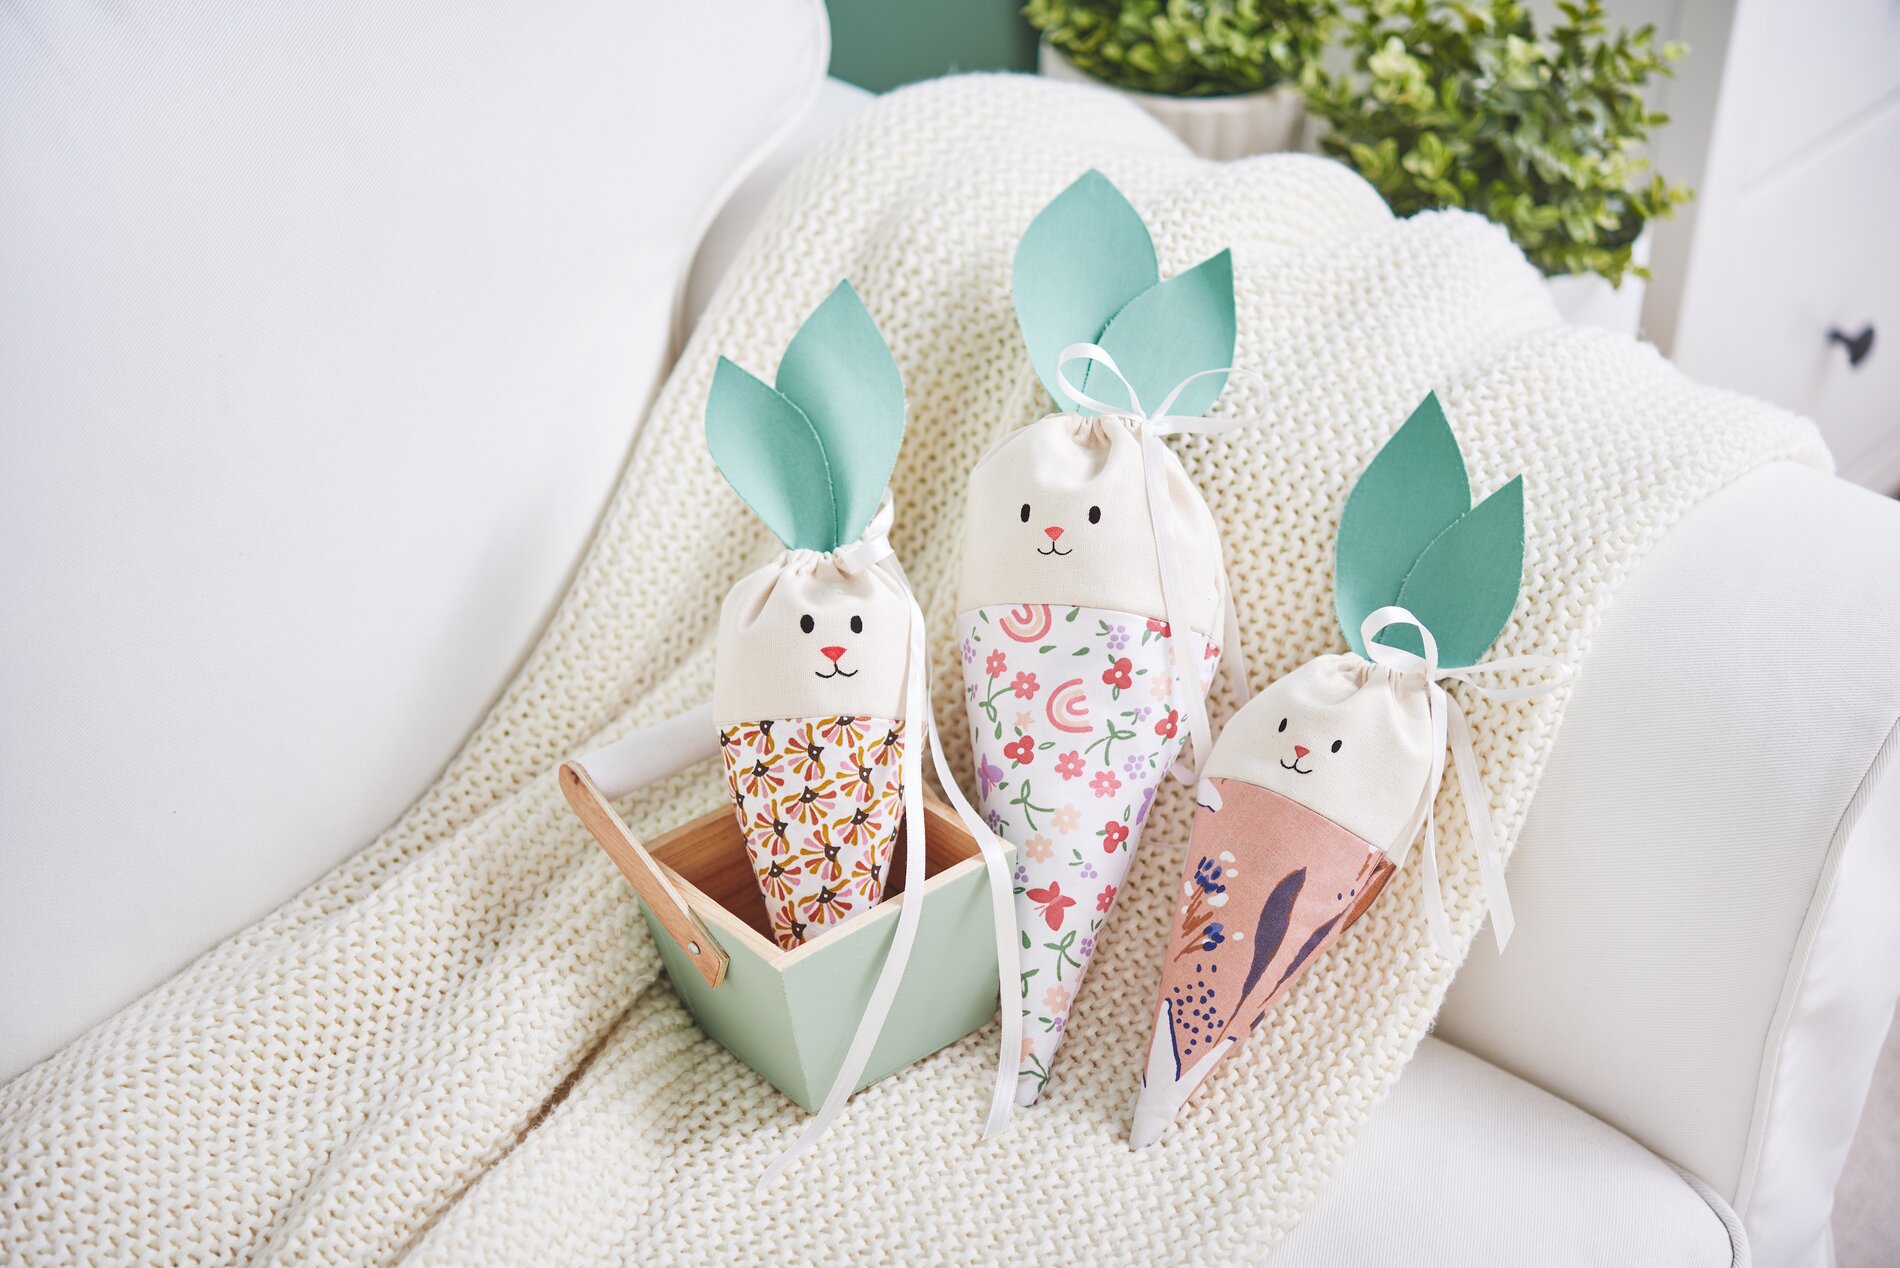
How to make the "rabbit carrot bags" from fabric
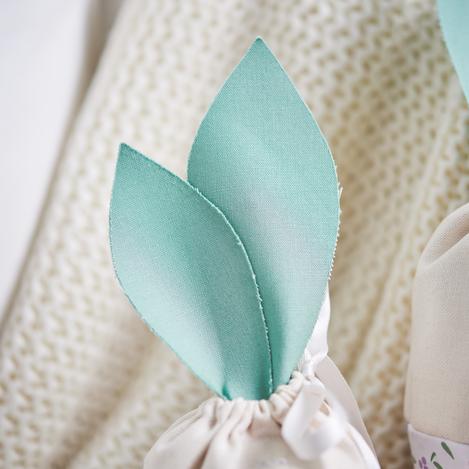
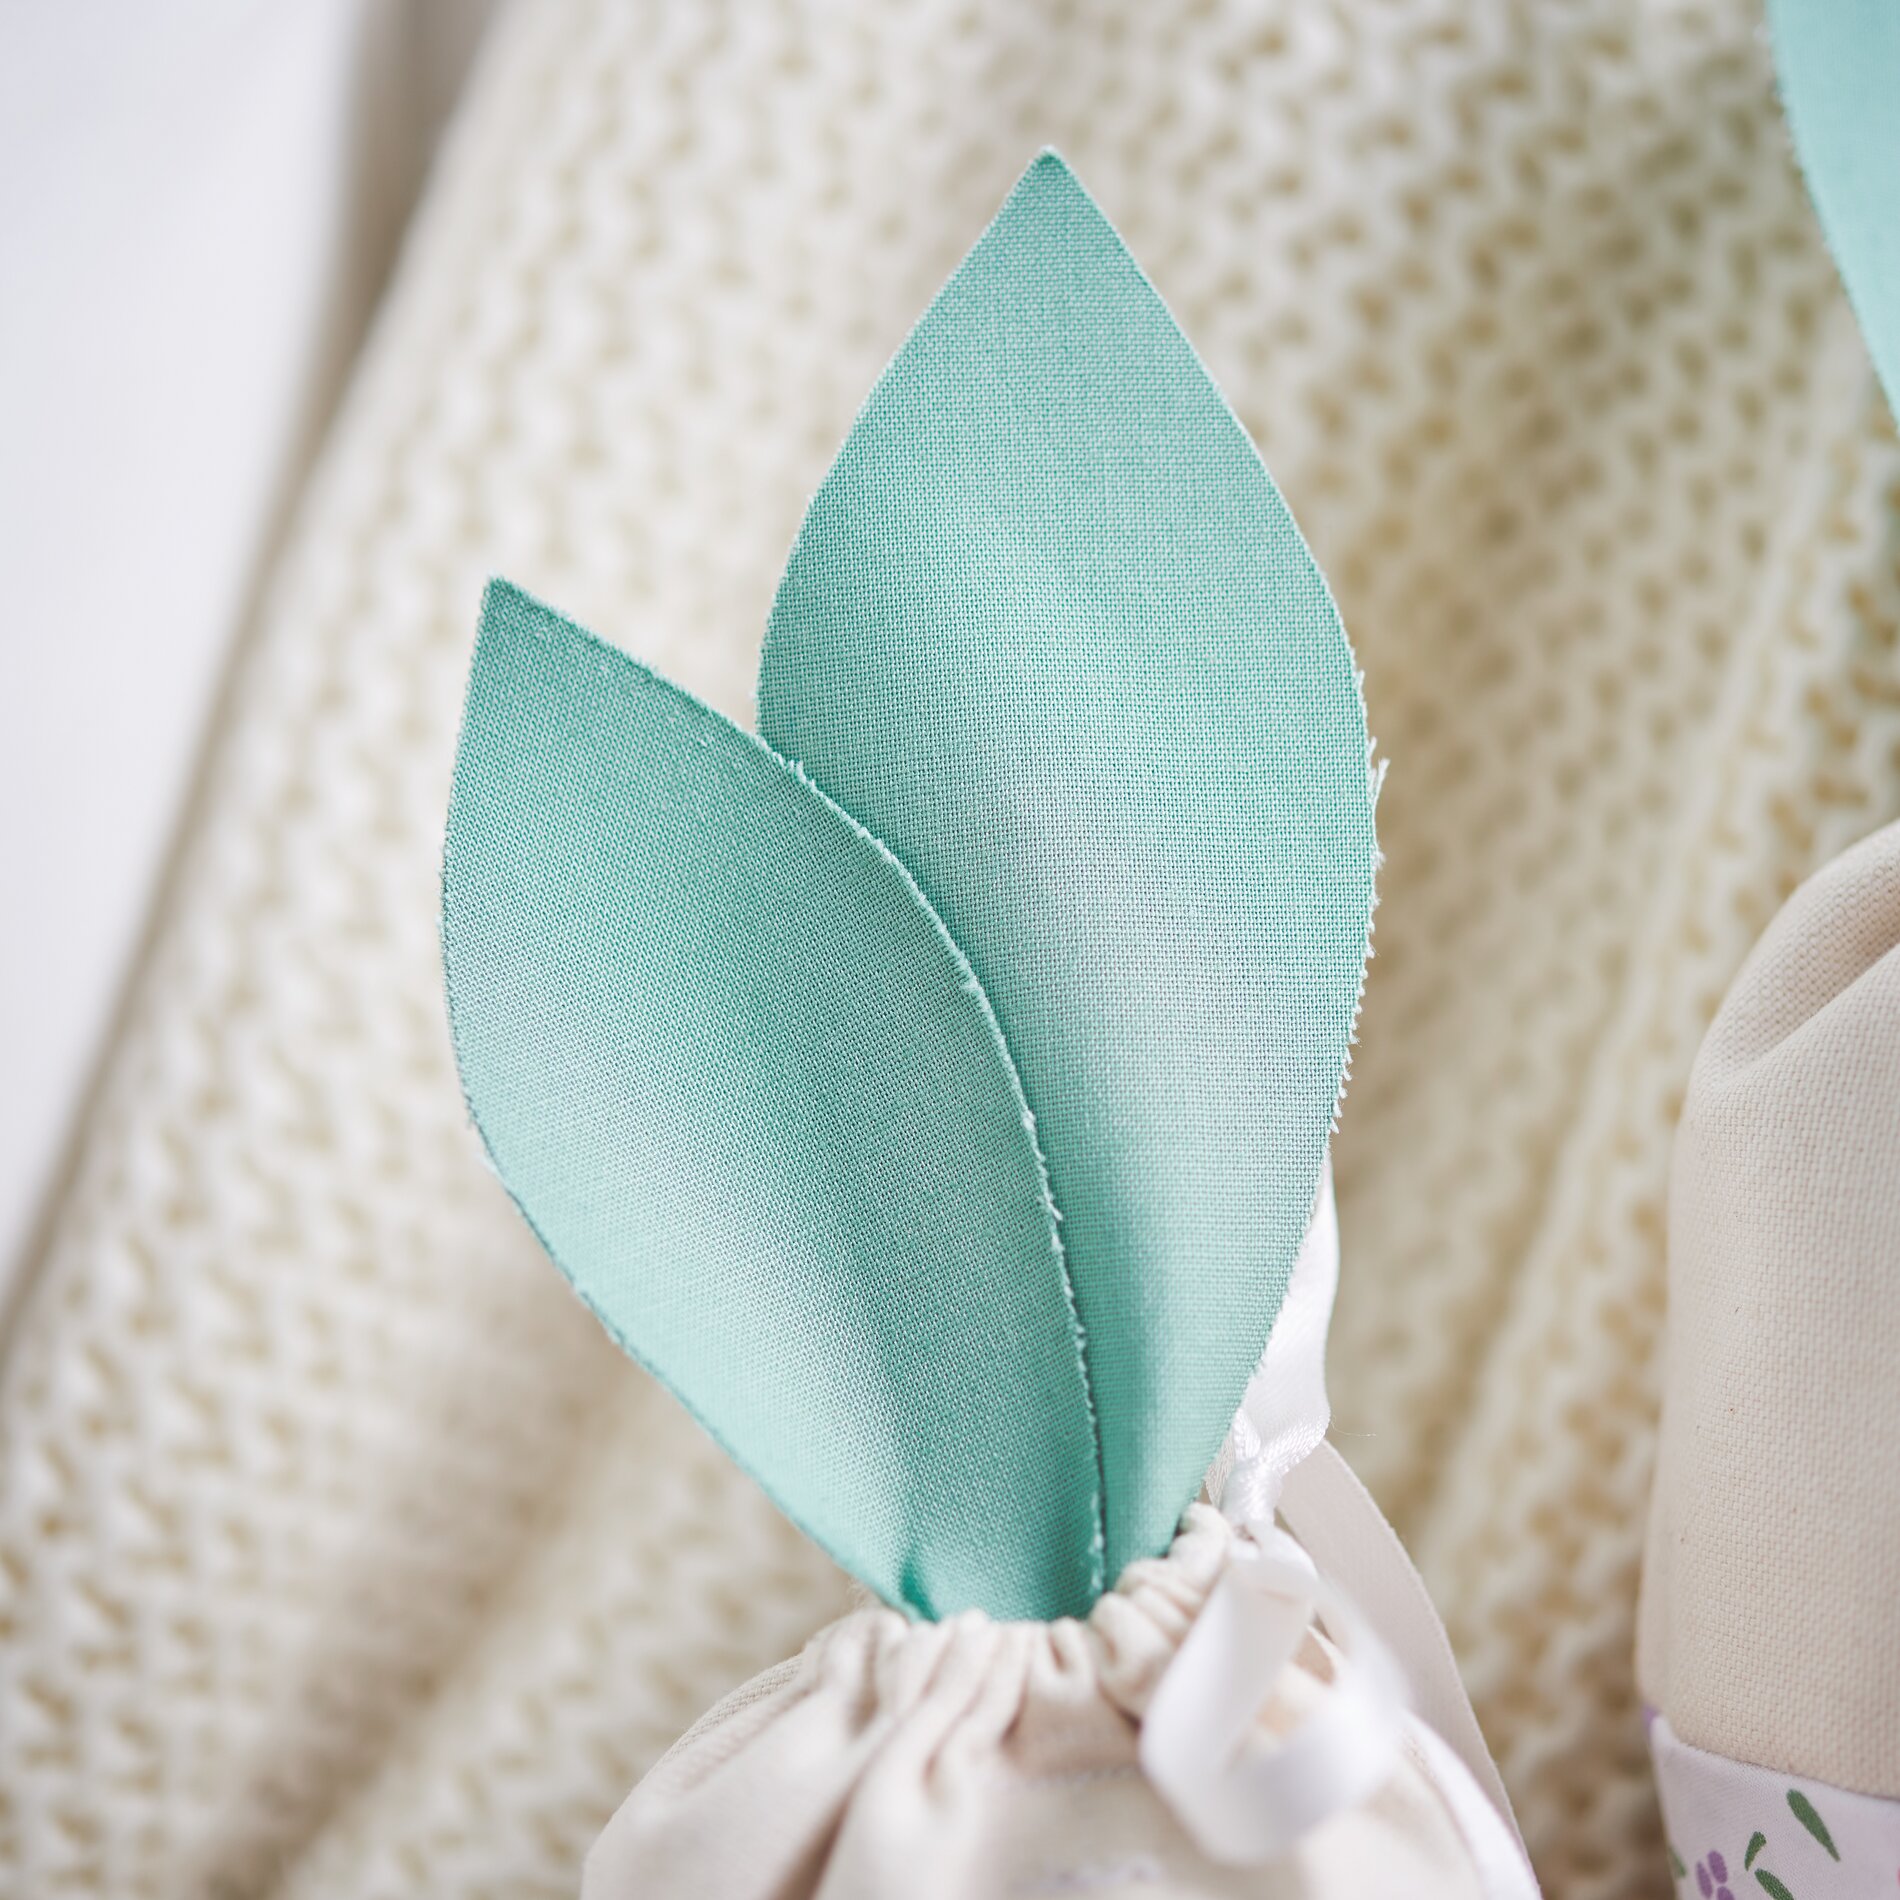
Making the ears
transfer the template for the ears to a cotton fabric and cut them out without a seam allowance. You will need two blanks per ear. transfer the templates to the fusible web in the same way, once per ear. The fusible web is adhesive on both sides. Peel off the protective film on one side and stick it to the ear. Now also remove the protective film on top and stick the second ear piece on. Fix them in place with the iron.
Glue the ears together with a piece of fleece at the point where both ears overlap. Go over this with the iron too. Proceed in the same way for all the other ears. We have always combined two ears in different sizes. You can, of course, also combine two identical ears.
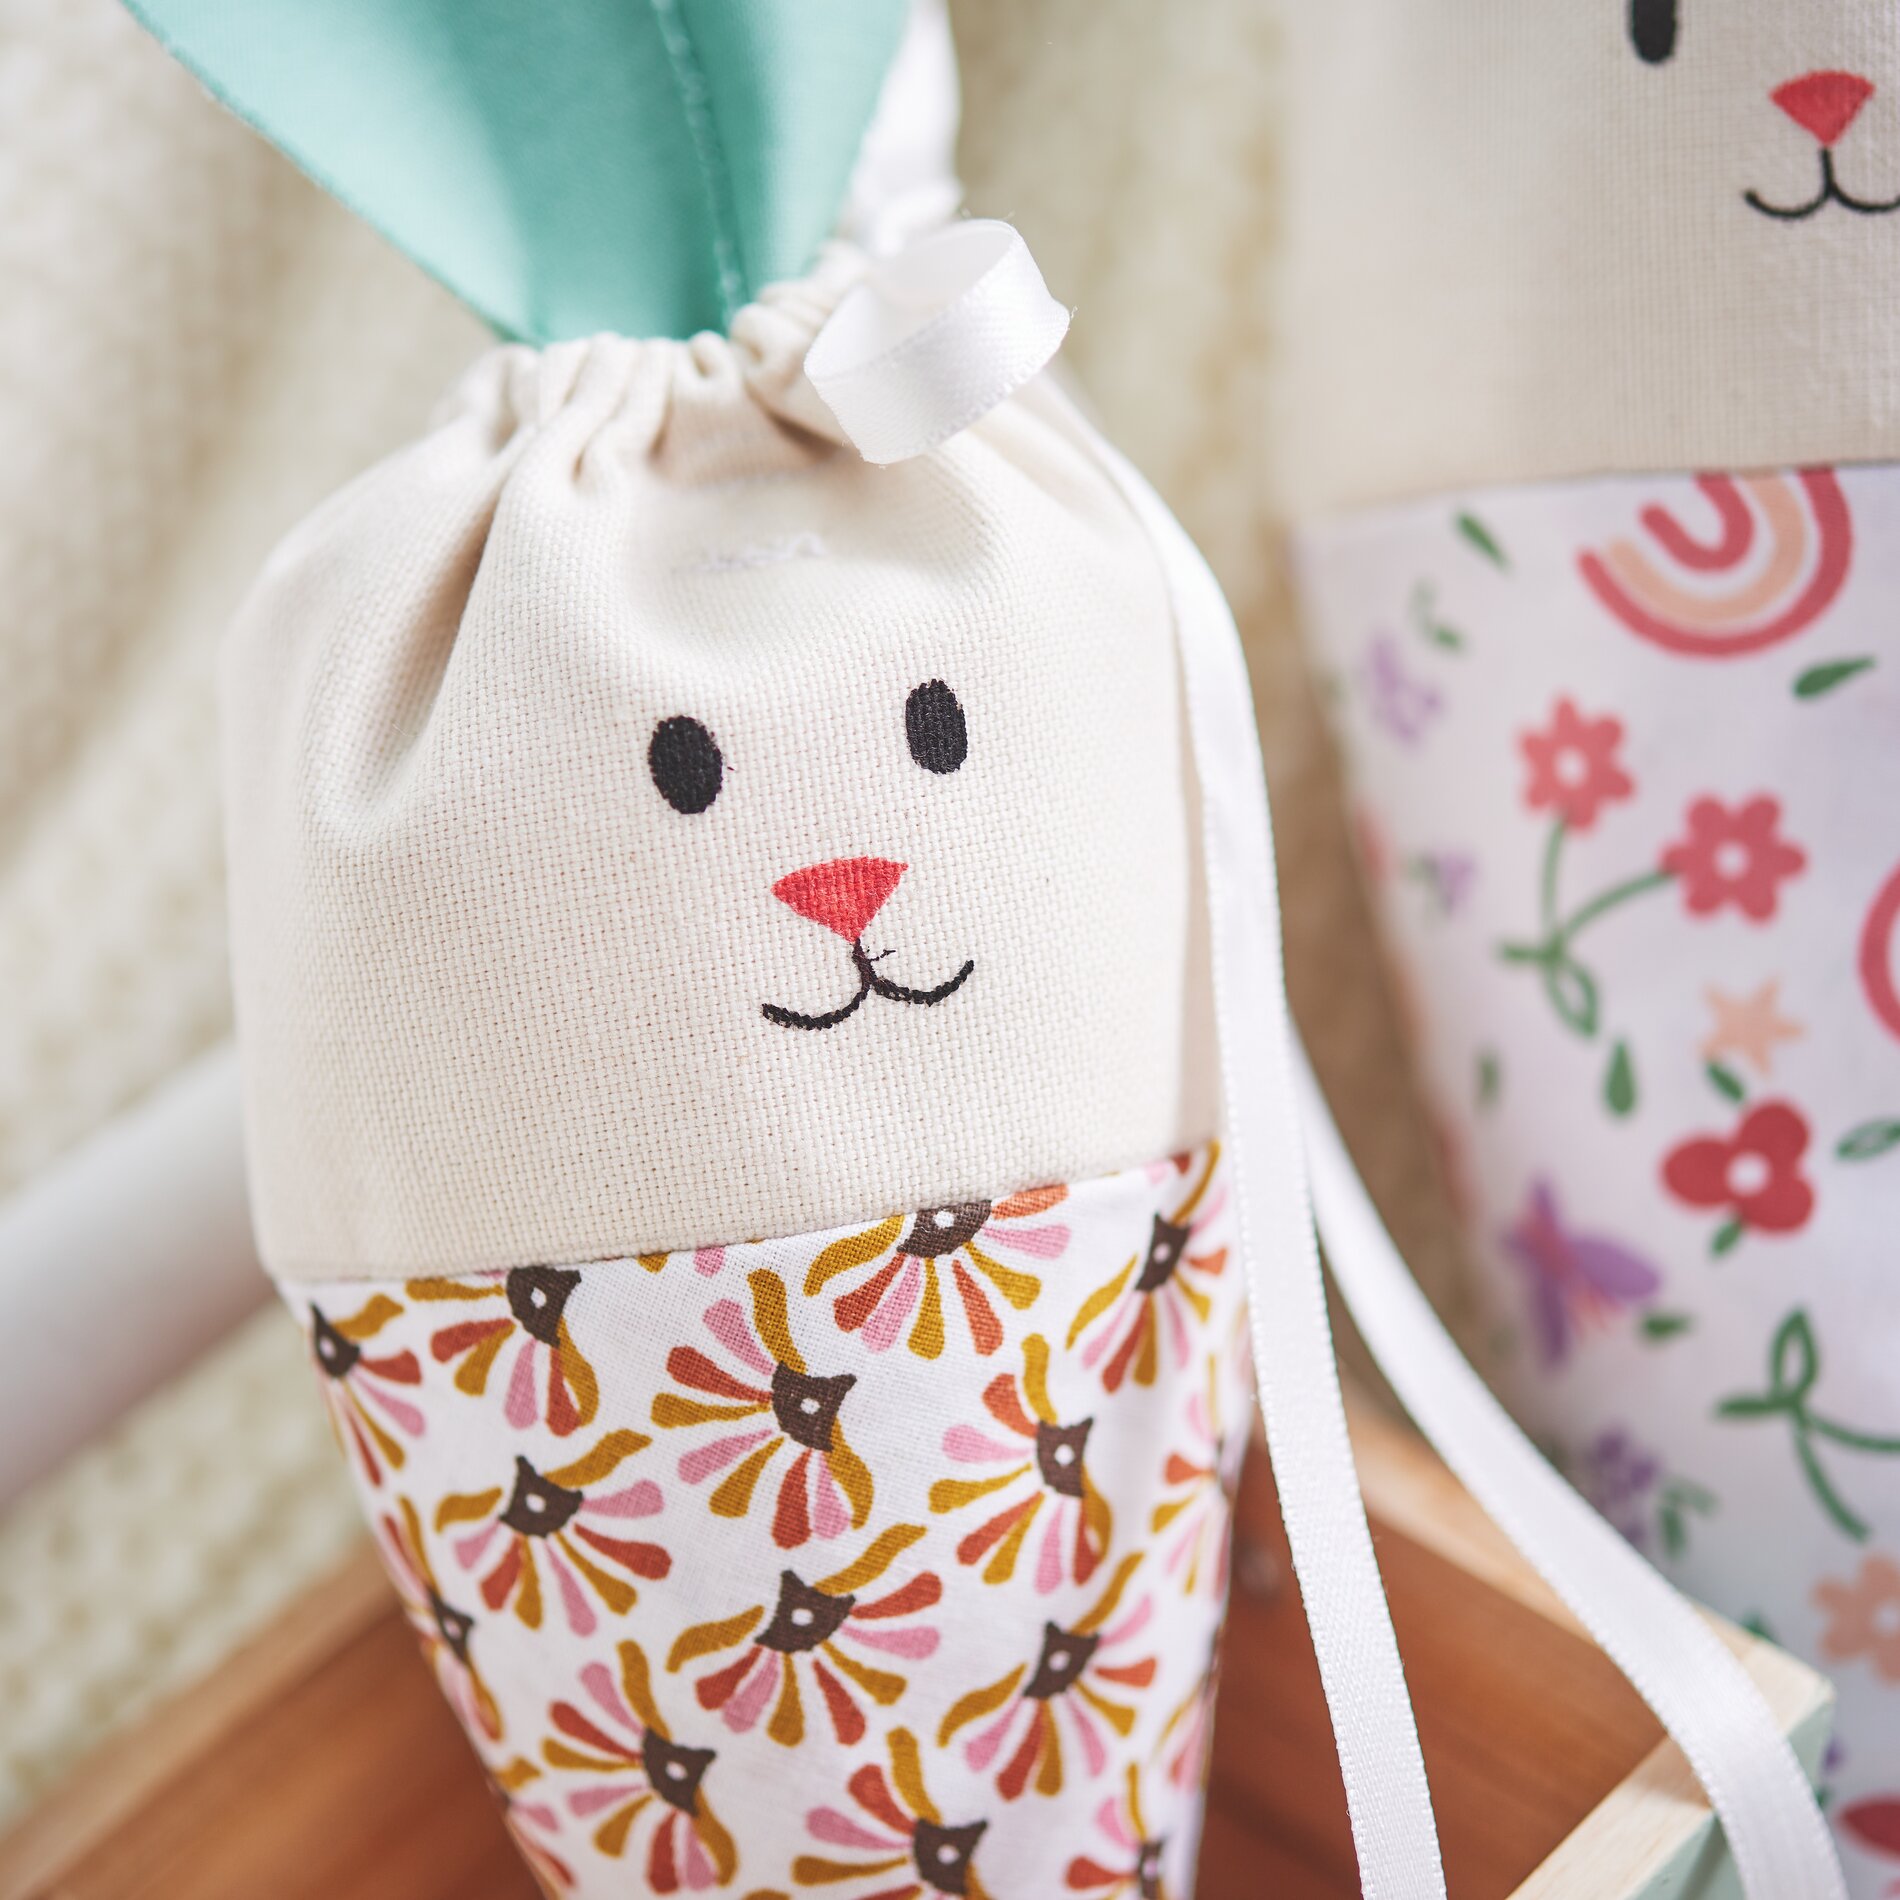
Sew the head piece with drawstring
At this point, you are working with a fabric fold: fold your desired cotton fabric in half. This means that you fold the fabric so that the right, printed side (the side that will be visible later) is on the inside. Place the template so that the dotted side is directly on the fold line of the fabric.
Now mark a seam allowance of 1 cm on the remaining three sides. Secure your fabric with pins and cut it out.
On your template, you will see a mark at 3 cm on the sides, which will later become the drawstring. Cut this marking 1.5 cm deep.
You can then simply fold the drawstring over and sew it in place.
Now unfold your fabric cut and fold the piece for the drawstring that you previously cut inwards. Sew this edge in place to create a neat finish. You have a fold line in the blank, which you now need to fold in the middle and iron the fabric smooth. This will ensure that all the seams look neat and tidy. Pin the fabric together again using pins and sew from one drawstring opening to the other. The drawstring is now complete and ready for use.
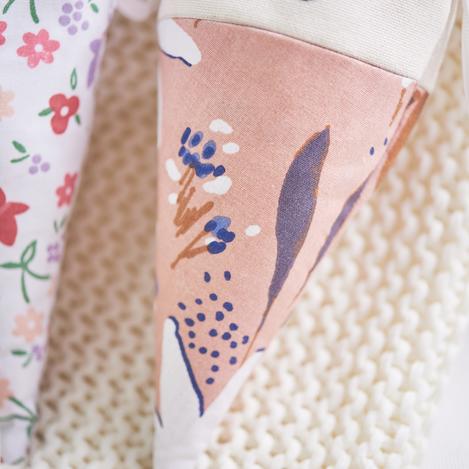
Cone body
Proceed as for the ears, only mark a 1 cm seam allowance on the fabric all around. Cut out the fusible web without the seam allowance. Place the fusible web between two pieces of fabric to make the lower part of the carrot more robust and iron it in place to secure it. This will make the lower part of the carrot more robust. Sew the previously created head section with the drawstring to the body, right sides together. "Right sides together" means that the most beautiful sides of the fabrics lie on top of each other when sewing. Make sure that the seam runs neatly to achieve an even result.
It's time to give your Easter carrot a face. Use fabric markers or textile paints to do this. Carefully draw on your desired design and let it dry.
Make sure that the open side seam is not at the back but at the side. Then press the seam allowance open. Now you can also sew the side together, right sides facing.
Info: Optionally, you can clean up the seam allowances by chain stitching or using zigzag scissors. This prevents the fabric edges from fraying and ensures a clean Processing of material: finish to your project.
Turn the Easter carrot so that the right (beautiful) side of the fabric is on the outside. Use a safety pin, to pull the satin ribbon through the drawstring. Attach the safety pin securely to the ribbon and pull it through until you have enough ribbon at both ends to tie a bow.
Now you can fill your Easter carrot with filling material of your choice and close it with a bow.
Finally, you can paint the handle basket and place the Easter carrots in it.