- Secure order
- Easy return shipment
- Service-Hotline +32 50 89 35 27
Instructions No. 3439
Difficulty: Advanced
Working time: 2 Hours

Material preparation and motif transfer
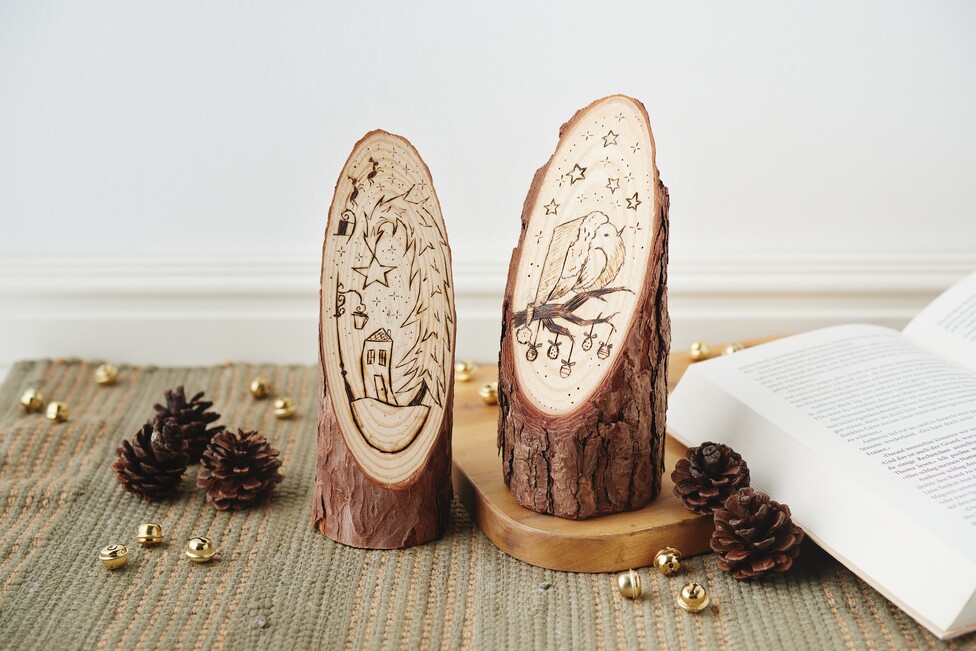
Step 1: Template and preparation First choose a suitable winter motif that you like or print out the free template in the desired size. The motif should be clearly recognizable as you will be transferring it to the tree trunk later.
Step 2: Use graphite paper Place the graphite paper with the dark side on the pine log. This special type of paper transfers pressure onto surfaces and is often used for painting and drawing projects.
Step 3: Transfer the motif Place your printed template on the graphite paper. Now trace all the lines of the motif with a pencil. Press evenly, but not too hard, so that the motif is transferred clearly onto the wood. This step is crucial in order to have a clear orientation for the wooden burning later on.
Burning and finishing the tree trunk
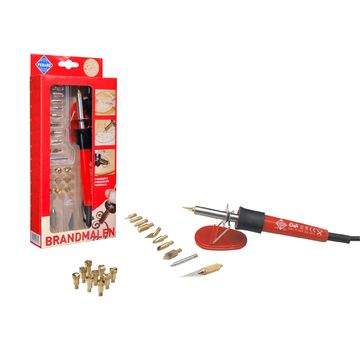
Step 4: Using the branding pen Before you start burning, make sure that the branding pen is set to the right temperature. Carefully begin to burn the lines of the applied motif. A branding pen is a versatile tool that allows you to burn precise lines and shading into the wood.
Step 5: Experiment with different attachments Try out different attachments on your branding pen to achieve different effects. Fine tips are ideal for detailed work, while wide tips work on larger areas more quickly. Experimenting with different attachments can add extra dimensions to your artwork.
Finishing and final considerations
Step 6: Ready for presentation Once you are happy with your work, leave the tree trunk to cool thoroughly. Your winterized tree trunk is now ready to be displayed in your home or to be given as a handmade gift.
Now that you have learned how to creatively embellish a tree trunk, I invite you to buy the materials you need in our online store. Start your next DIY-Project today and transform your home into a winter oasis of well-being!