Wall decoration with green plants from paper
Instructions No. 2541These green plants are made of paper and do not require maintenance! The natural look of the wall decoration will certainly fit into your home. Learn how to recreate our homemade installation here.
Schablonieren
In addition, you provide the perfect adhesive base:
Stencil the white ornaments. To do this, position the painting stencil, fill the ornaments with texture paste and carefully remove the painting stencil.
Design the ornamental shelf
Two cords will be the shelf suspension. Place two pieces between the already glued square timbers and the last (6th strip), glue everything well.
Ornamental baskets weaving
Bamboo skewers represent the "cross braces" of the woven baskets. They are shortened to the same length according to the number of holes per "basket" and then glued into the holes: small pot: 8 sticks of 8 cm, large pot 9 sticks of 10 cm.
Once firmly glued, weave cord tape around the bamboo skewers until the basket look is perfect. Secure the cord end of each with craft glue.
Craft a pliea plant
Cut a few pieces of the paper wire, paint them with green paint from the marker pen and glue the wire to the paper leaves as "plant stems".
"String of pearls" green plant made of paper
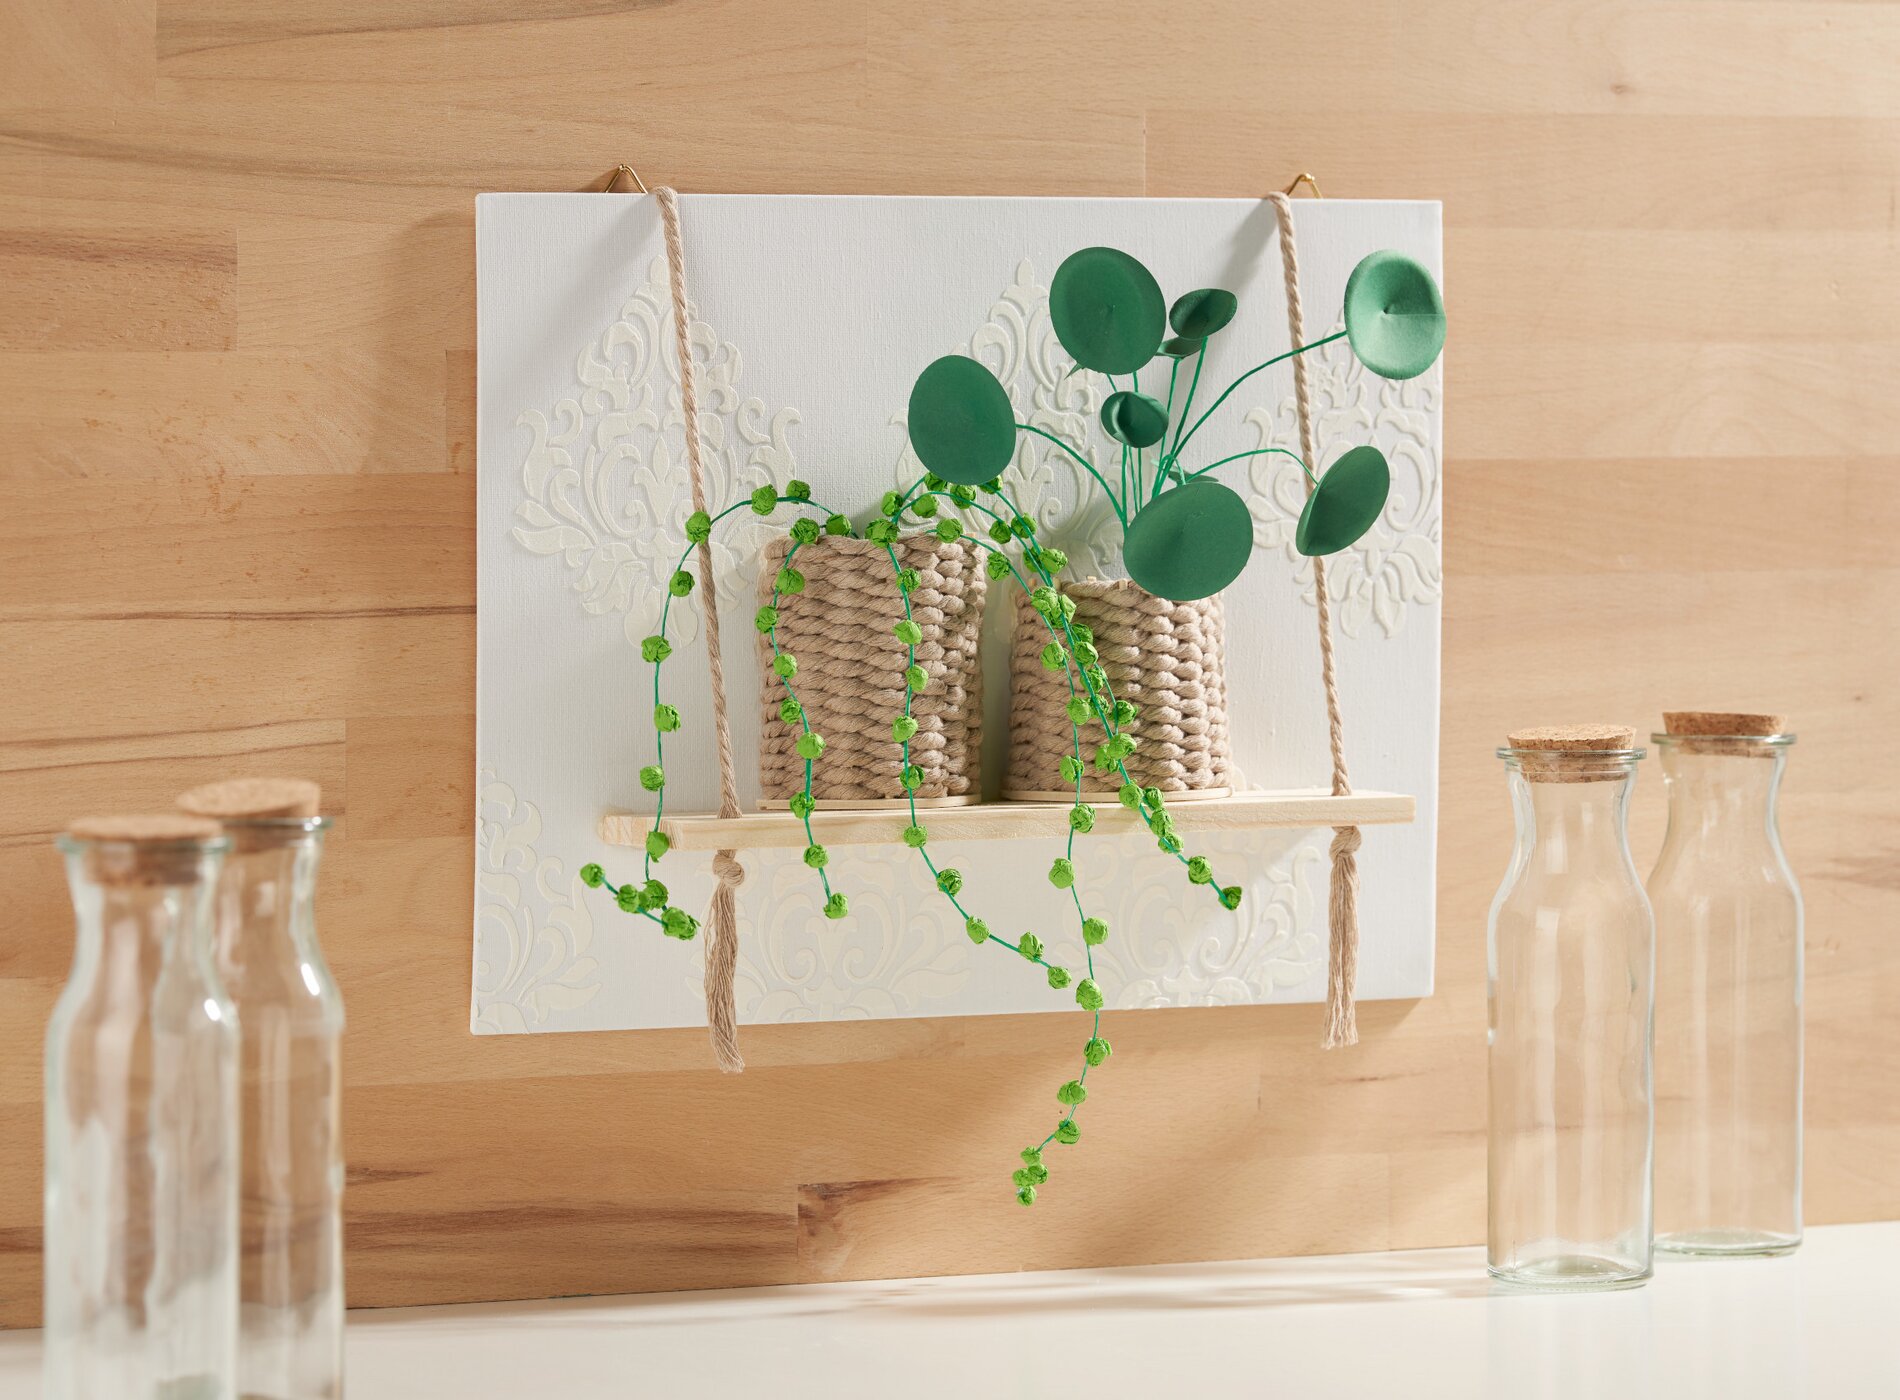
Now put everything together
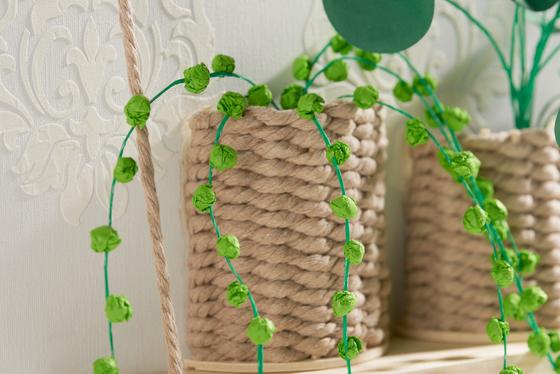
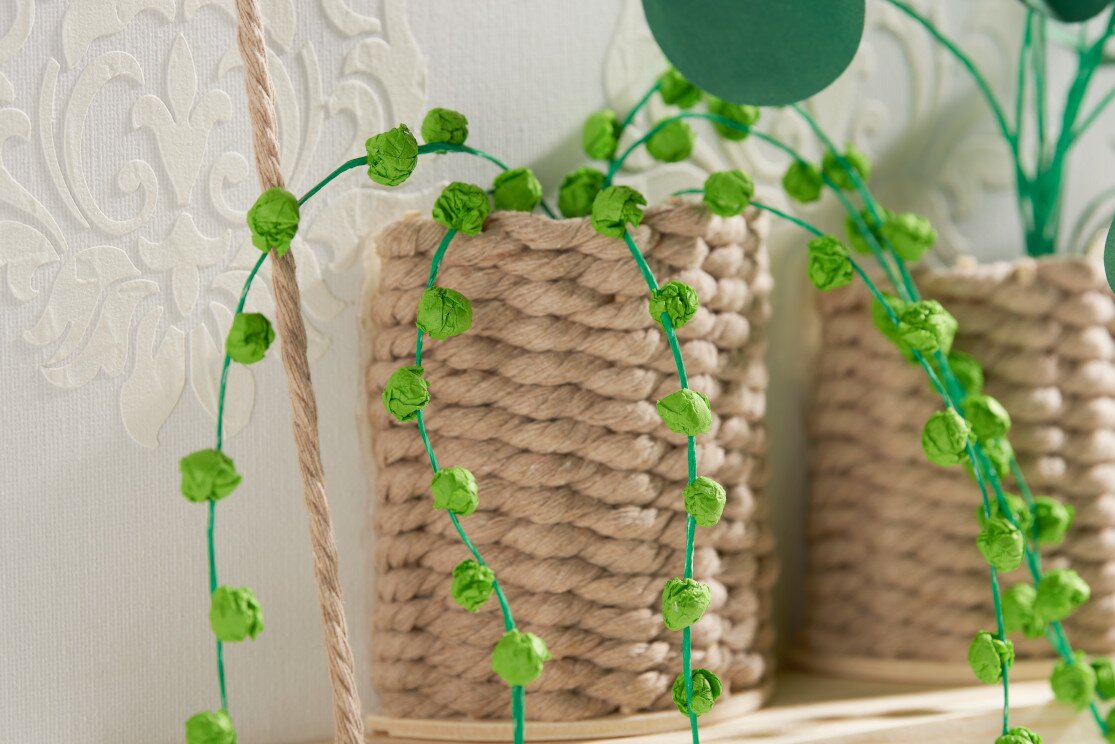
Knot each of the cords underneath the shelf, guide them upwards to the back of the wall decoration and fix them there so that it looks as if the shelf is hanging from it. Underneath the knots, untie the individual threads of the cords so that decorative fringes are created.
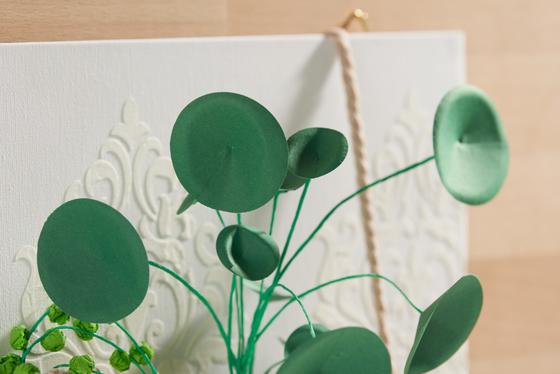
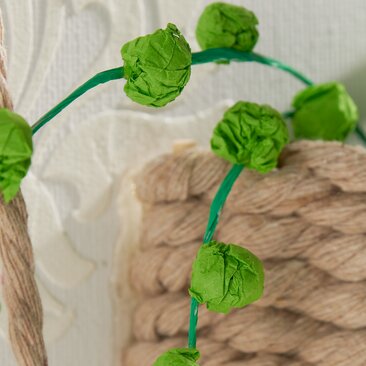
Also with mosaic glue fix and the two woven pots on the board. Add plug-in foam and arrange the paper plants. Finally, glue picture eyelets as a suspension to the back of the painting board.