- Secure order
- Easy return shipment
- Service-Hotline +32 50 89 35 27
Instructions No. 3429
Difficulty: Beginner
Working time: 3 Hours
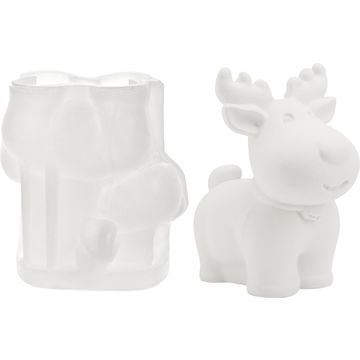
Step 1: Making the castings
Start by mixing about 4 tablespoons of casting powder with water for the "Rudi" silicone mold. You will need 3 tablespoons for the "Gnome" silicone full mold. Gradually pour the casting powder into a bowl and add enough water to make a creamy mixture. Stir vigorously to avoid lumps. Casting powder is a powdery material that hardens into hard shapes when dissolved in water.
Now carefully pour the casting compound into the molds and tap them lightly on the base. This will release any air bubbles and give you a smooth surface. Leave the castings to harden for around 2-3 hours before carefully removing them from the molds.
Step 2: Finishing and shaping the castings
After removal, sand the rough edges of the castings with sandpaper for a professional finish. Leave them to dry completely for around 8 hours. You can then paint your figures with VBS Paint your figures with craft paints as you wish. In this way, you can create individual works of art that reflect your personal style.
Step 3: Build the base and frame
Take 8 craft blocks and glue them together with VBS handicraft glue together to create a stable base. You will need another 5 blocks for the frame. To create a rectangular frame, saw a block through the middle. Glue the two halves to the short sides of two more blocks so that they are 24 cm long in total. Glue another craft block to the left and right of the long blocks to create a frame. Once sufficiently dry, paint the frame with white handicraft paint for a harmonious overall look.
Step 4: Attach the napkin picture and pinwheel foil
Position the frame on a napkin, trace the outline with a pencil and cut out the motif. Also cut the pinwheel foil to size. Now stick the top, printed layer of the napkin onto the pinwheel foil using napkin varnish . Once dry, secure the film behind the frame using handicraft glue . Finally, stick the frame neatly onto the prepared surface and allow everything to dry thoroughly.
Step 5: Lighting and final decoration
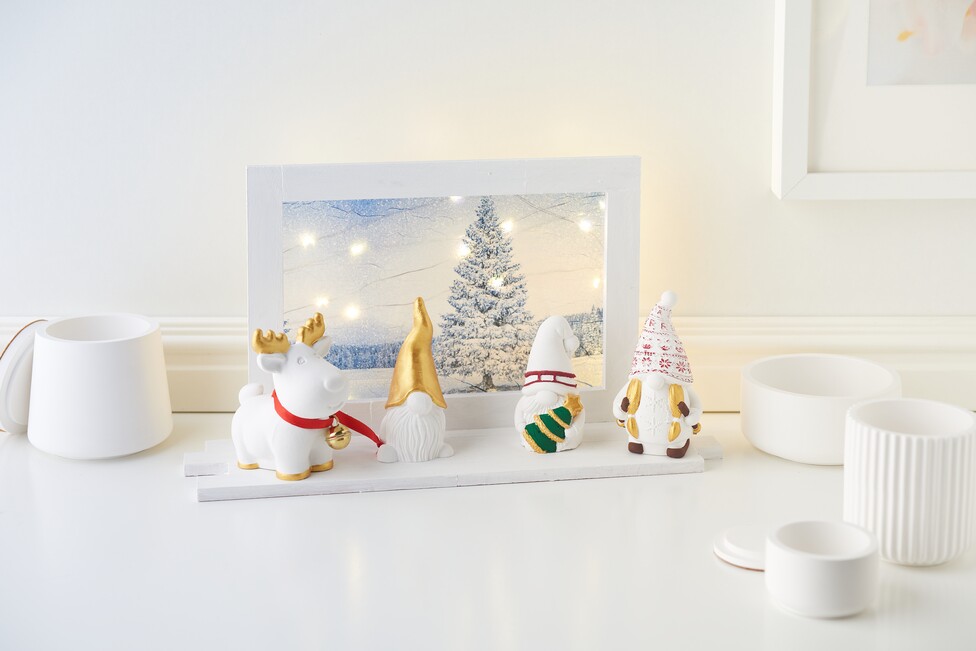
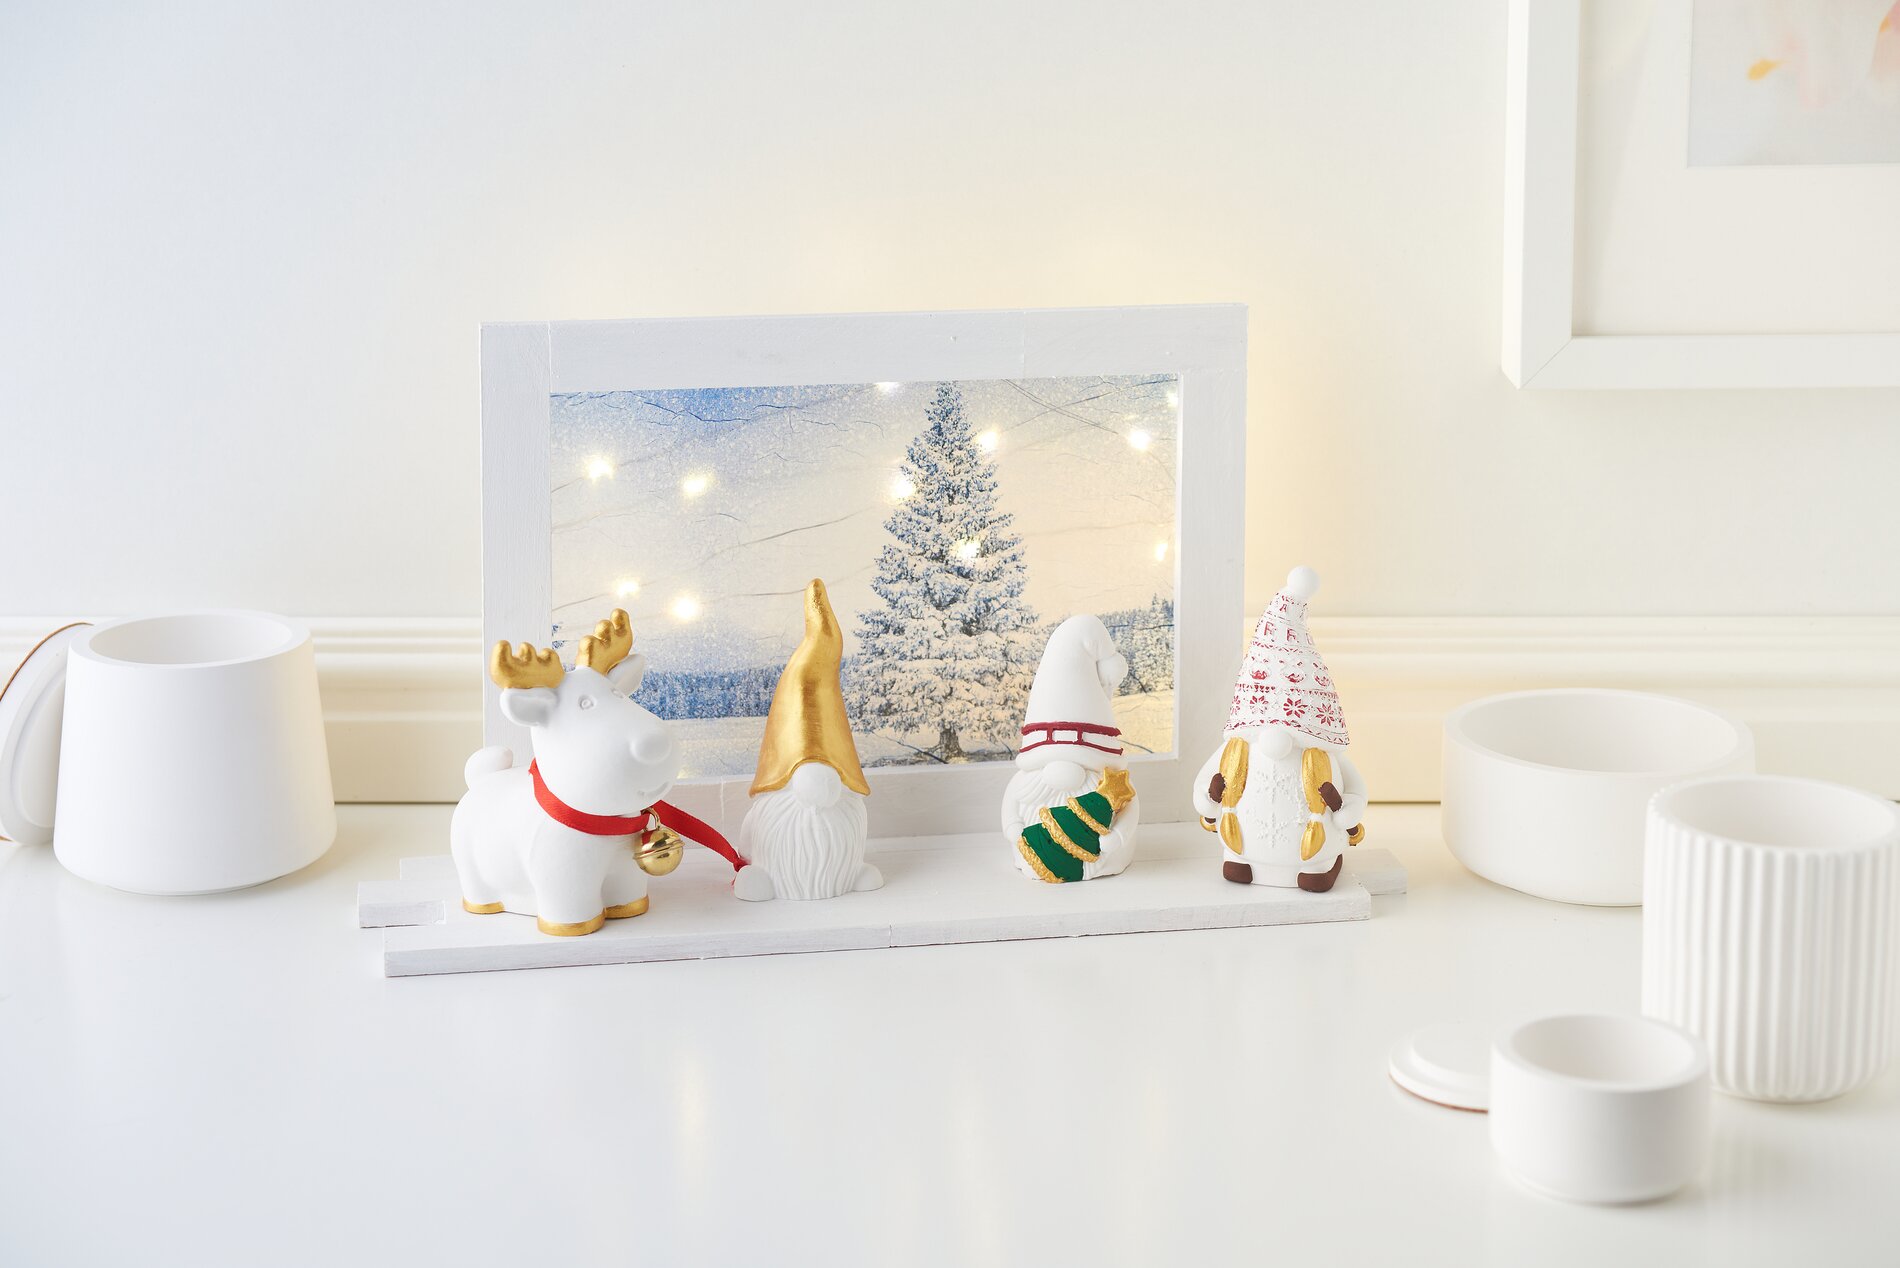
If you want atmospheric lighting, attach a micro LED-chain of light to the back using hot glue. The chain of light is versatile: press once to activate the timer function, press twice to switch it on and three times to switch it off. The timer lights up the chain of light for 6 hours and reactivates automatically after 18 hours.
Finally, pull a clip onto a piece of satin ribbon and tie it around the reindeer's neck. Carefully attach the knotted end of the ribbon to the gnome's hand using hot glue. Place your castings on the block base and sprinkle with diamond snow for the final wintry touch.
Your creative materials are waiting for you!
Ready to create your own wintry landscape? Discover our extensive range of casting powders, silicone molds and other craft materials in our online store. Click now and get inspired to let your creativity run wild!