- Secure order
- Easy return shipment
- Service-Hotline +32 50 89 35 27
Instructions No. 4071
Difficulty: Beginner
Working time: 2 Hours 30 Minutes
1. Prepare the design from the " napkin "
Unfold the “ napkin ” completely and lay it flat in front of you. Place the wooden house on the “ napkin ” and trace the outline of the back wall with a pencil. This will ensure the winter motif fits perfectly on your shelf later. Cut out the “ napkin ” along the line, then carefully separate only the top, printed layer. This thin layer is the one you’ll need for the “ napkin technique .”
2. Apply “ napkin technique ” to the back panel
Apply a thin coat of napkin varnish. to the inner back panel. The varnish acts as both an adhesive and a protective layer. Place the printed napkin layer onto the still-damp surface and gently smooth it out from the center toward the edges to minimize wrinkles. Then brush a second, very thin layer of “ napkin varnish ” over it.
3. Enhance figures with embossing foil for a 3-D effect
For small highlights, you can prepare individual motifs a second time: Additionally, glue selected figures or details from the napkin onto silver embossing foil. Once dry, cut them out with fine-tipped scissors—tweezers scissors are ideal for this because they allow you to cut very precisely around edges and small shapes. Place the cut-out pieces face down on a special mat and run embossing tools over the back. The embossing causes the motif to curve slightly, creating a subtle 3-D effect that makes your winter scene look more lifelike.
4. Assembling the Winter Landscape Indoors
Cut a “ polystyrene egg ” in half down the middle using a standard utility knife. If desired, you can split the pieces again. Glue the pieces into the house as small “snow mounds” and let the glue set briefly so nothing shifts during the next step. Then sprinkle the floor and the polystyrene with decorative snow. This creates the typical, soft winter look that perfectly complements the napkin technique .
5. Place and Secure the Figures
Now place your die-cut or embossed figures into the still-wet decorative snow. You can either press them directly into the snow or secure them additionally with “ handicraft glue ” on the back wall or on the “ napkin ”—depending on whether you want more depth or a flat scene. Make sure to leave some space between the foreground and background so that the mini-landscape looks three-dimensional. Then let everything dry completely.
6. Finishing Touches: Accent the Edges with Color
If you’d like, you can paint the edge of the house with “ handicraft paint .” A muted, wintry color highlights the shape of the house and makes the motif inside stand out even more. Use a small amount of paint and apply it in two thin coats—this will keep the edges even.
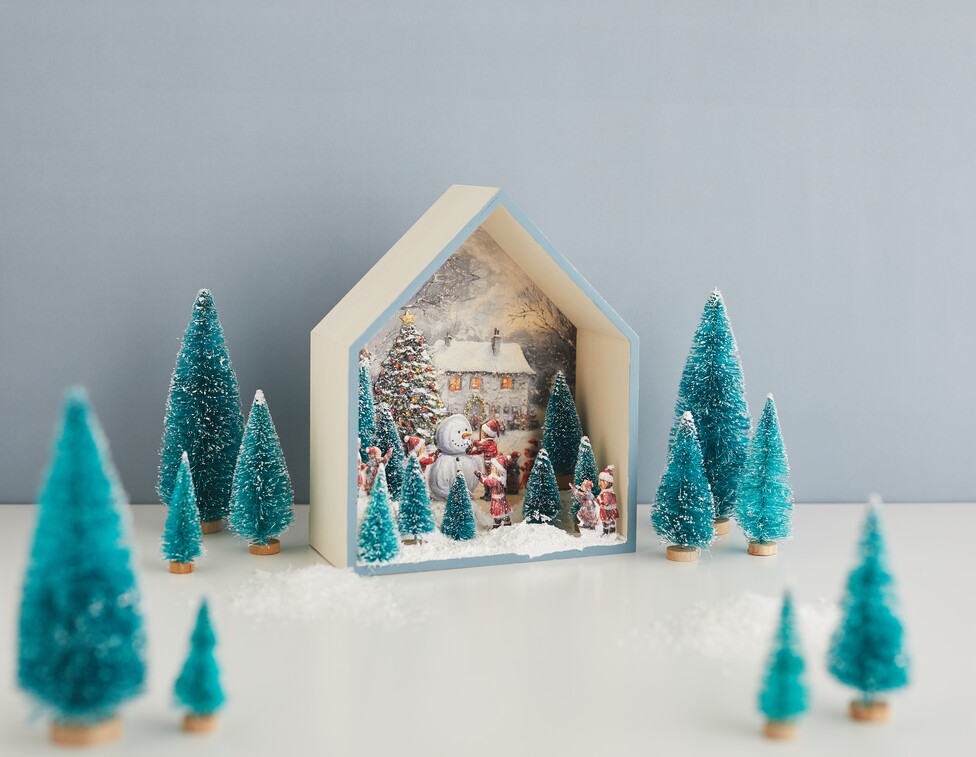
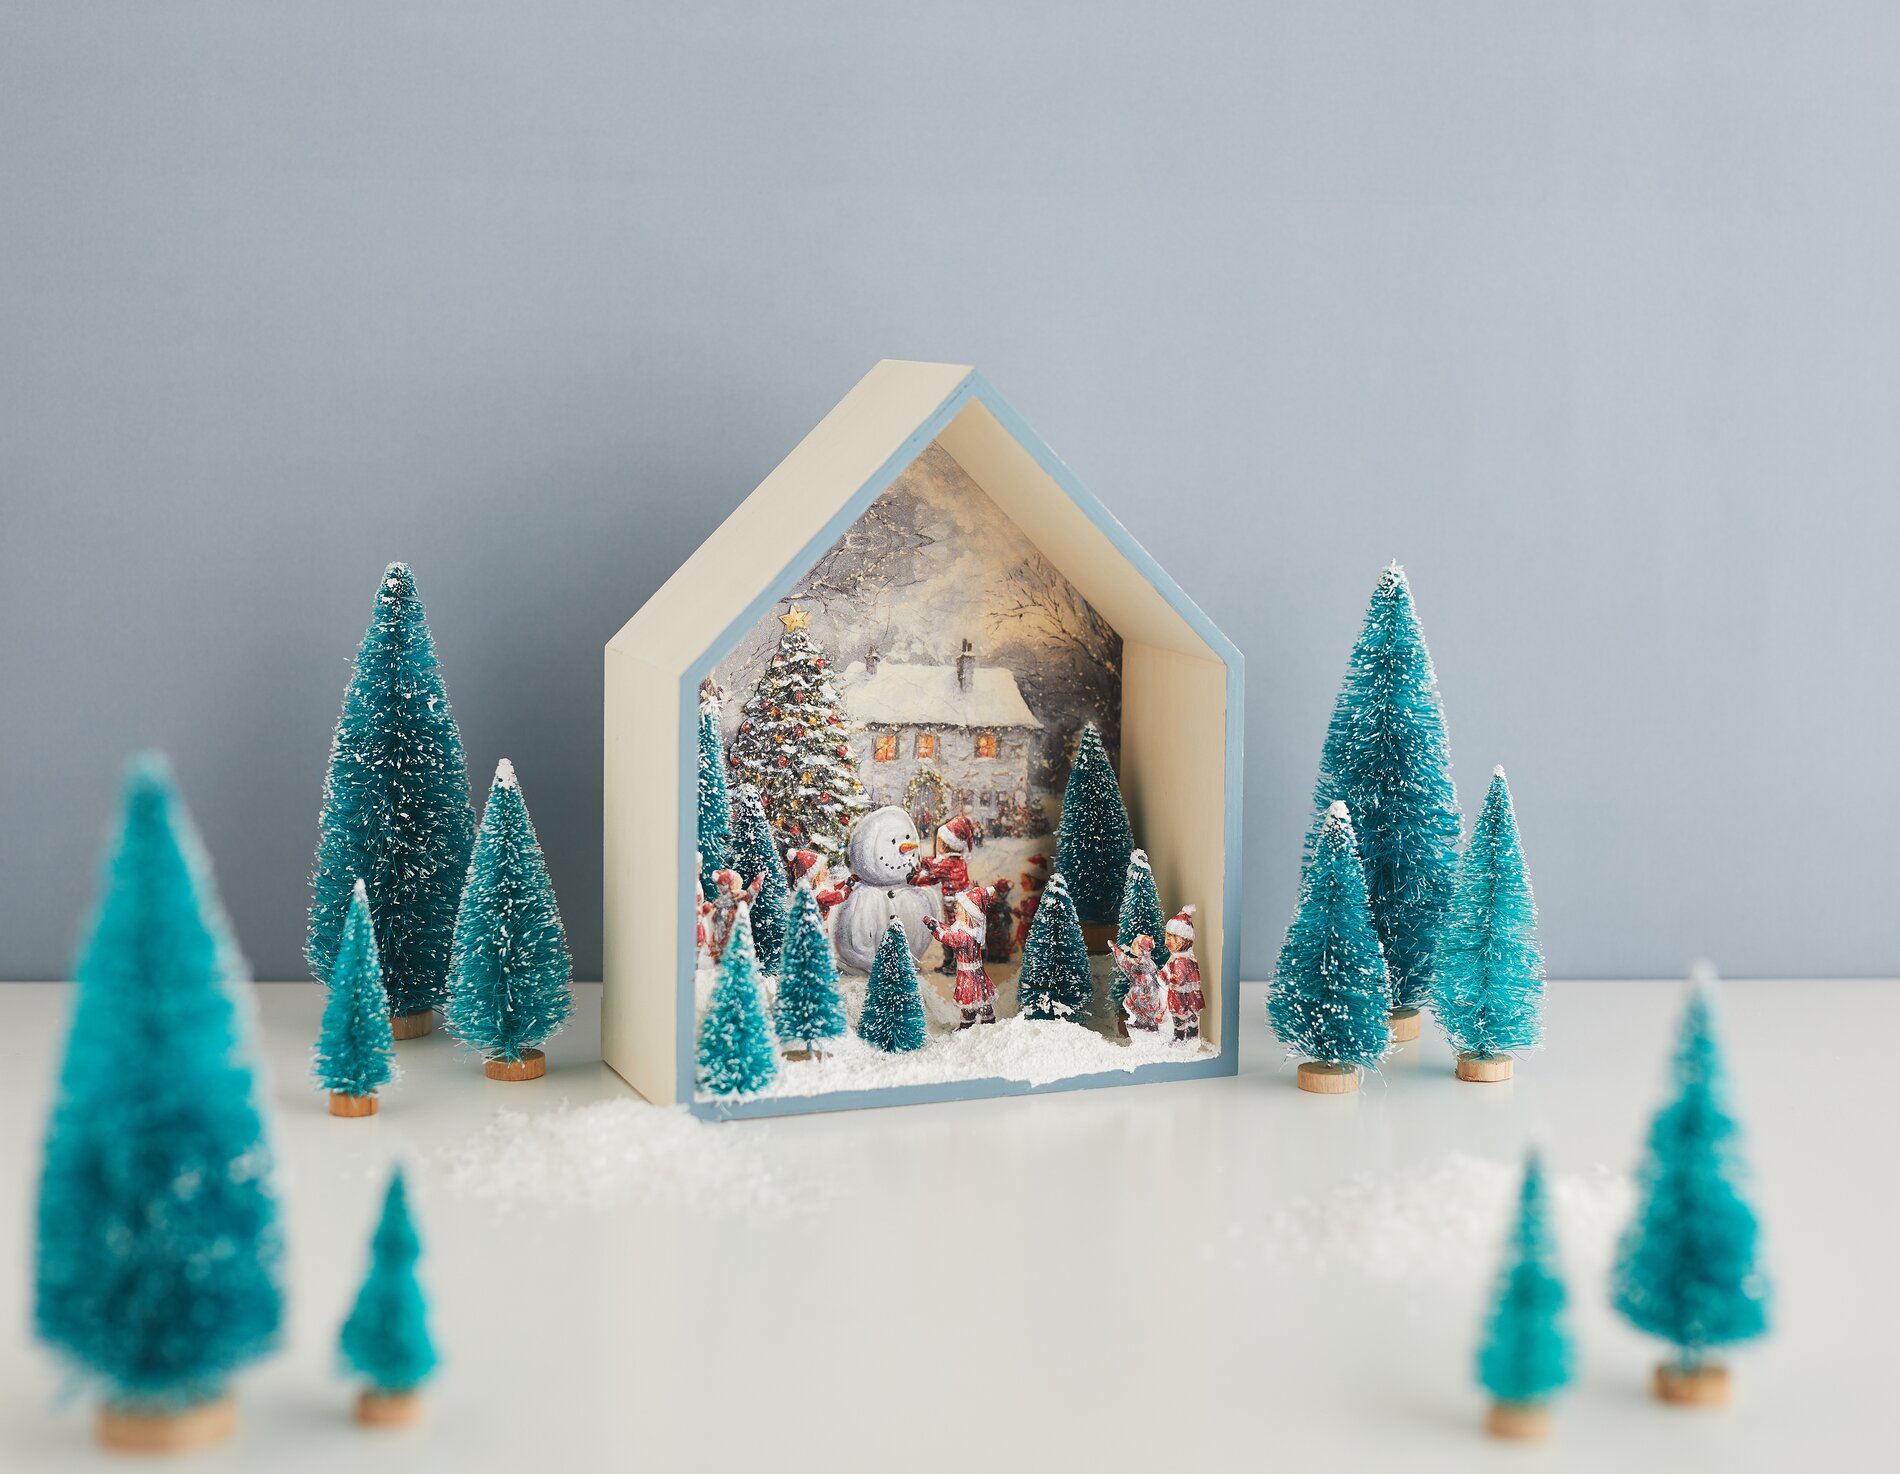
Your finished winter decorative house
After a few creative hours, you’ll have a decorative wooden shelf in a house design featuring wintery “ napkin technique, ” textured decorative snow and delicate 3-D details. If you’re interested in more designs, embossing foils, or accessories for your next winter decoration project, check out our online shop and put together a selection of materials that match your style.