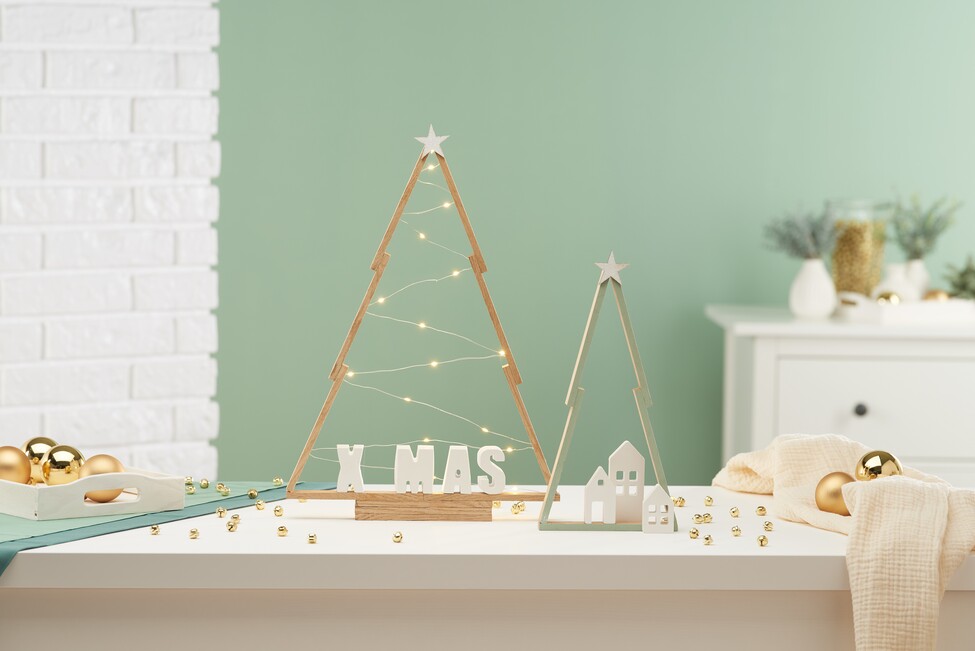
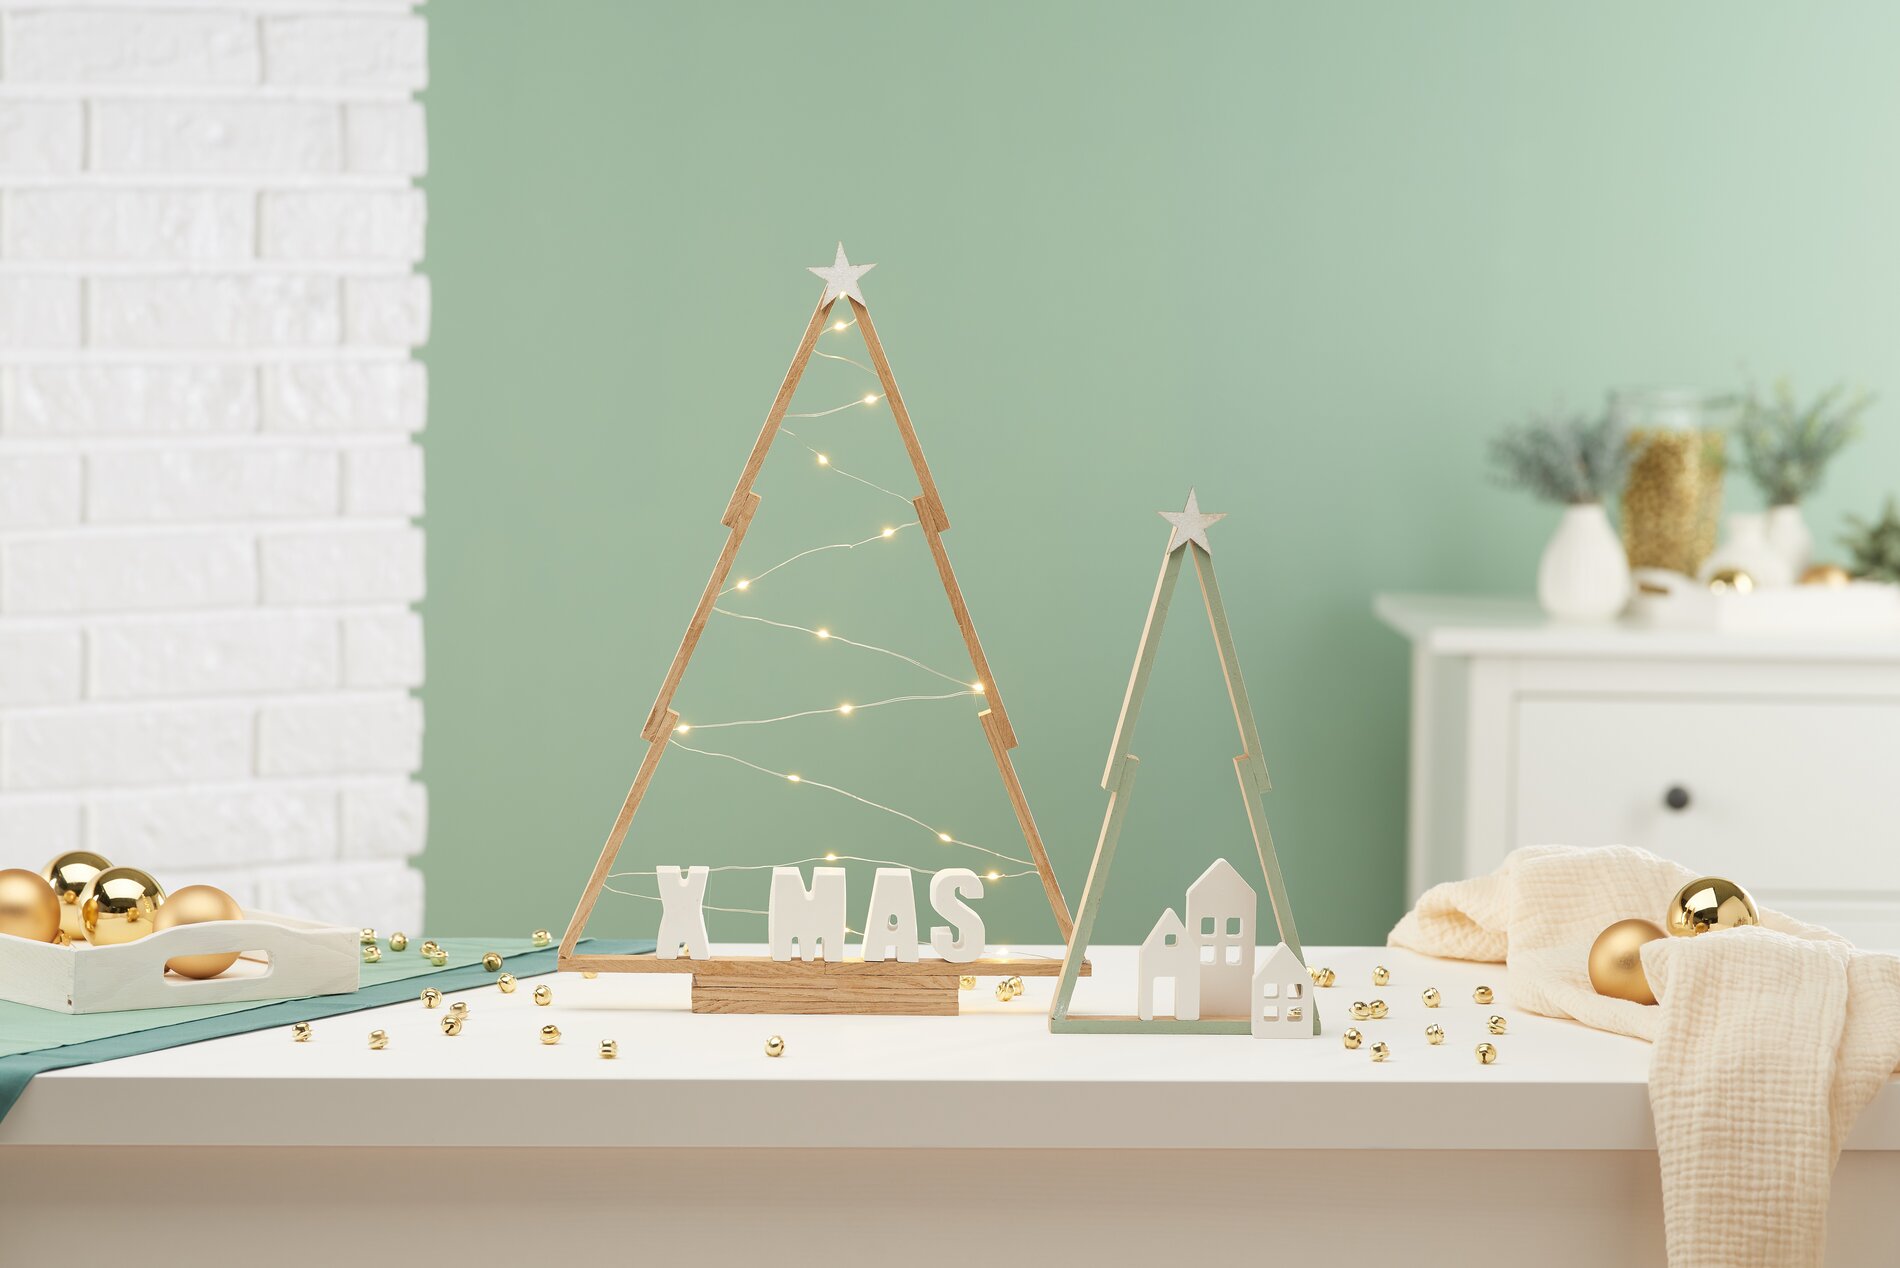
It's as simple as that:
Before you start, it's best to protect your workplace with a VBS handicraft mat.
For the large tree, glue two blocks together at the narrow edges with VBS handicraft glue together. Then take 3 blocks and glue them on top of each other, overlapping by 2 cm. Repeat this process with another 3 blocks. Once the glue has dried, glue the ends of the blocks with VBS handicraft glue and then glue the tree together. For the tree trunk, fix three blocks on top of each other. These are glued in the middle under the Christmas tree.
For the smaller Christmas tree, glue two blocks on top of each other with a 2 cm offset. Repeat this process with two more blocks. Take another block and glue handicraft glue. to the ends. Now position the two already glued blocks on the single block to create a fir tree shape. Apply some handicraft glue. to the top of the tree too
Once the trees have dried, fill the spaces between the blocks with more glue.
As soon as the trees are completely dry, they can be decorated as desired. A micro LED chain of light can be attached to the back of the large tree using hot glue. To do this, attach a magnet to the trunk to which the battery compartment of the chain of light is attached. It is not visible from the front and can be easily removed to change the battery.
To decorate the fir trees further, mix approx. 6 tablespoons of Raysin with water to form a creamy mixture and pour out the letters "X Mas". After half a hour you can remove the letters from the mold and smooth the edges with sandpaper . Glue these with VBS handicraft glue into the fir.
Finally, glue a star to the top of the tree. Paint the edges of the small fir with VBS handicraft paint pastel-Olive green. Once dry, glue a star to the top of the tree using handicraft glue , as you did with the large fir,.
Fill the "houses" mold with white creative casting slip (approx. 8 tablespoons). After half a hour the houses can be removed from the mold, sanded again and glued to the fir .

