- Secure order
- Easy return shipment
- Service-Hotline +32 50 89 35 27
Instructions No. 3452
Difficulty: Beginner
Working time: 2 Hours


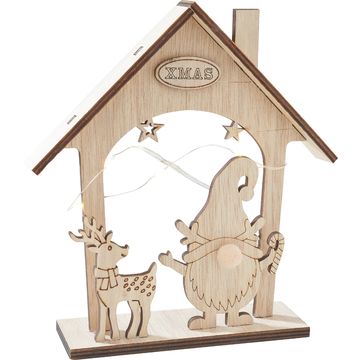
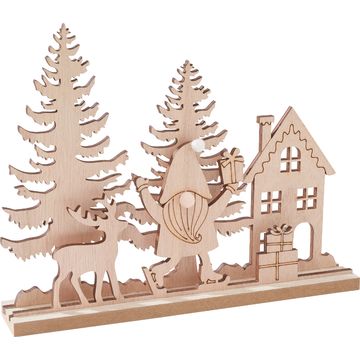
Assembling wooden plug-in motifs
The first step on your way to creating a dreamlike backdrop is to assemble the wooden plug-in motifs. Take each piece and put them together. Make sure that the joints are tight to ensure stability. If necessary, use some handicraft glue. This will give you the perfect base for your subsequent design.
Colorful design with handicraft paint
Now it's time to bring your work to life with color. Use handicraft paint in your preferred colors to give the motifs your individual touch. Whether you prefer a traditional winter landscape or a modern interpretation, the colors will make your creation shine.
Add magical lighting effects
To bathe your wooden motifs in a magical light, first cut the star foil to the right size. This foil is attached behind the houses to create the glowing effects. Use a hot glue gun to stick the cut star foil securely to the back of the houses. Be careful when using the hot glue gun as the glue can get very hot.
chain of light position cleverly
Now comes the crucial step to make your motifs glow: the chain of light. Attach them directly behind the star foils using the hot glue gun. Make sure to also run the chain of light along the back of the fir trees to achieve even illumination. The fir trees will be illuminated from behind, giving your creation a fascinating depth and shine.
Complete your unique light decoration
Congratulations, your magical winter wonderland is now complete! Not only have you created only a beautiful decorative element, but you can also be proud of the illuminated accents in your home.
If you are now inspired to get the materials for this magical project, take a look at our online store. There you'll find all the necessary craft paints, cut-out motifs and chains of lights and can get started right away. Have fun crafting and creating your very own winter wonderland!