- Gratis verzending vanaf 75 € binnen België
- Eenvoudige retourzending
- Telefoon +32 50 89 35 27
Instructies Nee. 3263
Moeilijkheidsgraad: Beginners
Werktijden: 1 uur
Stap 1: Voorbereiding voor perfecte randen
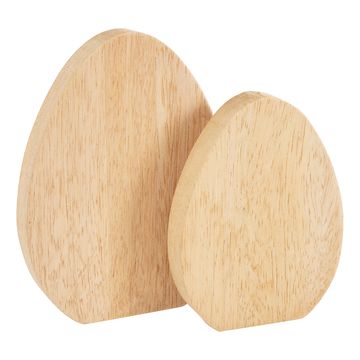
Om je houten eieren duidelijke en rechte gekleurde randen te geven, plak je de eieren voorzichtig af met crêpe-plakband . Zo voorkom je ongewenste kleuruitvloeiing en kun je je verheugen op een nauwkeurig resultaat.
Stap 2: Grondverf voor de eieren servettentechniek
Voor het ei dat je wilt versieren met de servettentechniek , zet je de onderkant in de grondverf met wit knutselverf. Deze grondverf zorgt ervoor dat de kleuren en patronen van je servet bijzonder helder naar voren komen. Laat de verf goed drogen voordat je verdergaat.
Stap 3: De stof voorbereiden servet
Knip een geschikt stuk van je favoriete servet en haal de bovenste bedrukte laag eraf. Je kunt dit gemakkelijk doen door een plakstrip halverwege de onderkant te plaatsen en deze er dan voorzichtig af te trekken om de onbedrukte lagen te verwijderen.
Stap 4: Aanbrengen van de servettentechniek
Smeer het voorbereide gebied van het ei dun in met servetlak, een speciale lijm- en afdichtingsoplossing die het gemakkelijker maakt om de servet te bevestigen. Leg de bedrukte servetlaag erop en strijk deze voorzichtig glad met meer servetlak . Druk niet te hard om te voorkomen dat de tere servet barst. Laat alles goed drogen.
Stap 5: Afwerken met glans
Om je kunstwerk een speciale glans te geven, bedek je de servet na het drogen met Fluid Gloss, een glanzende vernis. Laat weer goed drogen zodat het eindresultaat er stralend en professioneel uitziet.
Stap 6: Kleur het tweede ei
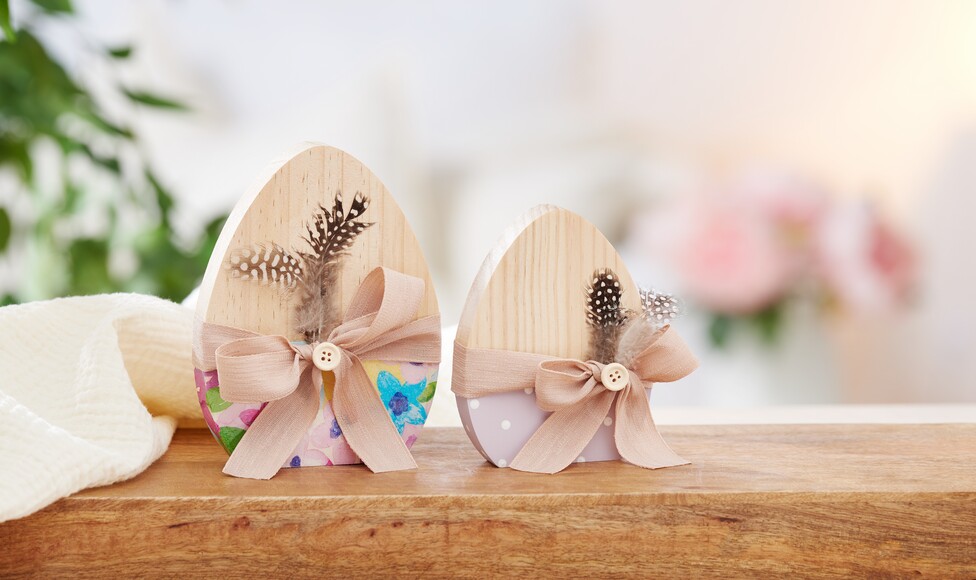
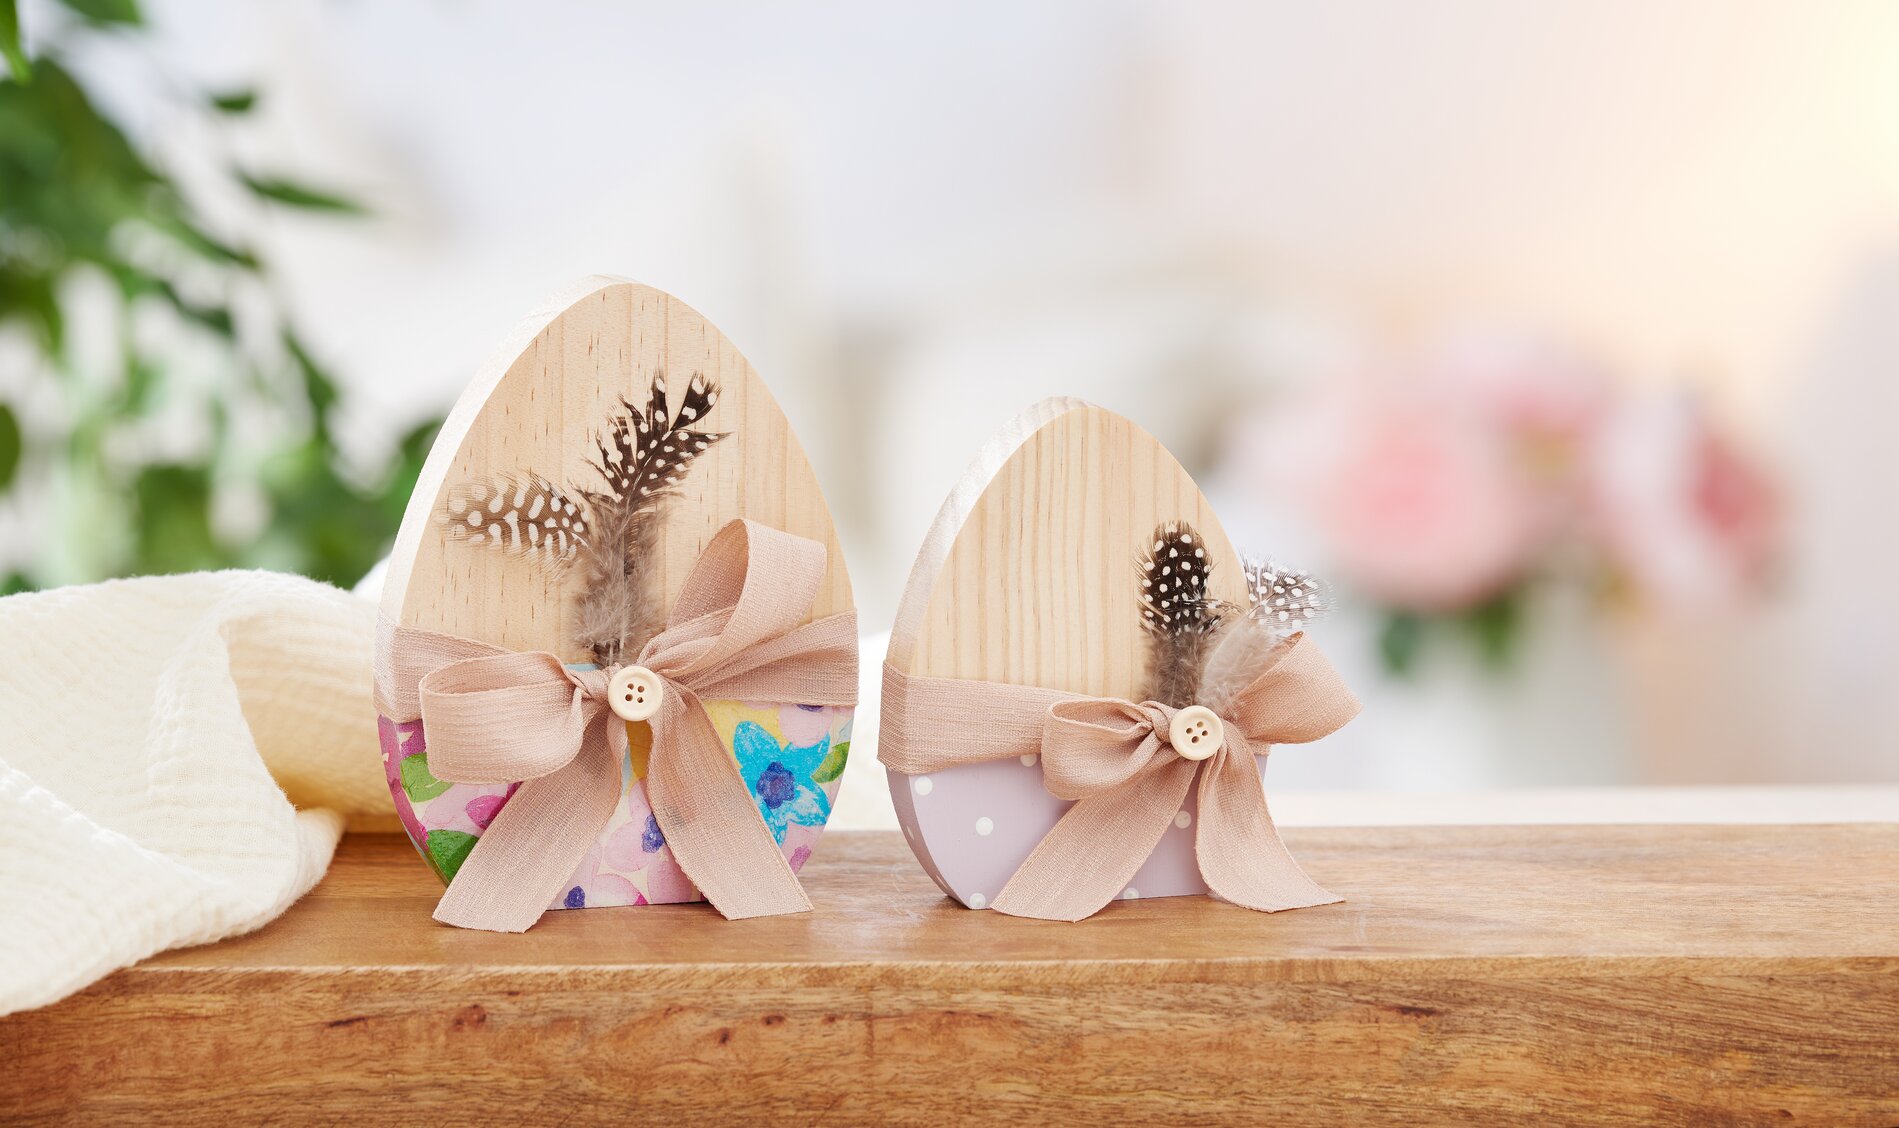
Verf het tweede ei met een kleur naar keuze knutselverf. Wij hebben gekozen voor de kleur "orchidee". Zodra de verf is opgedroogd, neem je een bamboeprikker en gebruik je deze om witte stippen te deppen voor een lenteachtig, speels ontwerp.
Stap 7: Voeg decoratieve accenten toe
Om de decoratie af te maken, bind je een mooi lint rond elk ei en maak je het vast met een strik. Plak voorzichtig een paar decoratieve veren achter de strik en zet ze vast met een druppeltje lijm. Tot slot bekroon je het midden van de strik met een charmante knoop voor een unieke blikvanger.