- Secure order
- Easy return shipment
- Service-Hotline +32 50 89 35 27
Instructions No. 3606
Difficulty: Beginner
Working time: 2 Hours
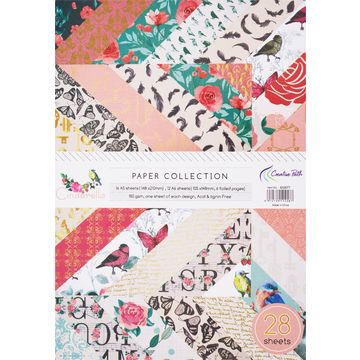
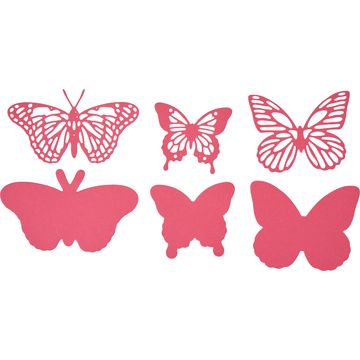
Start by punching your butterflies out of Paper using a punching machine and the appropriate punching template . A die-cutting machine is a helpful tool that applies pressure to cut out precise shapes from Paper . The punching template is the template for the butterfly shape. Experiment with different colors and patterns to give your wreath a lively look.
Connect the butterfly halvesNow that you have a variety of butterflies, take two parts of each butterfly and glue them together in the middle. This gives the butterflies a 3D effect that makes them look particularly lively. Use liquid glue and make sure to fix the center evenly - this will give your butterflies a realistic body.
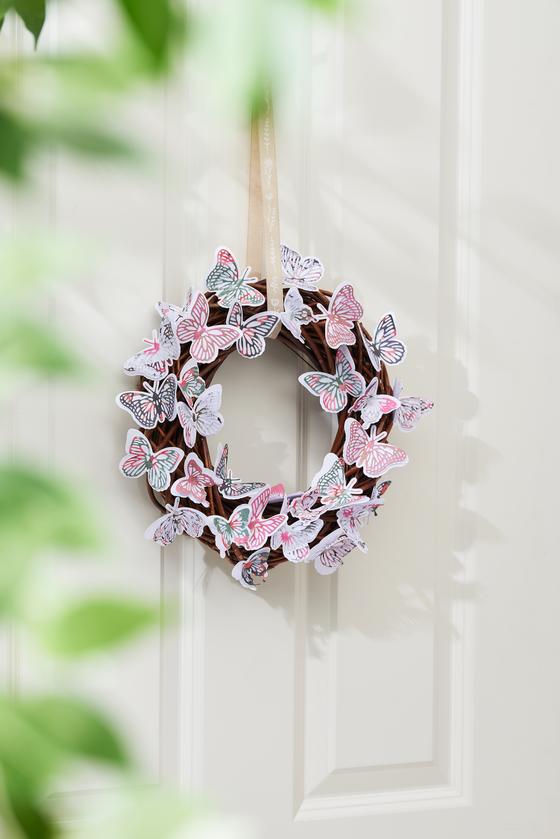
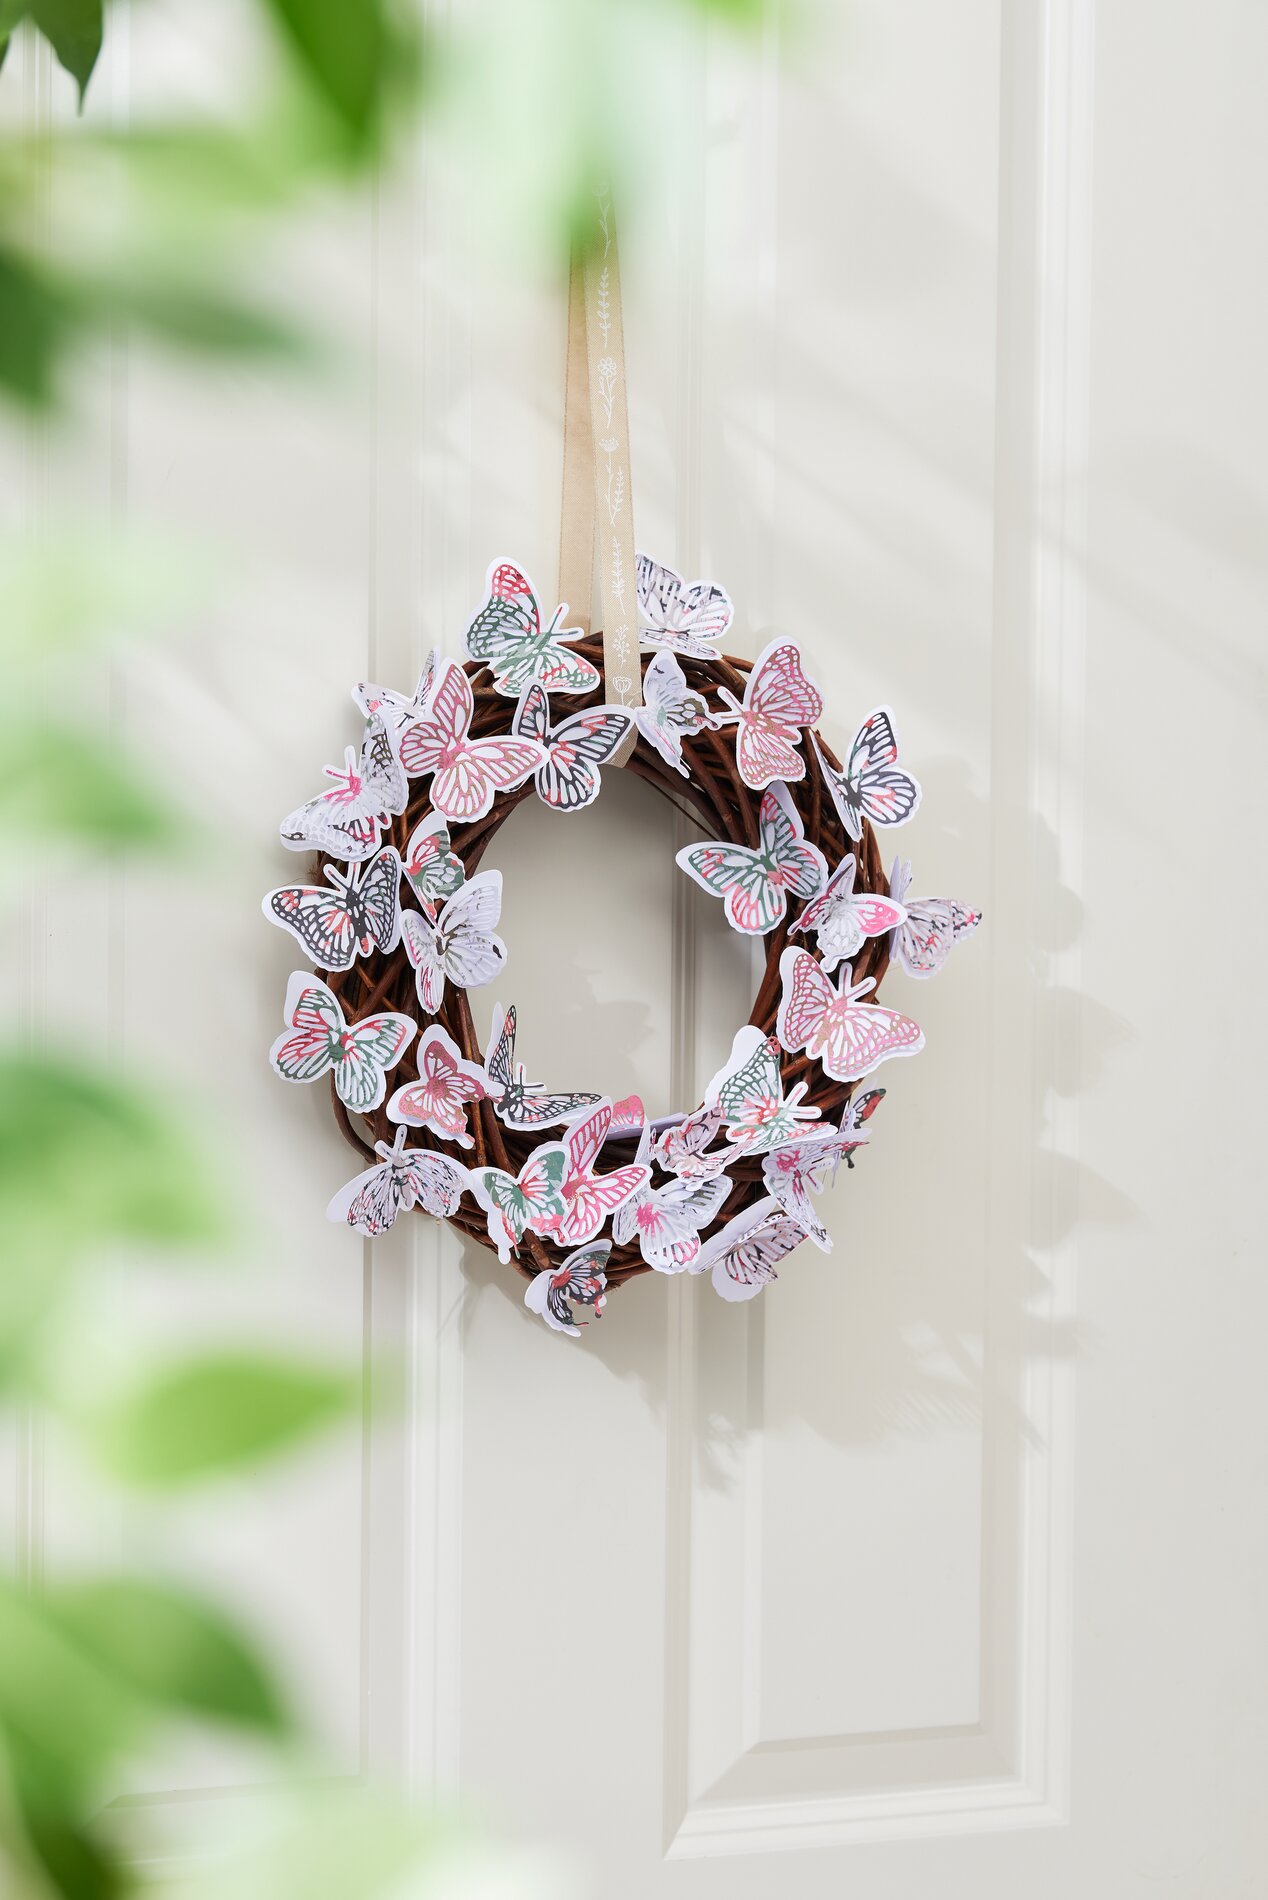
Attach the butterflies to the wreathGrab your prepared wreath to use as a base. Use hot glue to attach the butterflies to the wreath. Be careful as the hot glue gets very hot! Place the butterflies in such a way that they are evenly distributed but still appear random to create a natural look.
Your wreath is ready, admire your work of art!
Now you have created your own individual butterfly wreath. Hang it on a door, a wall or use it as a table decoration to add a touch of spring to any setting.
Get all the materials you need in our online shop
Fancy making this enchanting butterfly wreath yourself? Then take a look at the materials list right away! Here you will find the extensive Selection of craft materials you need for this project, including punching machine, punching templates and much more. Create your own little spring world and be inspired by our products. Start your crafting adventure now!