- Secure order
- Easy return shipment
- Service-Hotline +32 50 89 35 27


 Free shipping from 75 €*
 Delivered by DHL
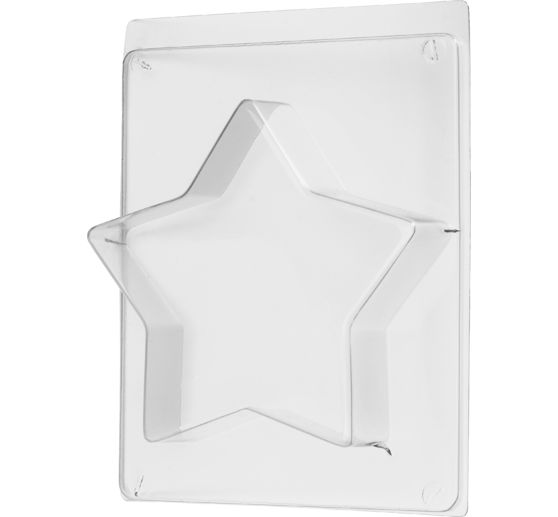
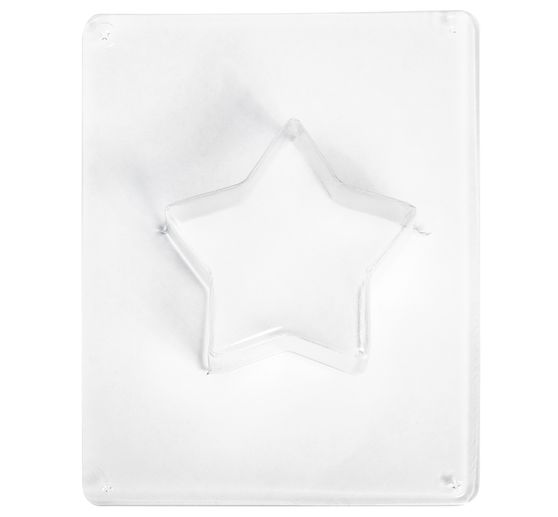
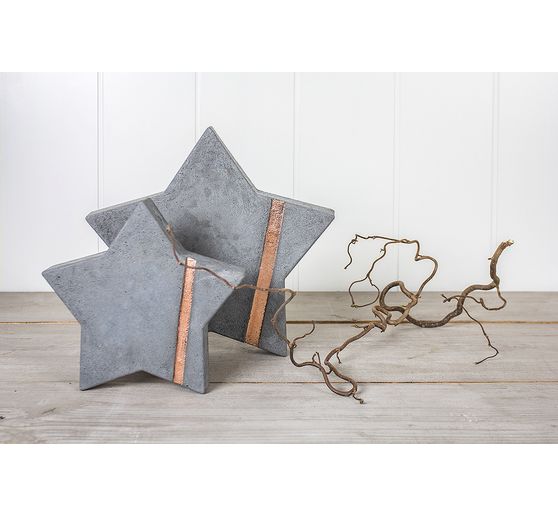
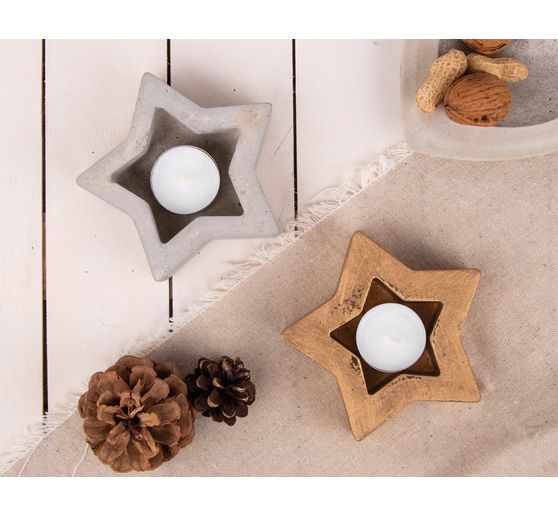
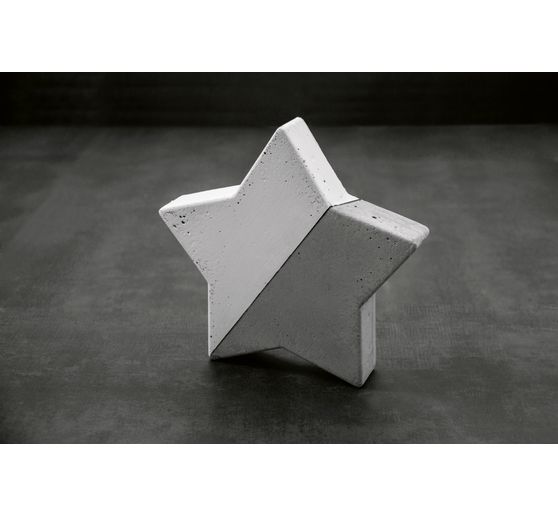
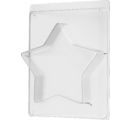
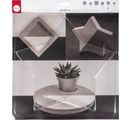
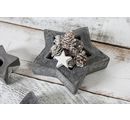
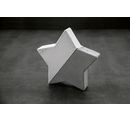
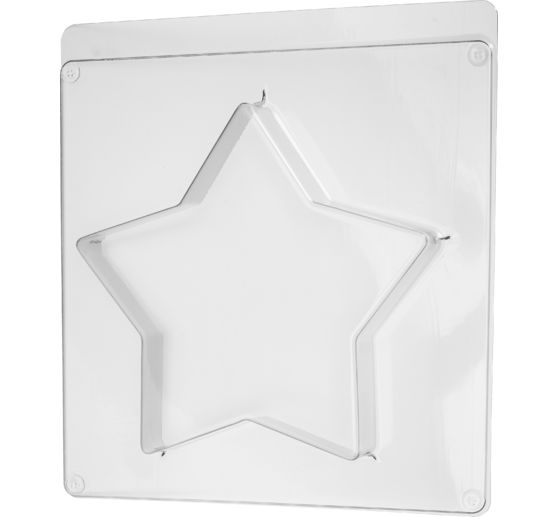
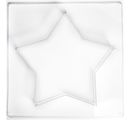
A great Casting mould "Star", which is especially suitable for pouring with Creative Concrete and Raysin. The mold is heat-resistant up to 60 °C and particularly stable as well as resilient.
And this is how easy it is to cast the star:
Lightly coat the mold with cooking oil beforehand
Do not pour the stirred creative casting slip completely to below the rim
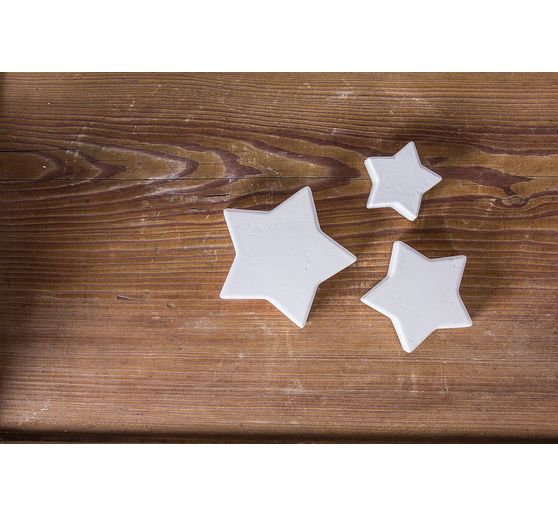
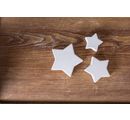
Allow to harden and, if necessary, when removing the mold, hold it under cold running water and tap it lightly on a firm surface.
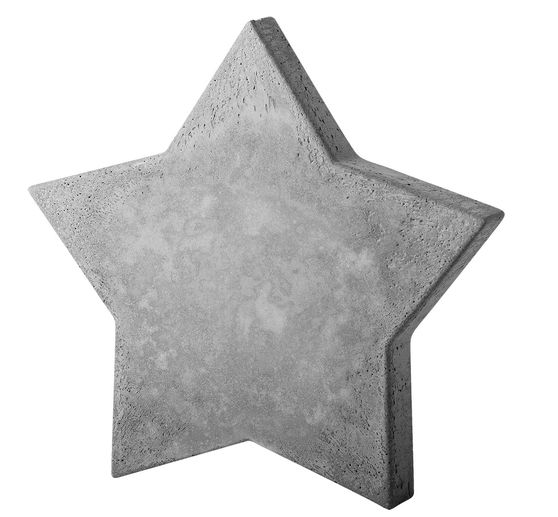
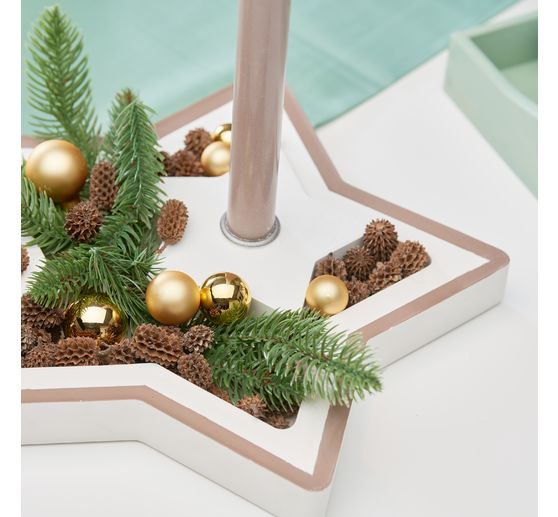
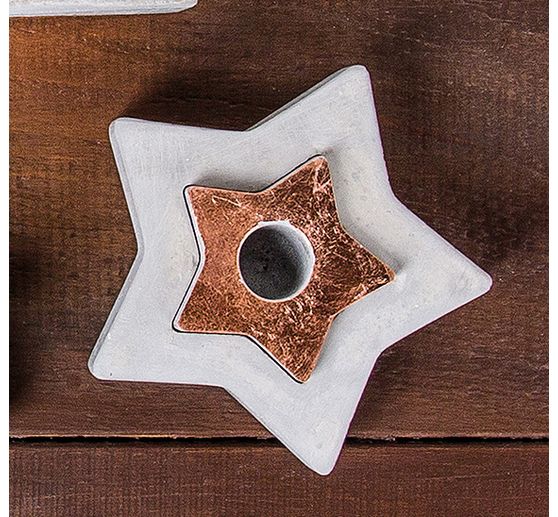
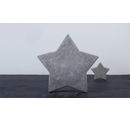
Use sandpaper to sand off uneven or sharp edges. Now still with craft colors, markers or even leaf metal give the star that certain something and ready is a great decoration option as a stand on the windowsill, dresser or even on a tray. Supplemented with decorative snow, scattered parts and a string of lights as well as other cast motifs, a classy winter decoration is created in no time.
Material requirements:
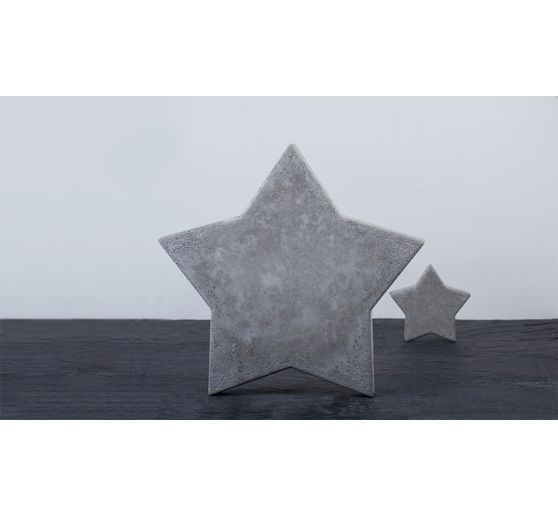
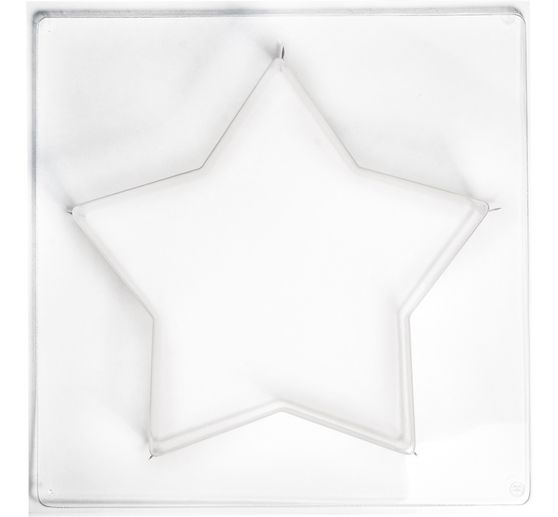
Ø 21.5 cm: max. 3300 g
Ø 28 cm: max. 1700 g
Tips to use:
Preparations:
Mix the desired casting compound according to the instructions. If you wish, you can color it with color pigment powder.
Application:
Slowly pour the mixed casting compound into the casting mould. Leave a rim of at least 2 mm free to make it easier to demould your casting later.
Gently tap the casting mould so that the mixture is evenly distributed and any air bubbles come to the surface. You can then prick these with a lace object.
Time to dry:
Allow the casting compound to harden well. Follow the drying times specified in the instructions for the casting compound.
Work to finish:
You can now demould your casting. If the casting does not come off simply by dropping it, you can carefully loosen the mould all around with your fingers and tap it against the mould.
Good to know:
For detailed moulds, we recommend using a mould release agent or release wax to protect the mould.


