Design a fabric bag with Cricut
Anleitung No. 2616
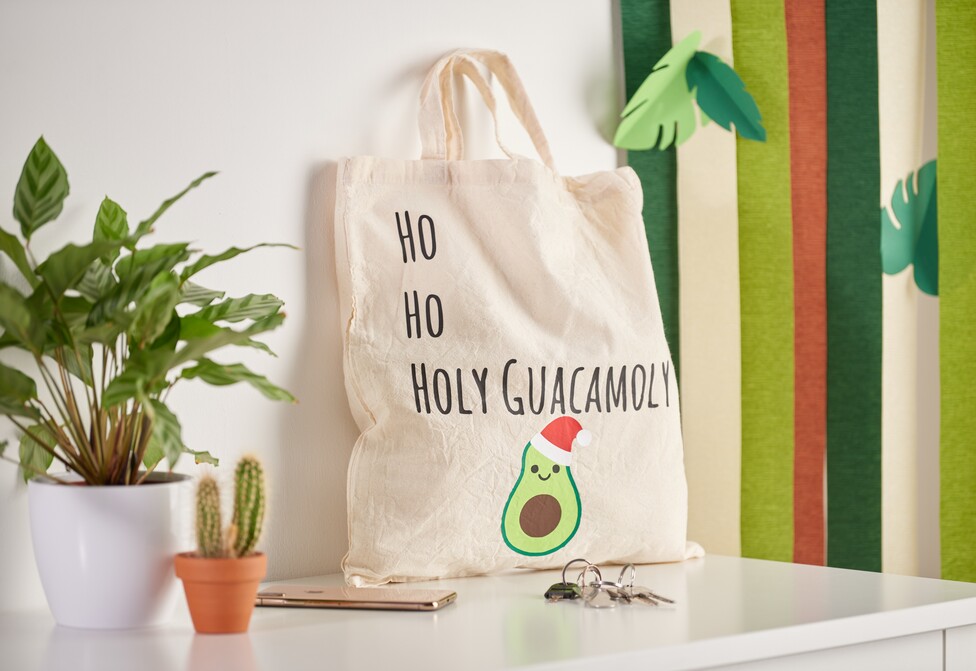
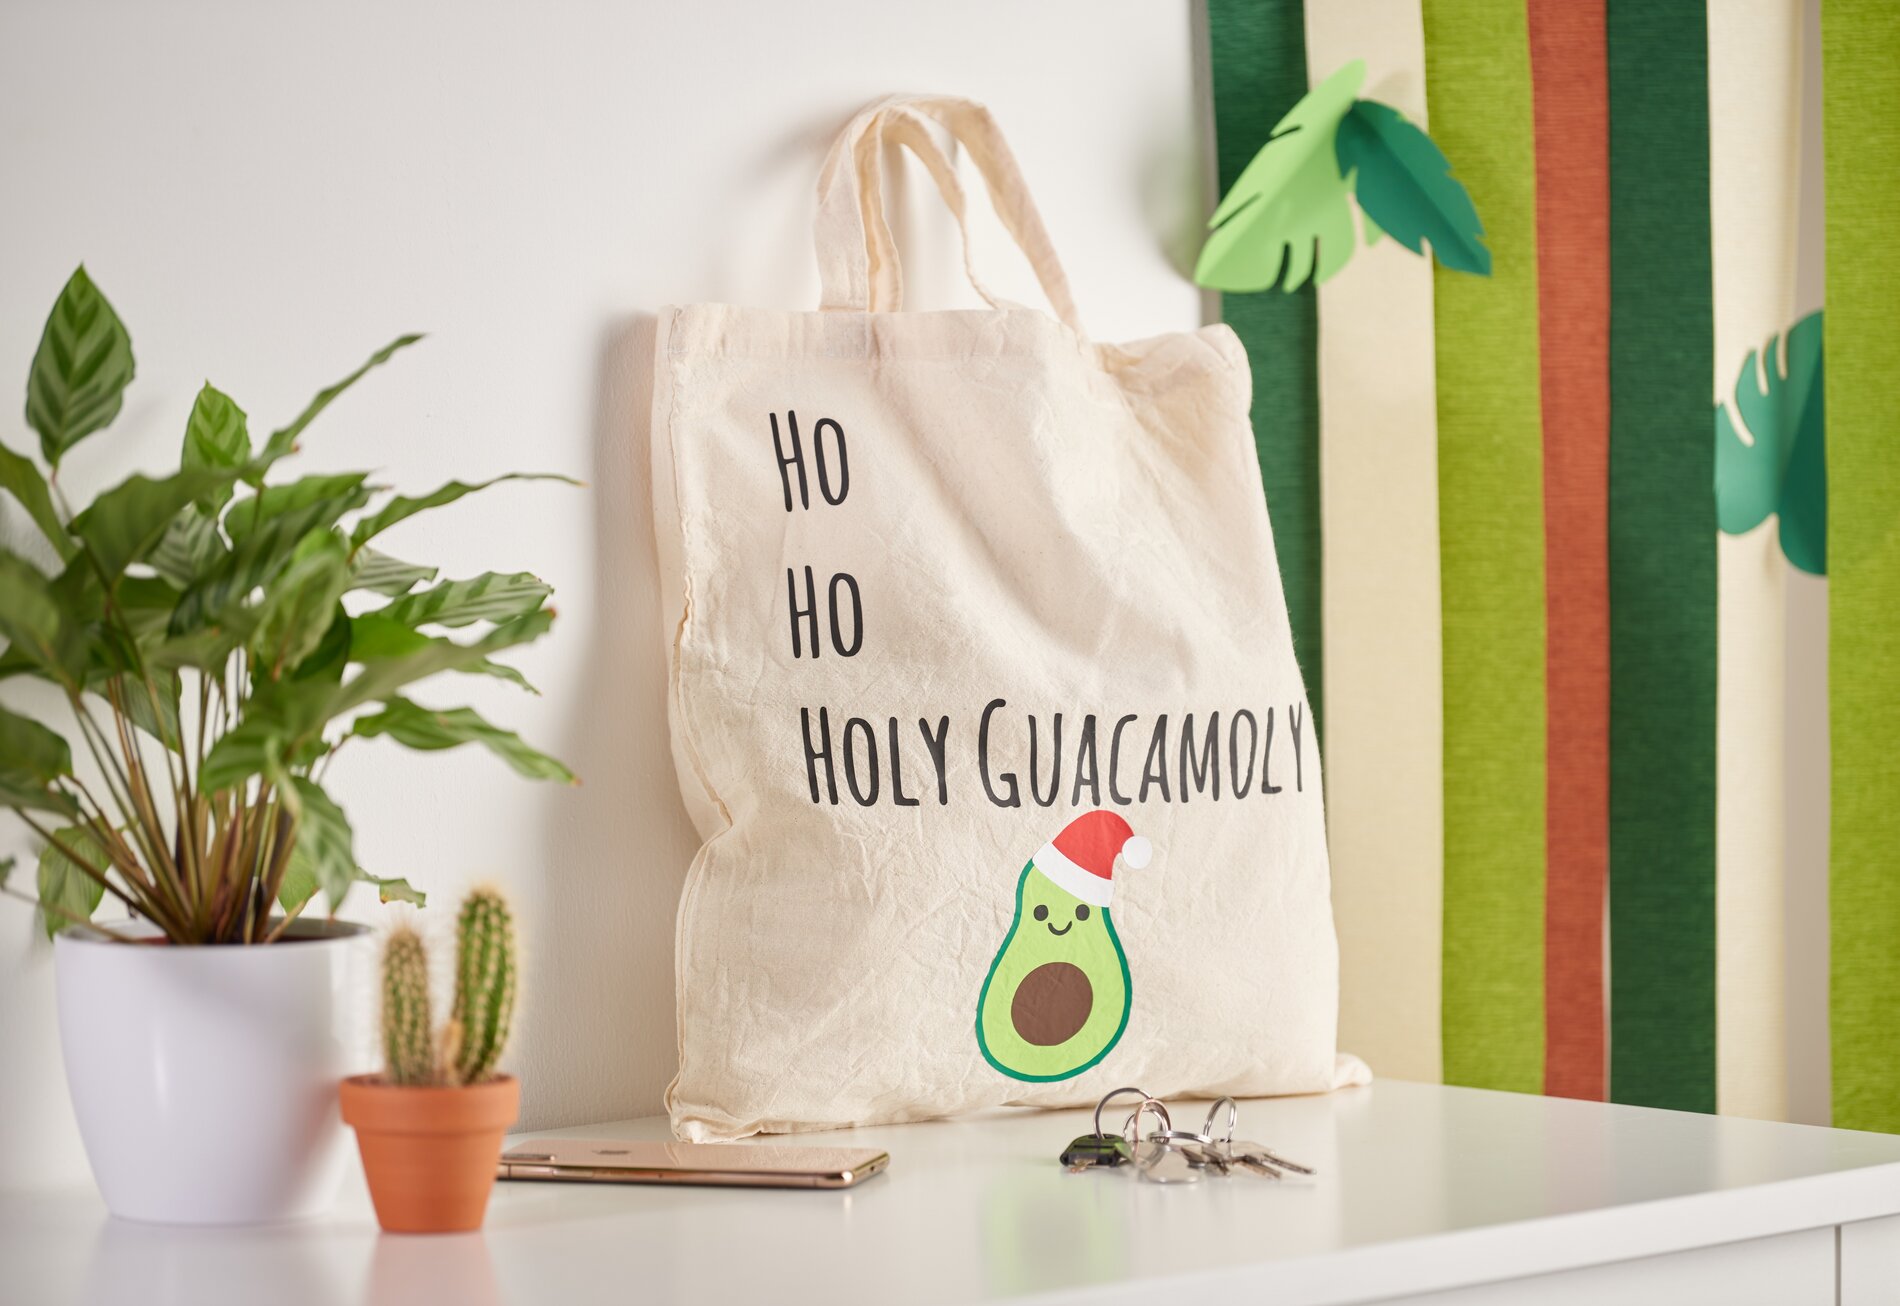
Become a textile designer and create a fun Christmas bag. Also great for gift wrapping. With the Cricut products and our free image template, this is very easy to implement. The Cricut Maker cuts out the motifs precisely and the self-adhesive foil makes it easy to design the bag.
This is how you design the bag:
Inserting and cropping a file
- First, please download our JPEG file.
- Open the Cricut Design Space app.
- Click on the three horizontal lines at the top left and go to "Workspace". Now you will see the working mat on your screen.
- Click on "Upload" on the left. Here go to "Upload image" and then to "Browse". Open the VBS JPEG file.
- Click on "Complex" under "Select image type" (to crop the motifs) and then on "Next" at the bottom right.
- Now click on all the white areas with the mouse to crop the motifs. Please also note the white areas in the letters!
- Click on "Apply and continue".
- Click on "Cut out image" under "Select upload type" and then on "Upload" at the bottom right.
- Now go to your file under "Last uploaded" and then click on "Add to canvas" in the bottom right-hand corner.
- Now you have the file with the cropped motifs on the workspace. Next we ungroup them.
Ungrouping
- Select the square under "Shapes" and slide it onto a motif of your choice.
- At the top of the bar, click on "Arrange" and "Into background". Enlarge or reduce the square so that your motif is in the square. To work more precisely on the bar, open the lock under "Size".
- Now mark the square and the motif (here it is normal that all motifs are marked at first). Right-click on "Crop".
- Now your first motif is ready. You can delete the square.
- Repeat this process for all other motifs.
Plotting
- First connect your machine.
- All motifs are listed on the right under layers. Here you can show or hide individual motifs by clicking on the eye. This is important if you want to work with different transparencies.
- Only show the motif(s) that you want to plot in the same colour.
- Now place your first foil on the mat with the glossy foil side (This is the iron-on side. The foil will be removed after ironing) facing down.
- Click on "Make" at the top right.
- Now go to the cutting mat. Select the size of mat you are using and click continue.
- Your design will be displayed on the mat. Important: Fonts or special motifs must be mirrored, as we plot the reverse side of iron-on foils! For this reason, click on "Mirror" on the left if necessary, your motif/text will now be displayed mirrored. Now click on "continue".
- Select the correct material - e.g. Smart Iron-On.
- Now follow the instructions. The mat is pulled in and the plotting process starts.
- Repeat this process for all other designs.
Finish the pocket
- Cut out the motif with a sharp edge. First remove the foil around it so that only the motif is on the transparent foil. Repeat the process for all motifs.
- Now place all the motifs on your bag one by one and iron them on.
- Remove the foil and you are done.