Create plotter files
Open Cricut Design Space Start by opening Cricut Design Space and selecting the workspace. This is your creative canvas where the magic begins.
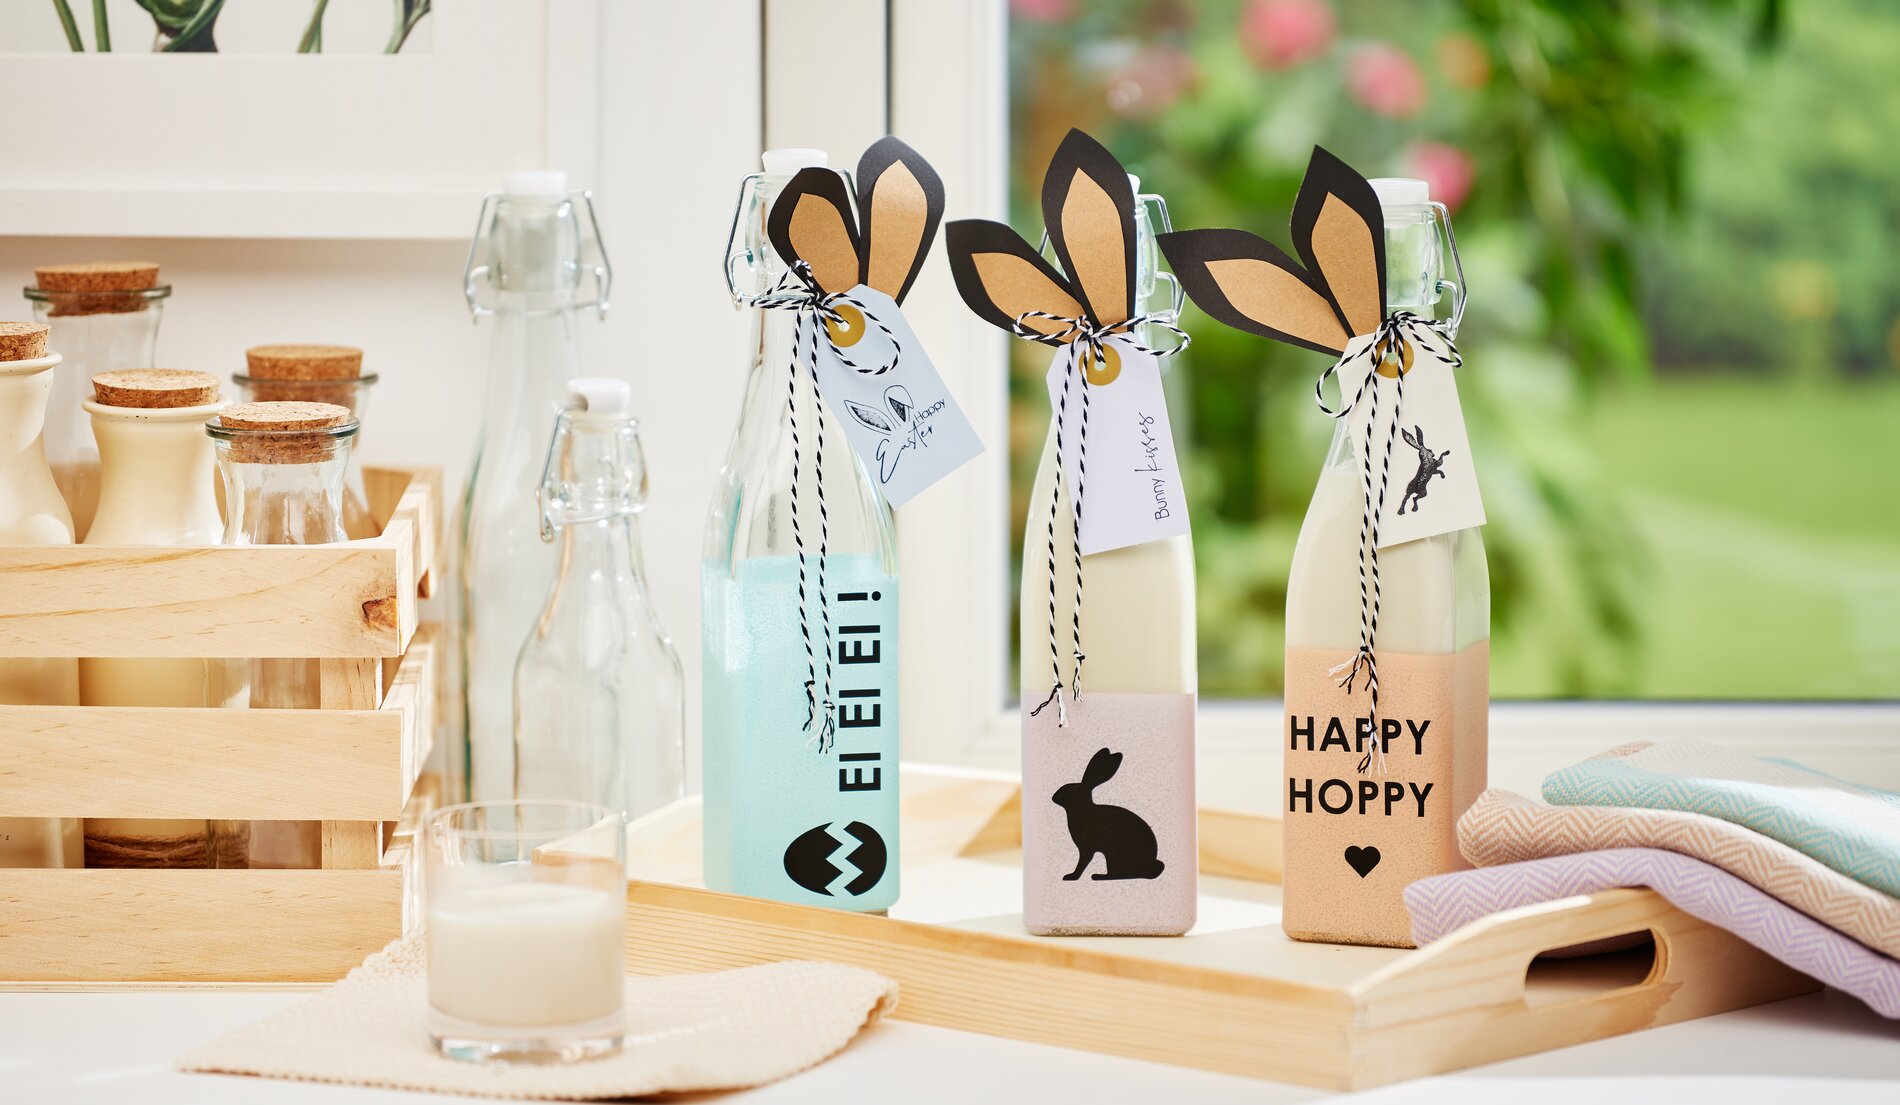
Design files In the workspace, you can choose from a variety of designs under "Shapes". For an Easter flair, I opted for a bunny, a heart and an egg. Under "Text", you can add a personal message to complete your designs.
Set the motif size To make sure your design fits perfectly on the bottle, measure the area you want to cover. Adjust the size of your motifs according to your measurements. Once all shapes and texts are ready, select them and click on "Connect" at the bottom right to group them for plotting.
Plotting Go to "Produce" to start the plotting process. Follow the plotter instructions exactly. If your design is small, you can alternatively use the Cricut Joy, a compact plotter ideal for smaller designs.
Prepare the foil Once the plotter has done its job, remove the excess film around your designs. Stick the transparent backing film onto your designs and lift them off the cutting mat with the film.
Painting and decorating bottles
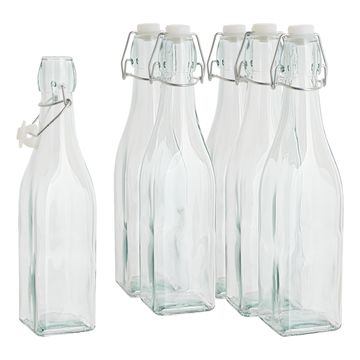
Masking and painting bottles Tape the bottles with crepe-adhesive tape to create clean edges. Use a dabbing brush to dab on the handicraft paint . To speed up the process, you can dry the paint with a hairdryer. Then carefully remove the masking tape.
Apply the motifs Now apply the plotted motifs to the dried bottles. Position them as desired on the bottle to create a harmonious look.
Add additional decoration
Stamping tags and attaching ears Stamp the tags as you wish. transfer the stencil for the ears to cardboard, cut them out and glue them together. Attach the finished ears to the back of the tags.
cord and tie a bow Measure about 80 cm per bottle from the cord . Tie the cord to the tag and attach it to the back of the bottle. Bring the ends to the front and tie a decorative bow. Tie a knot at the ends and curl the hanging piece for a playful finish.
And voilà, you now have a beautiful, self-designed Easter glass bottle! This DIY-Project is not only only fun for creative minds, but also a wonderful way to add a personal touch to your Easter decorations. For all the materials you need, visit our online store and be inspired by our extensive range. Start your creative adventure today and bring Easter joy into your home!