- Secure order
- Easy return shipment
- Service-Hotline +32 50 89 35 27
Instructions No. 3402
Difficulty: Beginner
Working time: 1 hour
The cold season invites us to make ourselves comfortable within our own four walls. And what could help better than atmospheric light decorations? In this guide, I'll show you how to create an enchanting, illuminated winter landscape with simple means. This will not only only wrap your home in a cozy atmosphere, but is also the perfect DIY-Project for the winter and Christmas season.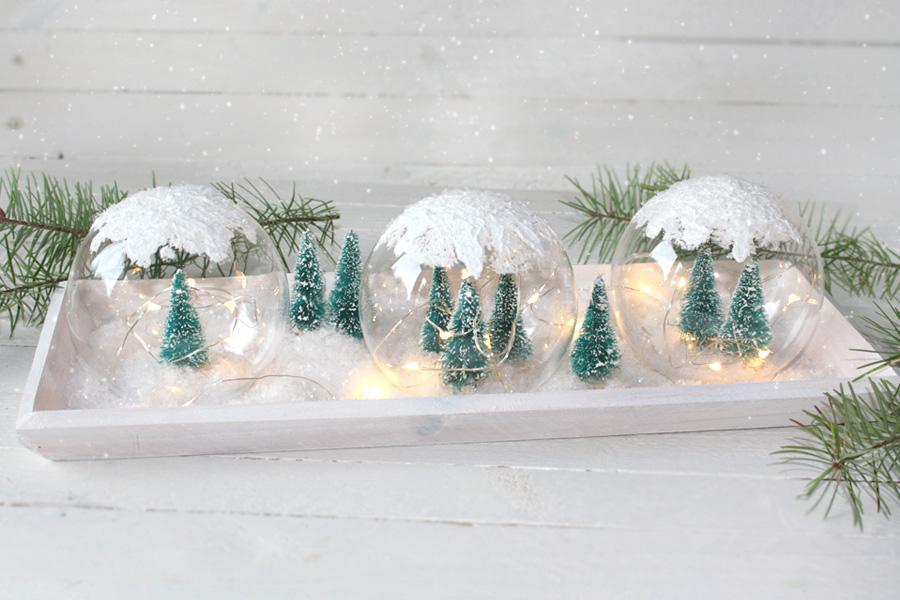
Mini winter wonderland - step-by-step instructions
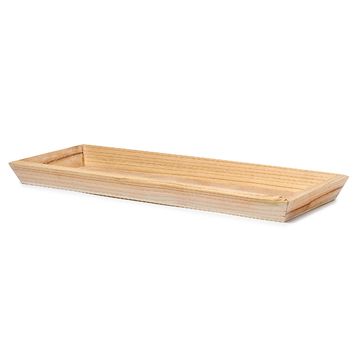
Step 1: Prepare the jars and tray
Start by priming the tray in white. If you don't like white, you can also paint it a different color or even leave it in its natural look. Apply the decorative snow liner to the top of the glass balls to create the effect of freshly fallen snow. Sprinkle some diamond-snow on top and let everything dry well.

Step 2: Decorate the tray
Now it's time to decorate the tray. Stick the miniature Christmas trees onto the tray as desired. To find the optimal Position first place the glass balls for orientation and mark the areas with a pencil. You can stick the trees in the marked areas. Fill the tray with diamond-snow to create an uneven, natural snowy landscape.

Step 3: Finish the light decoration
Now comes the light magic. think about how you want to arrange the chain of light . You can place the lights either under the baubles or next to them. Shape the wire so that the lights remain in Position or fix them with glue if necessary. Once you have found the perfect arrangement, place your masterpiece in a beautiful spot and enjoy the atmospheric light.

I hope you have lots of fun making and decorating your own little winter wonderland. And if you don't have all the materials yet, take a look at our materials list or the online store. There you will find everything you need for your DIY-Project. Let your creativity run wild and create a cozy atmosphere in your home!