1. Dozen maken
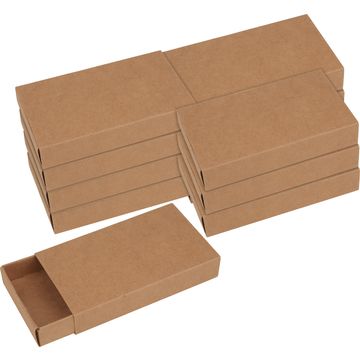
Eerst maak je de dozen van de VBS Sjabloonset om de diamant-dozen te maken. Volg de instructies op de verpakking van de set. Als alle doosjes gevormd zijn, kun je met een perforator een gaatje in het deksel maken en er een mooie lint doorheen rijgen. De lint kun je later gebruiken om de doosjes op te hangen.
2. De dozen vullen
Vul elke doos met kleine verrassingen. Dit kan chocolade, speelgoed zijn of een persoonlijke boodschap - laat je fantasie de vrije loop!
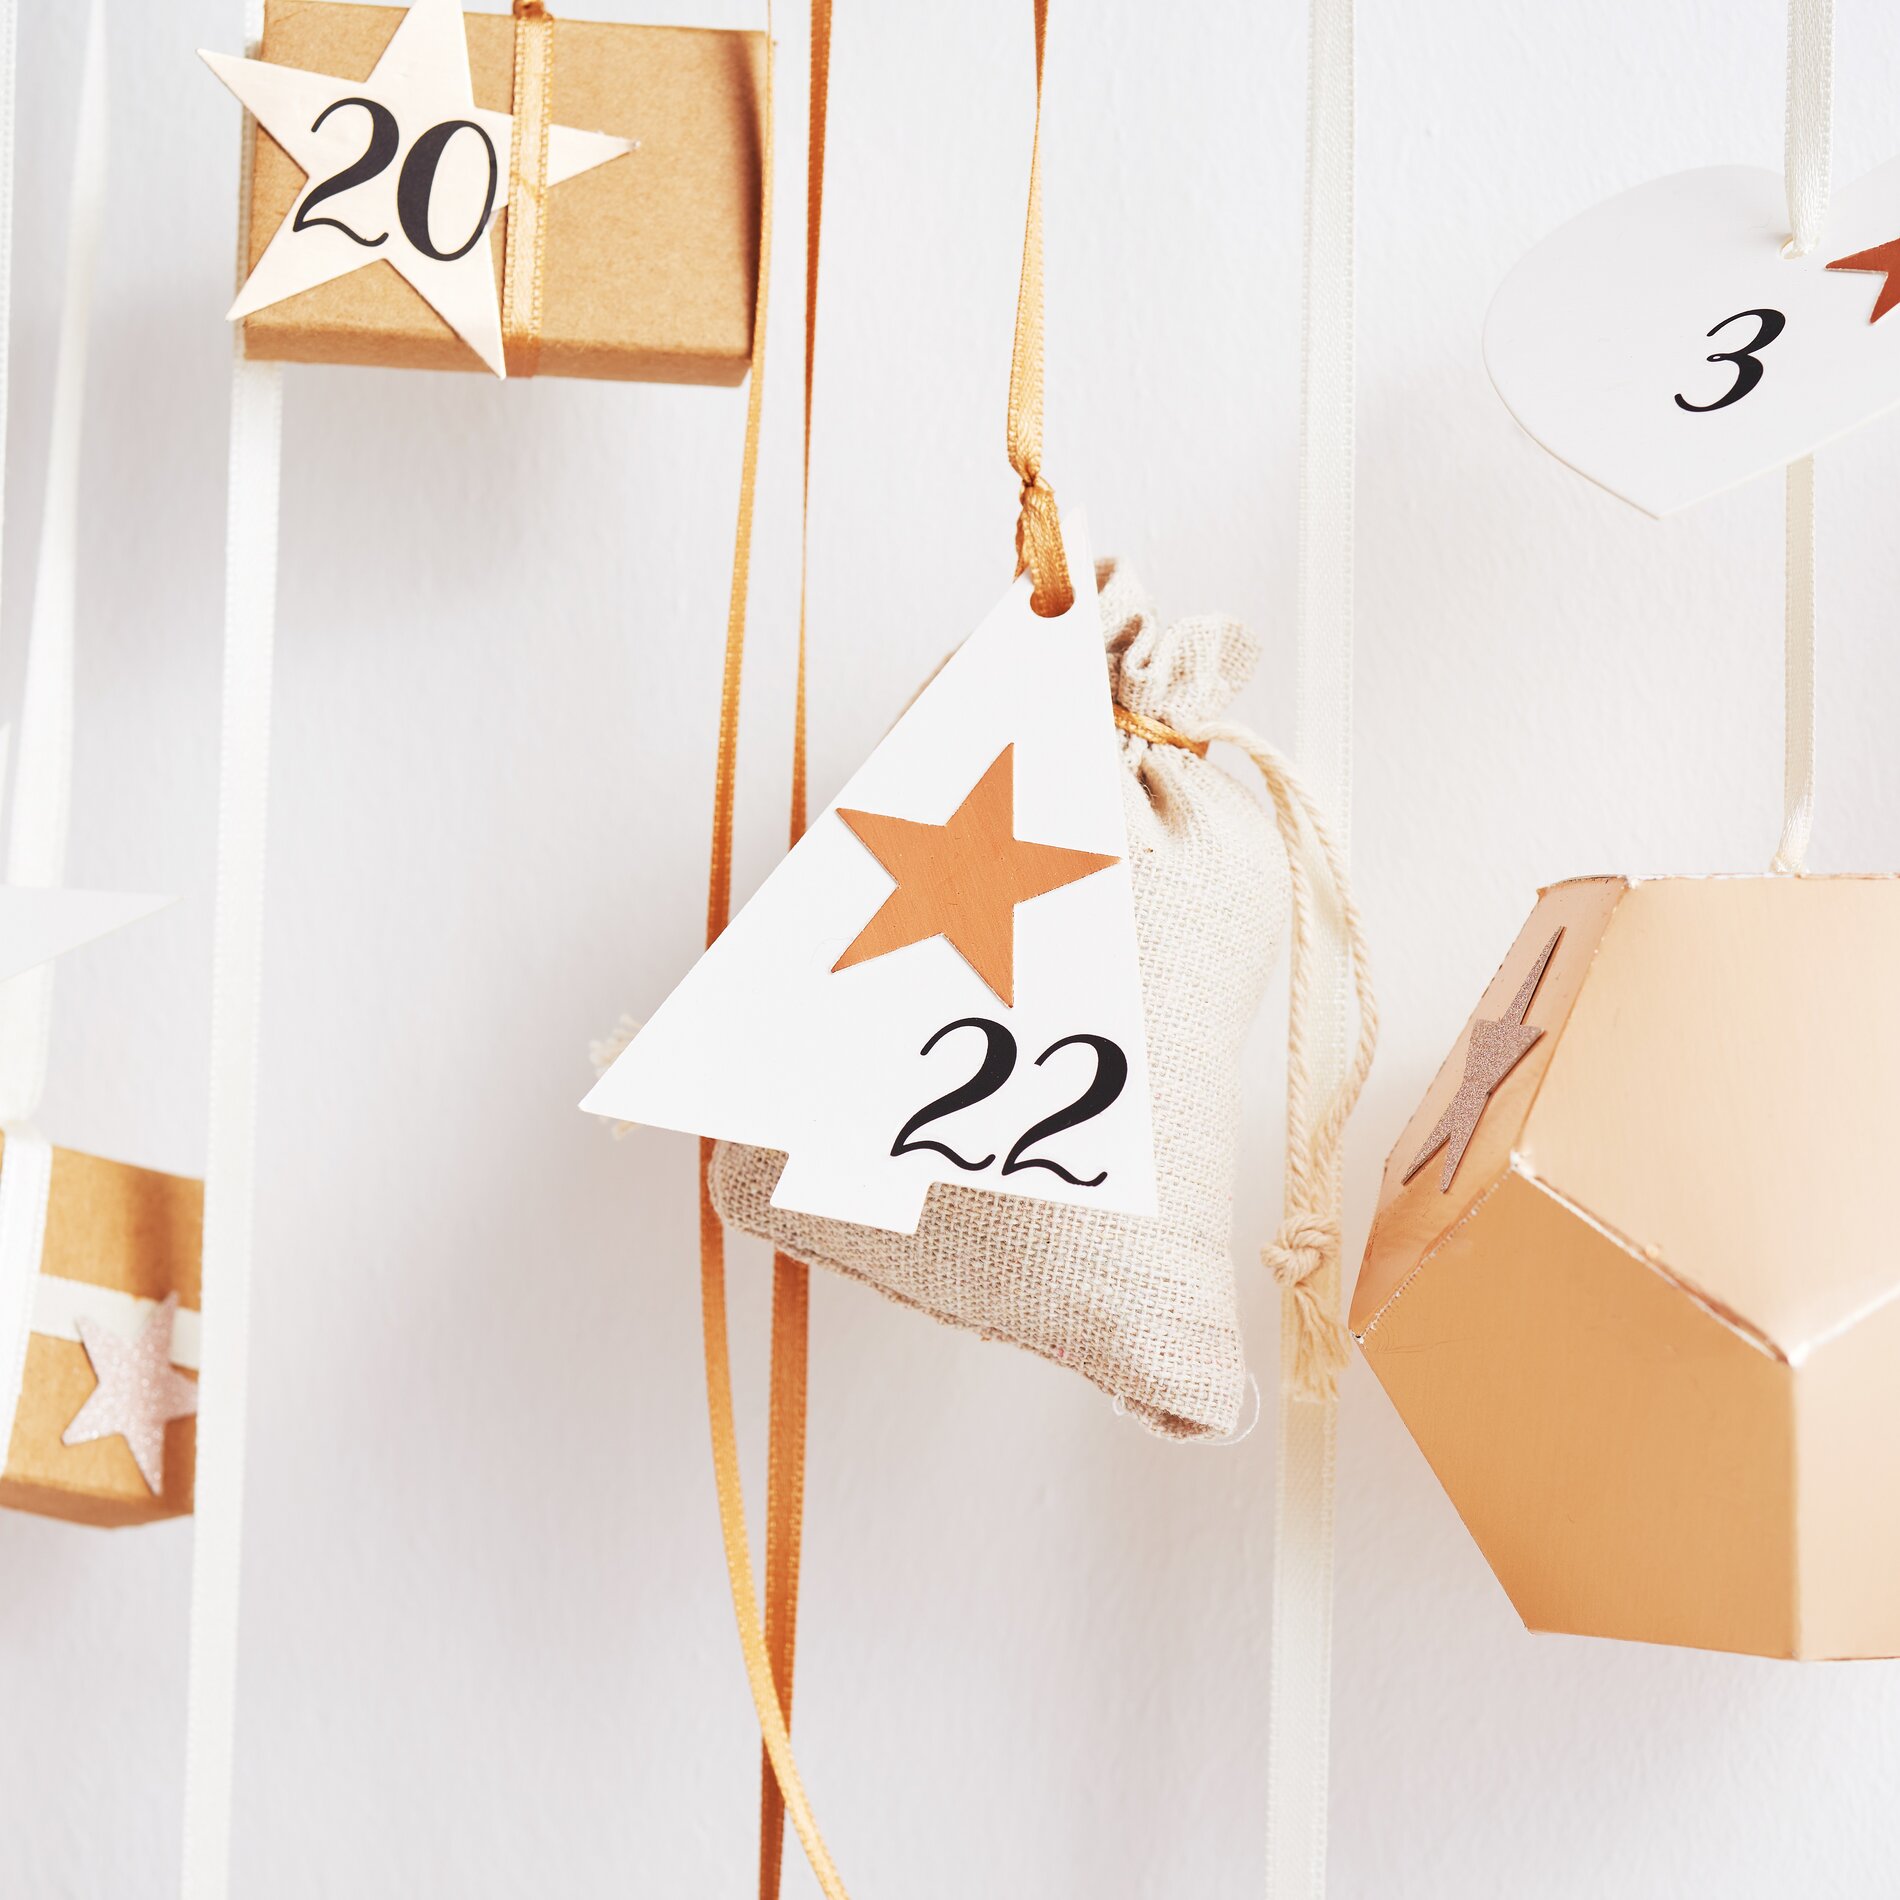
3. Gebruik de krasstickers
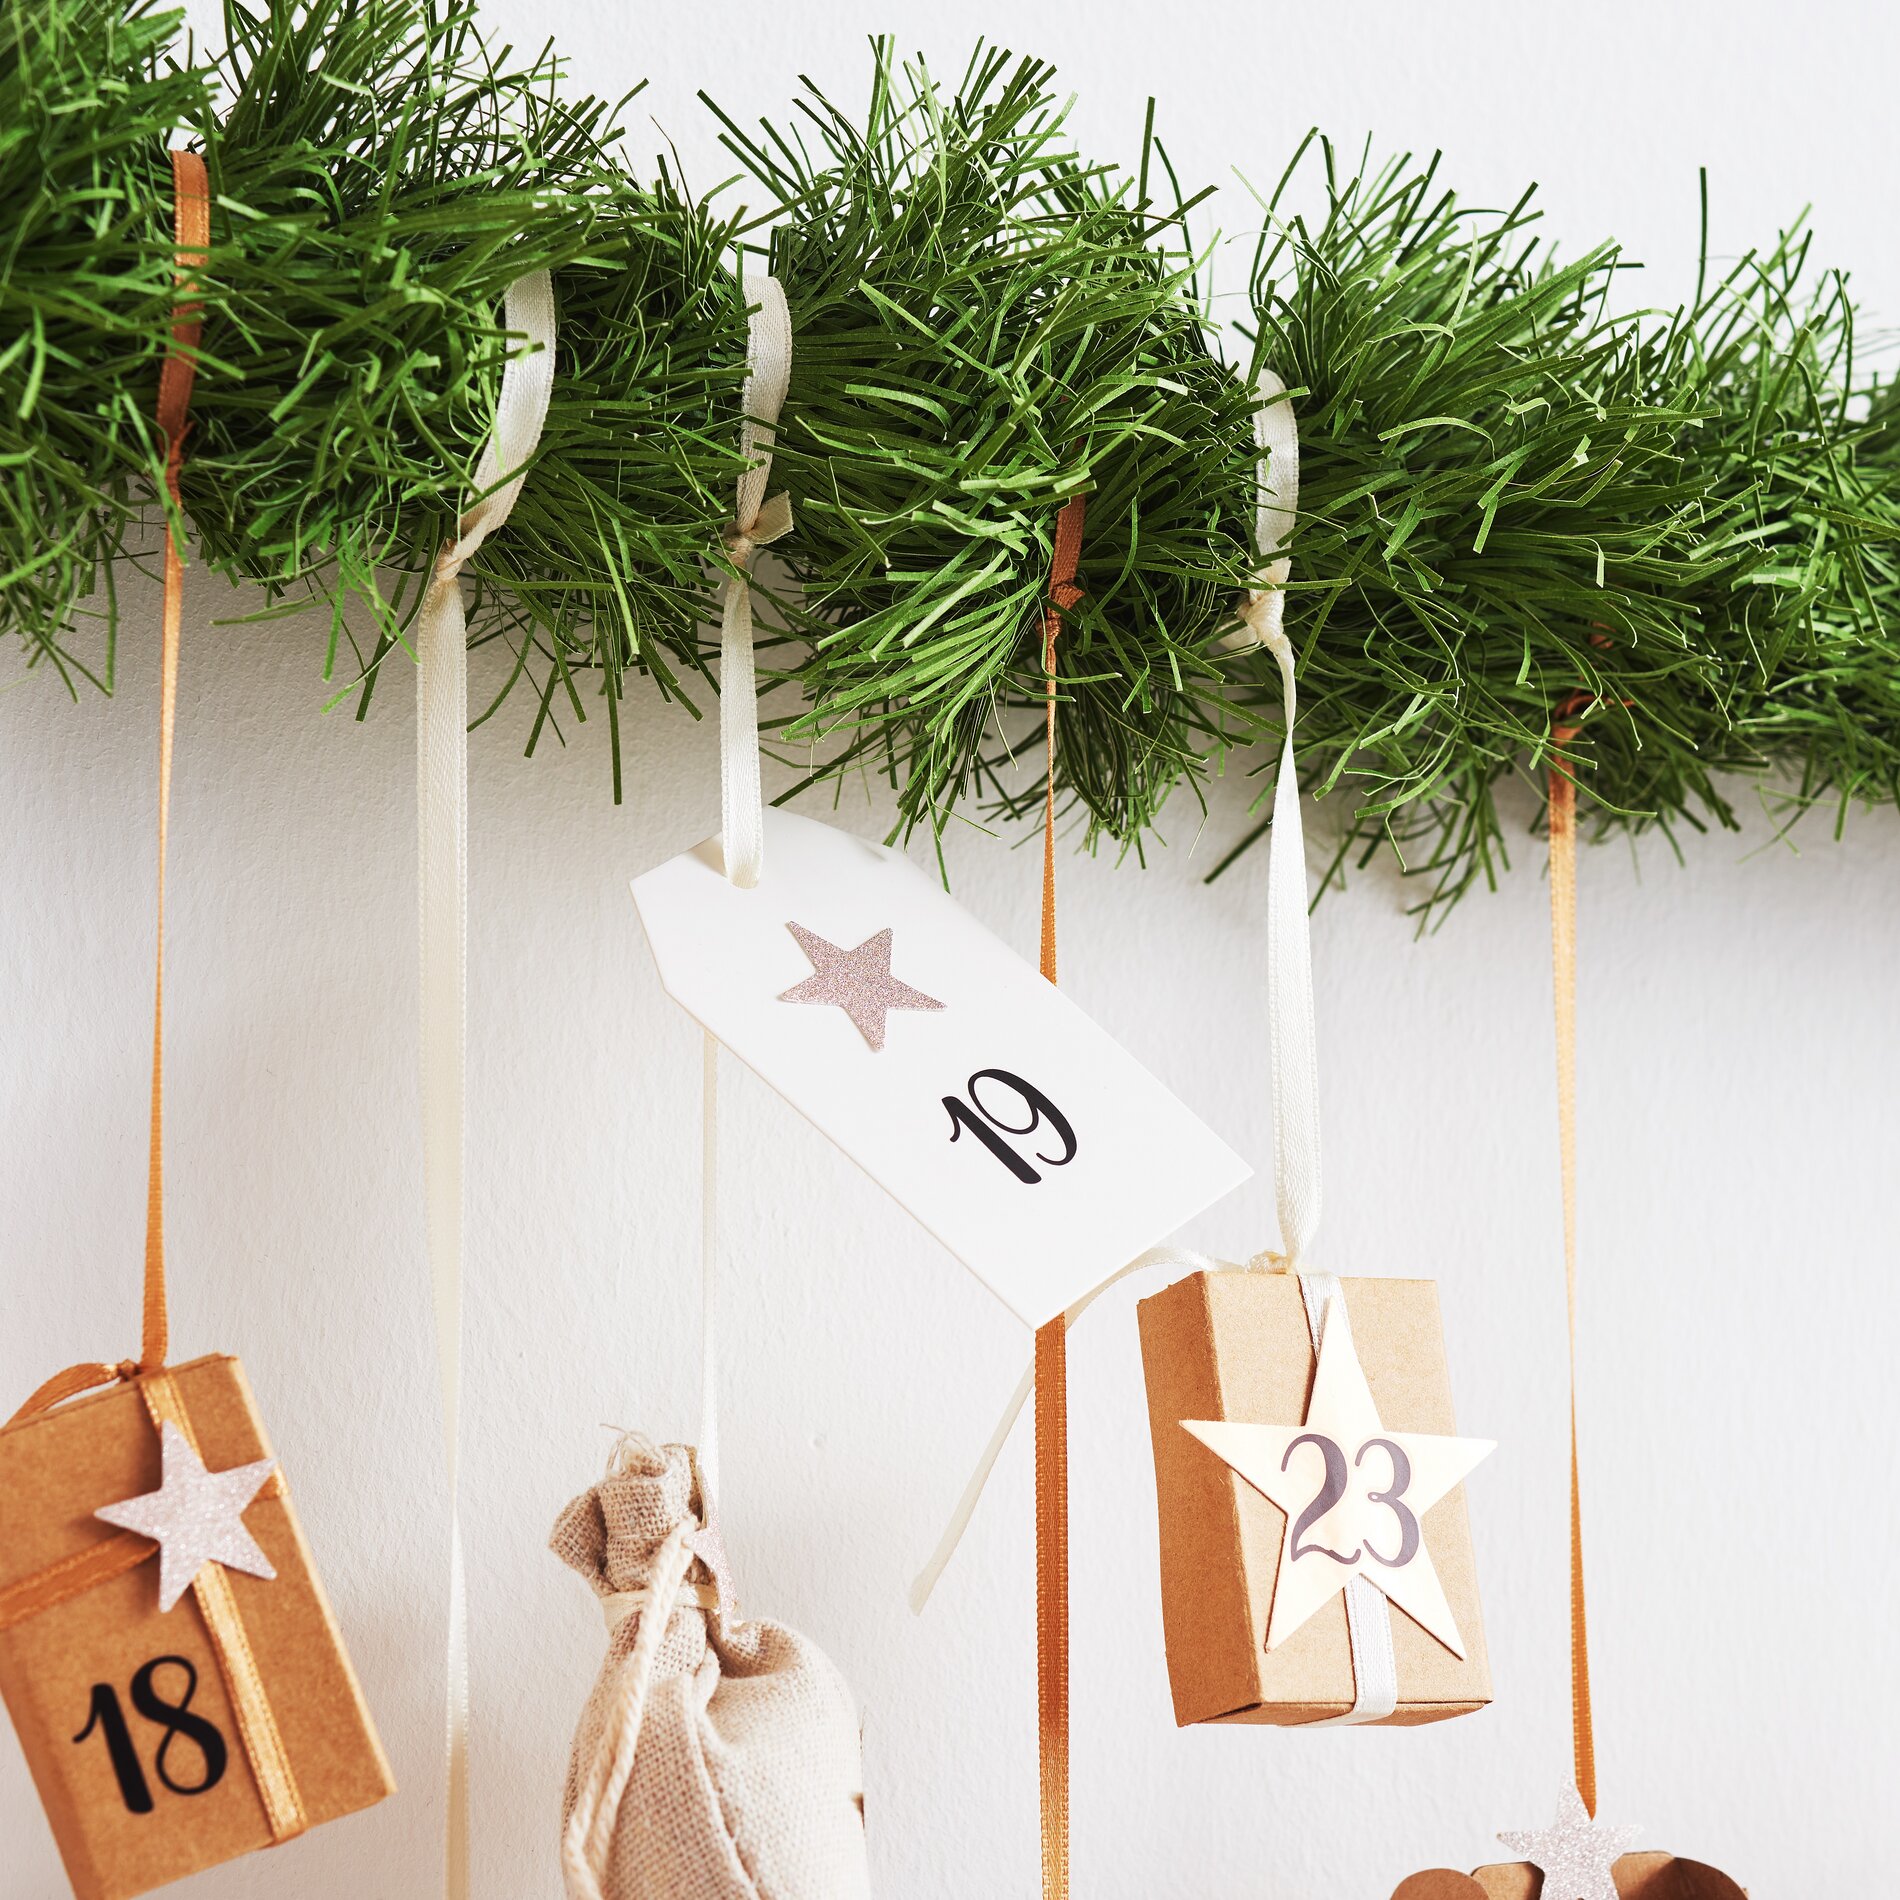
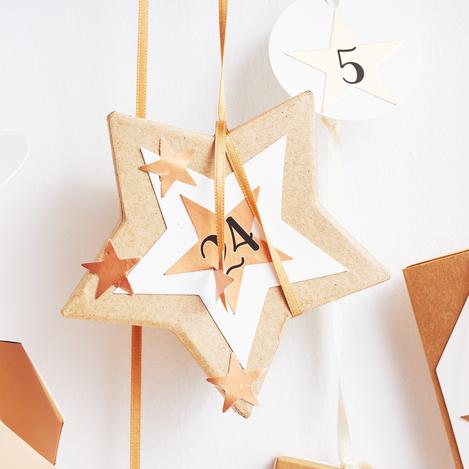
Gebruik de krasstickers om de cijfers van 1 tot 24 over te brengen op de doosjes of kleine cadeaulabels. Deze stickers zijn heel gemakkelijk aan te brengen en geven je adventskalender een persoonlijk tintje.
4. Decoratie met motief perforaties
Gebruik een motif pons om sterren uit te perforeren en plak ze naar wens op de doosjes, cadeaulabels of linten met knutsellijm . De sterren geven je adventskalender een feestelijke flair.
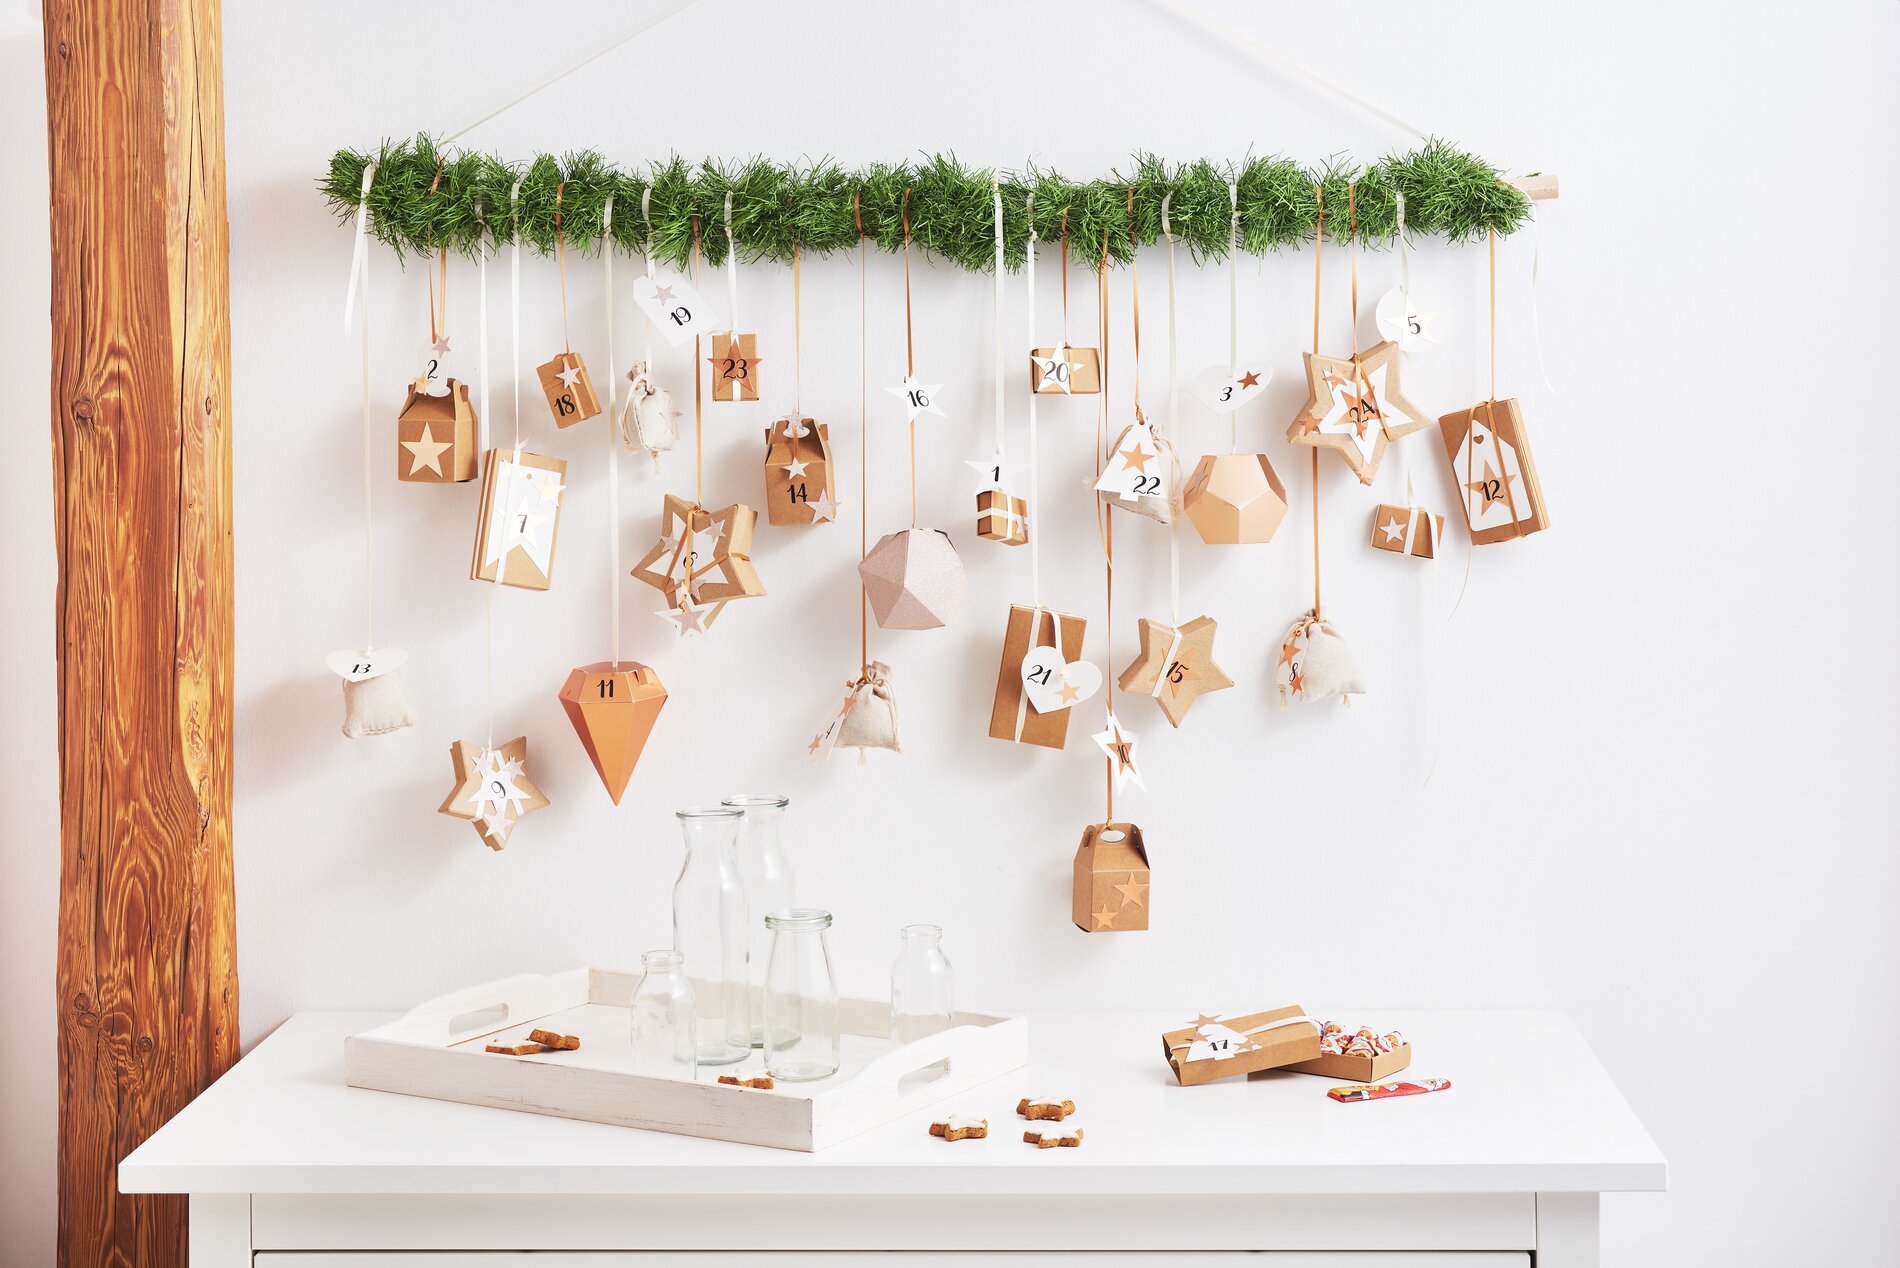
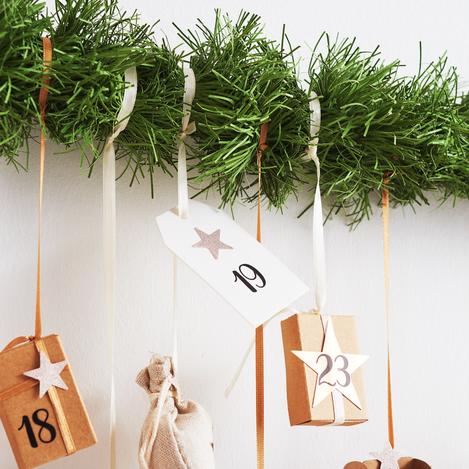
5. Papier-Slinger van sparrenhout
Neem een ronde beukenhouten stok en wikkel de dennenslinger Papier-Slinger er dennenbomen omheen. Maak de slinger aan de uiteinden vast met een lint, die ook als hanger dient. Dit geeft je adventskalender een rustiek en kerstachtig tintje.
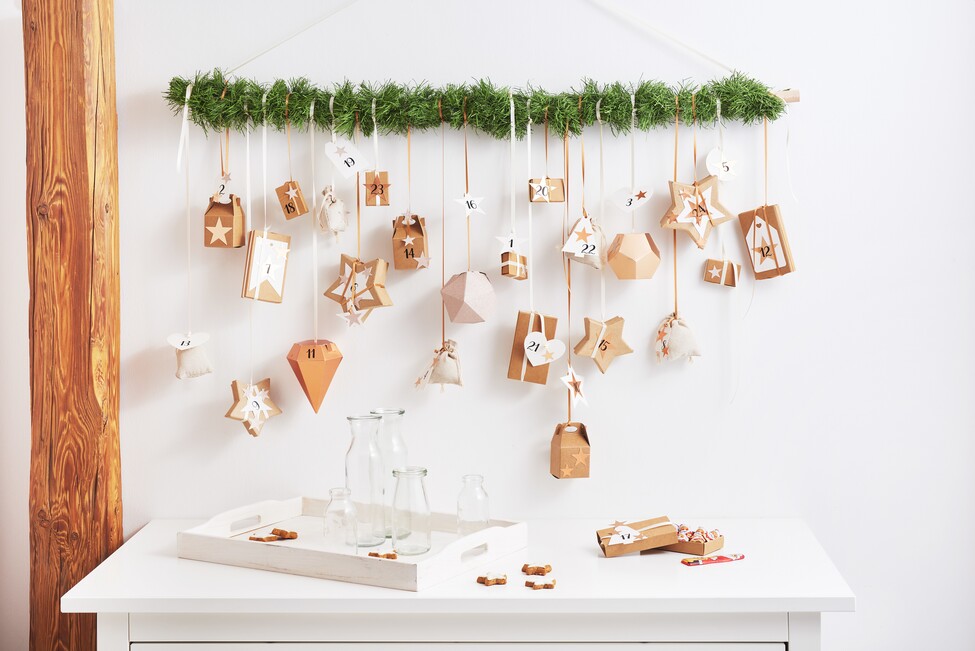
6. Hang de dozen op
Hang tot slot alle dozen aan de dennenslinger Papier-Dennenslinger. Schik ze zo dat ze er mooi uitzien en gemakkelijk toegankelijk zijn. Je zelfgemaakte adventskalender is nu klaar om het adventseizoen op te vrolijken.