- Gratis verzending vanaf 75 € binnen België
- Eenvoudige retourzending
- Telefoon +32 50 89 35 27
Instructies Nee. 3209
Moeilijkheidsgraad: Beginners
Werktijden: 2 Uren

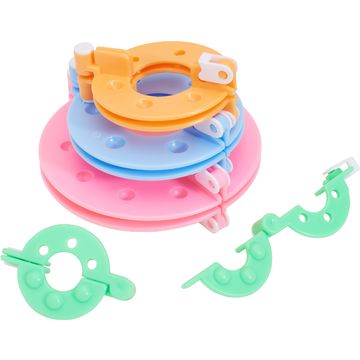
Om je pompomproject te beginnen, gebruik je de twee kleine pompon maker uit de set. Elke pompon maker bestaat uit twee delen die aan elkaar worden geklikt. Hierdoor krijg je twee halve cirkels die met elkaar verbonden zijn en die je naar wens kunt vouwen of ontvouwen. Wikkel de gewenste wol om de ene helft van het sjabloon, beginnend bij het midden van het sjabloon. Herhaal dit vervolgens met de andere helft van het sjabloon. Sluit vervolgens de twee helften van de sjabloon weer op elkaar om een ring te vormen. Knip de wondwol af langs de buitenkant van het sjabloon. Trek een lint tussen de twee pompomhelften en knoop ze stevig aan elkaar vast. De pomponmaker kan nu worden geopend. Haal de afgewerkte pompom eruit en knip hem in vorm met een schaar.
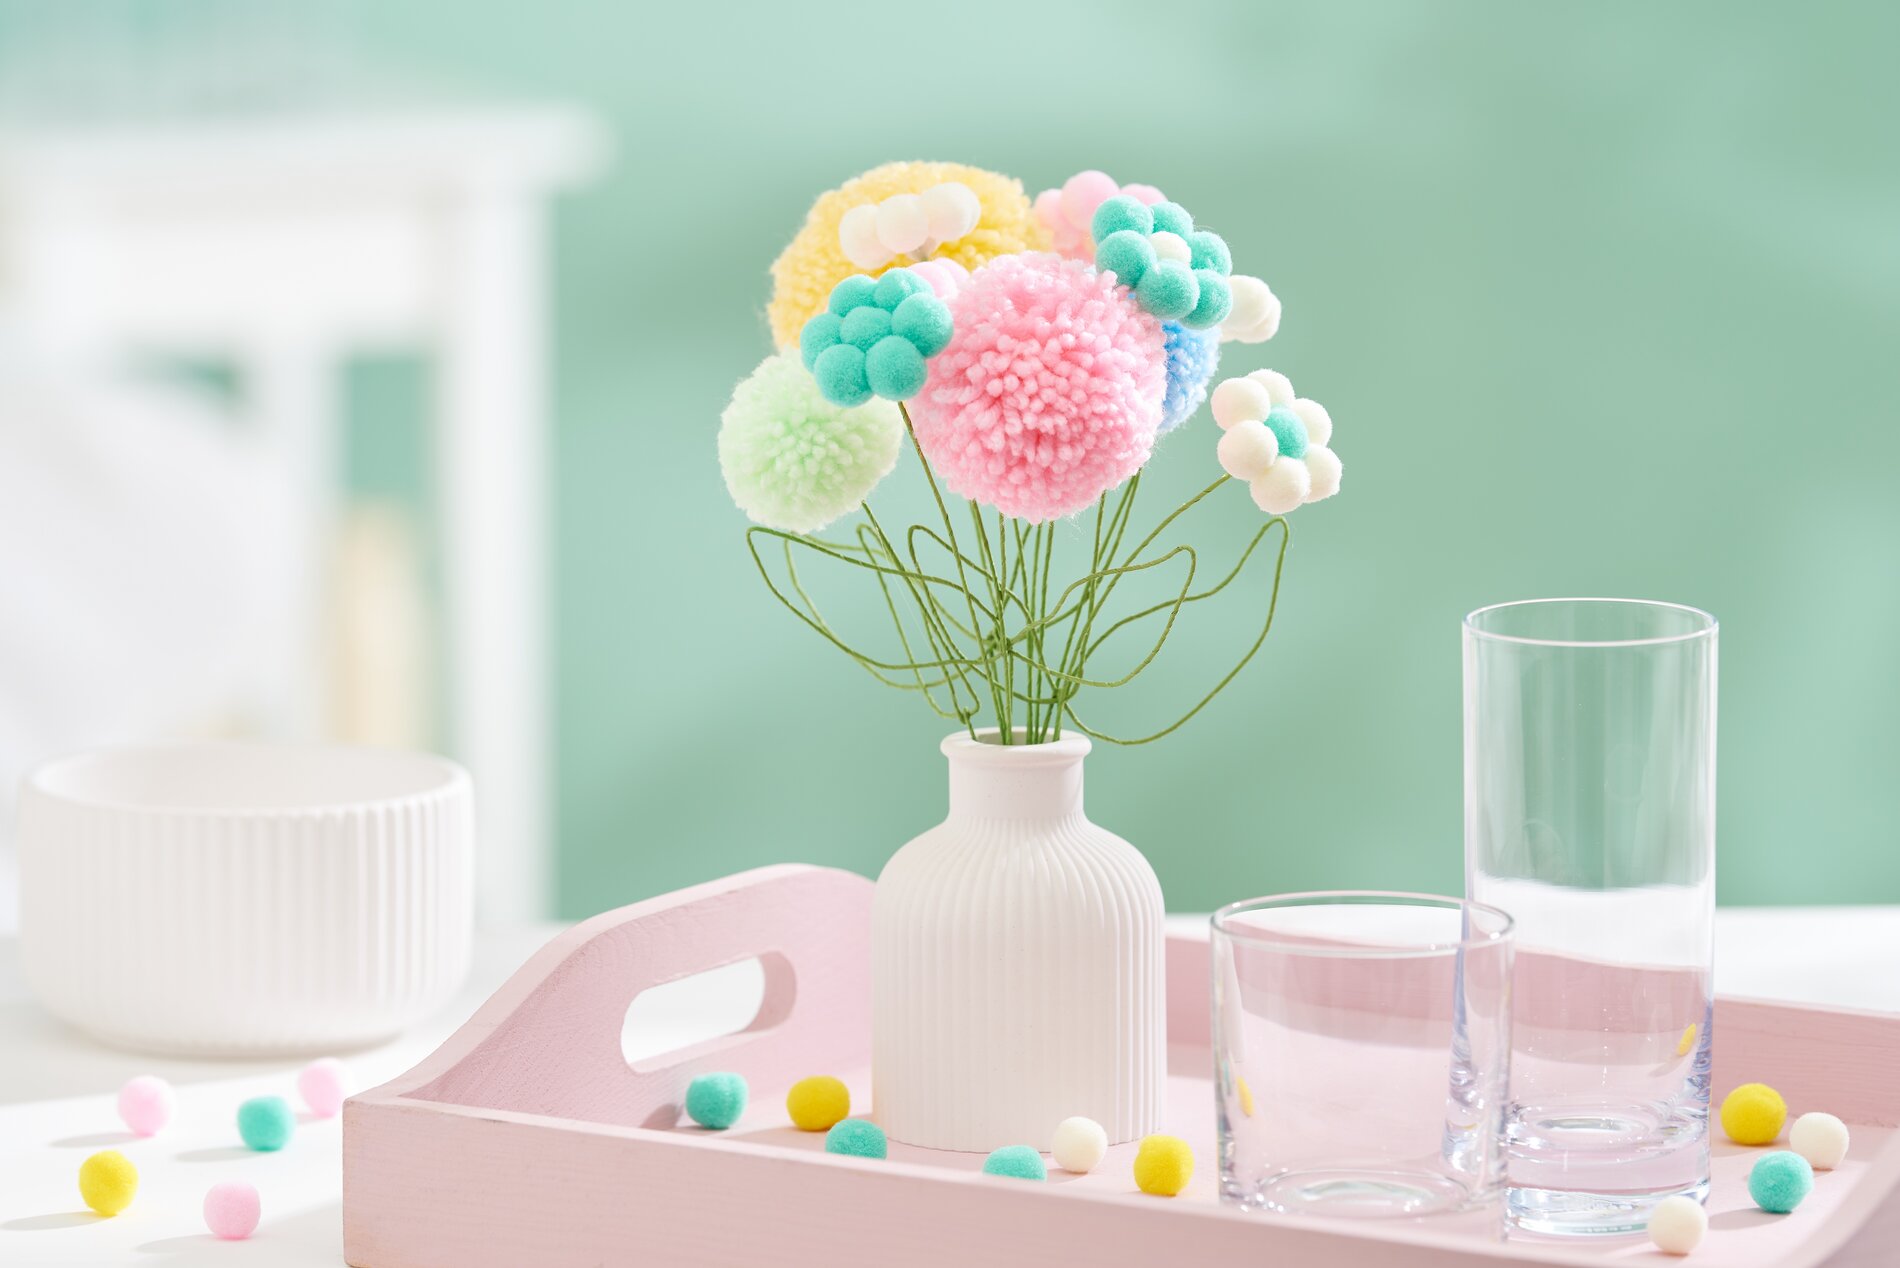
Nu is het tijd om creatief te worden: lijm de afgewerkte pompoms aan elkaar om de perfecte bloemvorm te maken. Je kunt experimenteren met verschillende maten en kleuren om een individuele look te creëren. Om de bloemstengel te maken, bevestig je bloemendraad aan de onderkant van de pomponbloem. Breng een dot hete lijm aan op de plaats waar het draad moet worden bevestigd, zodat het goed vastzit. Voor extra stabiliteit kun je nog wat lijm rond het draad aanbrengen. De volgende stap is het vormen van de bloemstengel. Gebruik een tang om de draad in decoratieve blaadjes te vormen door het voorzichtig te buigen en in de gewenste vorm te kneden. Dit geeft je pomponbloemen een realistische uitstraling.
Als de pomponbloemen klaar zijn, is het tijd om de vaas voor te bereiden. Giet het vaasmateriaal volgens de bijgeleverde verpakkingsinstructies. Na ongeveer twee uur kun je de vaas voorzichtig ontvormen en volledig aan de lucht laten drogen om de stabiliteit te garanderen.
Schik tot slot de zelfgemaakte pomponbloemen in de voltooide vaas. Plaats ze waar je maar wilt om je kamer een individueel en vrolijk decoratief accent te geven.