- Gratis verzending vanaf 75 € binnen België
- Eenvoudige retourzending
- Telefoon +32 50 89 35 27
Instructies Nee. 3254
Moeilijkheidsgraad: Beginners
Werktijden: 1 uur


De basis ontwerpen
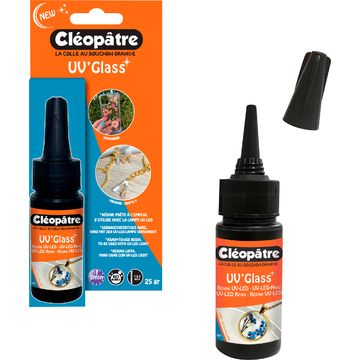
Stap 1: Bereid eerst je werkruimte voor. Zorg dat je alle materialen bij de hand hebt. Begin met het gieten van een dunne laag hars - ongeveer 1-2 mm dik - in de mal van je keuze. Je kunt verschillende mallen uitproberen om je eigen stijl te vinden.
Stap 2: Plaats de mal onder je UV-lamp en laat de hars ongeveer een minuut uitharden. De korte uithardingstijd is een voordeel bij het werken met UV-hars, omdat je snel verder kunt gaan met de volgende stappen.
Laat je creativiteit de vrije loop
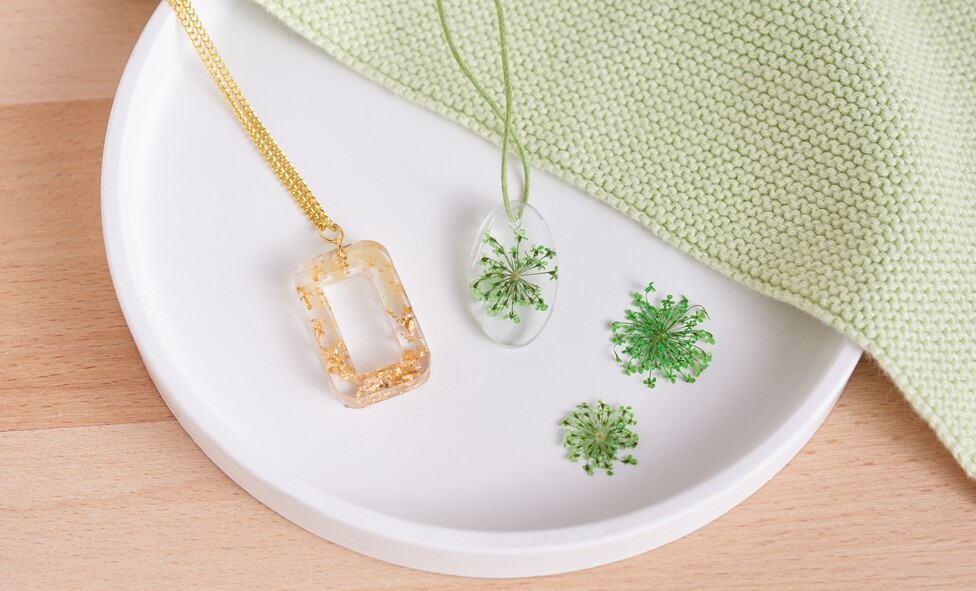
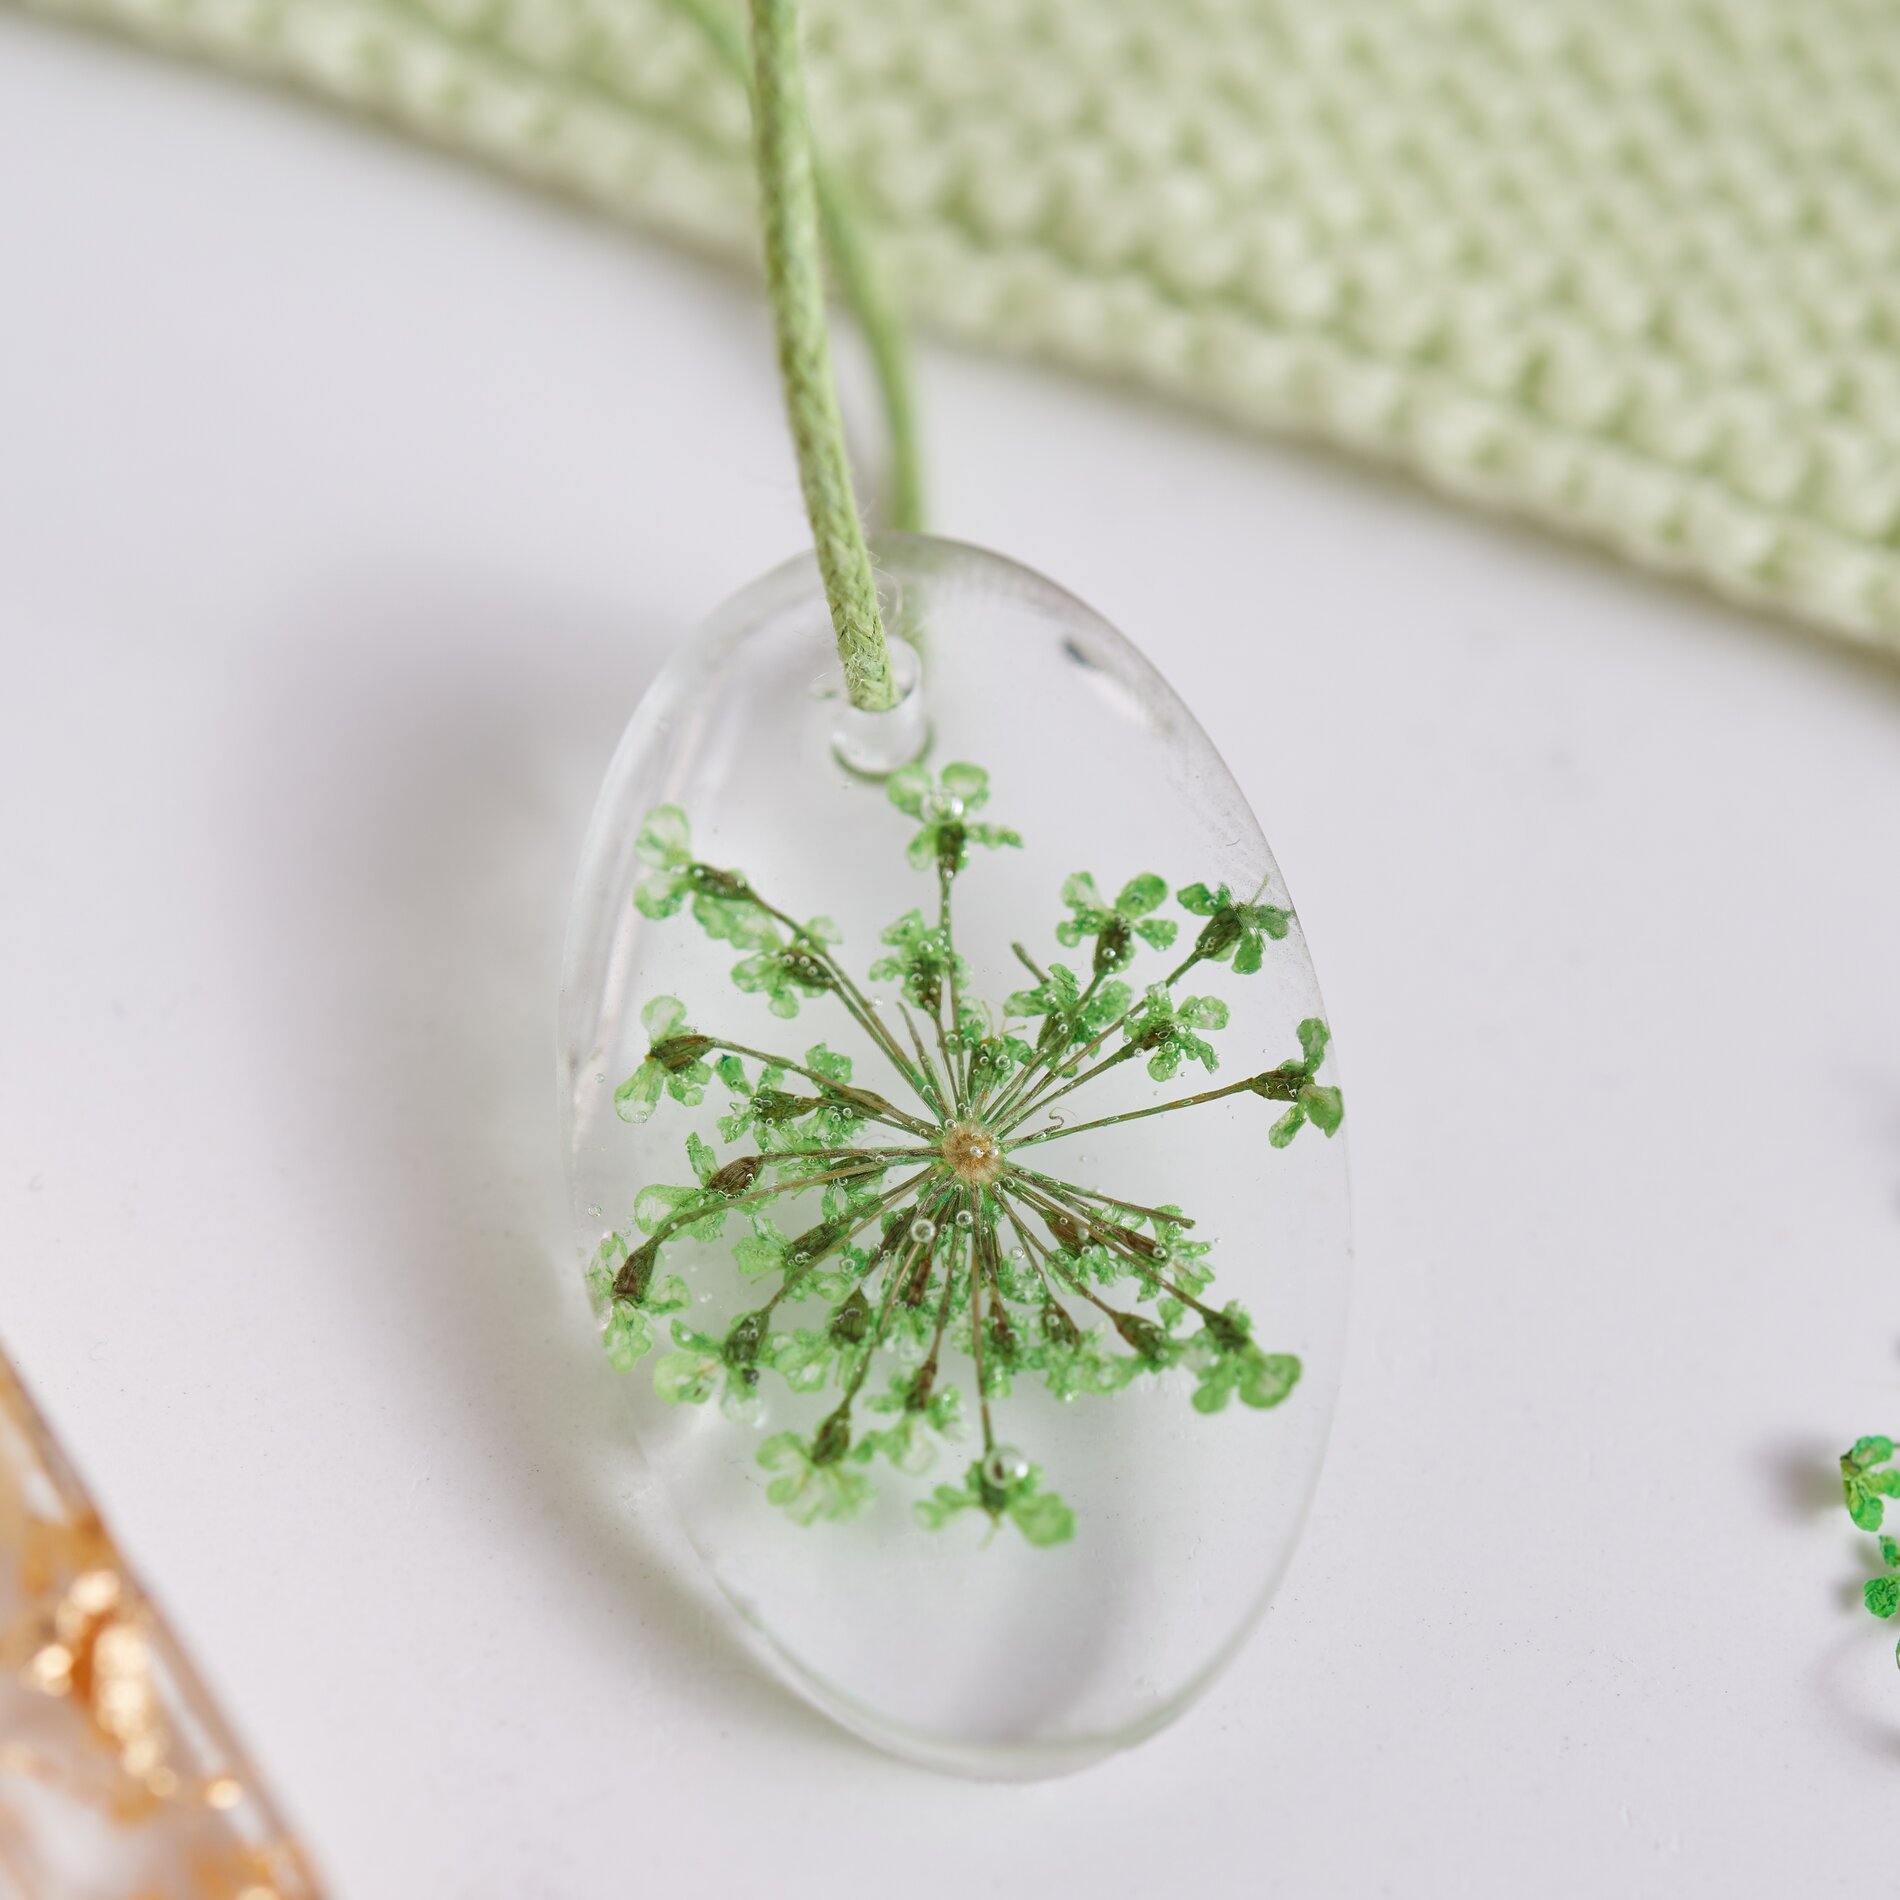
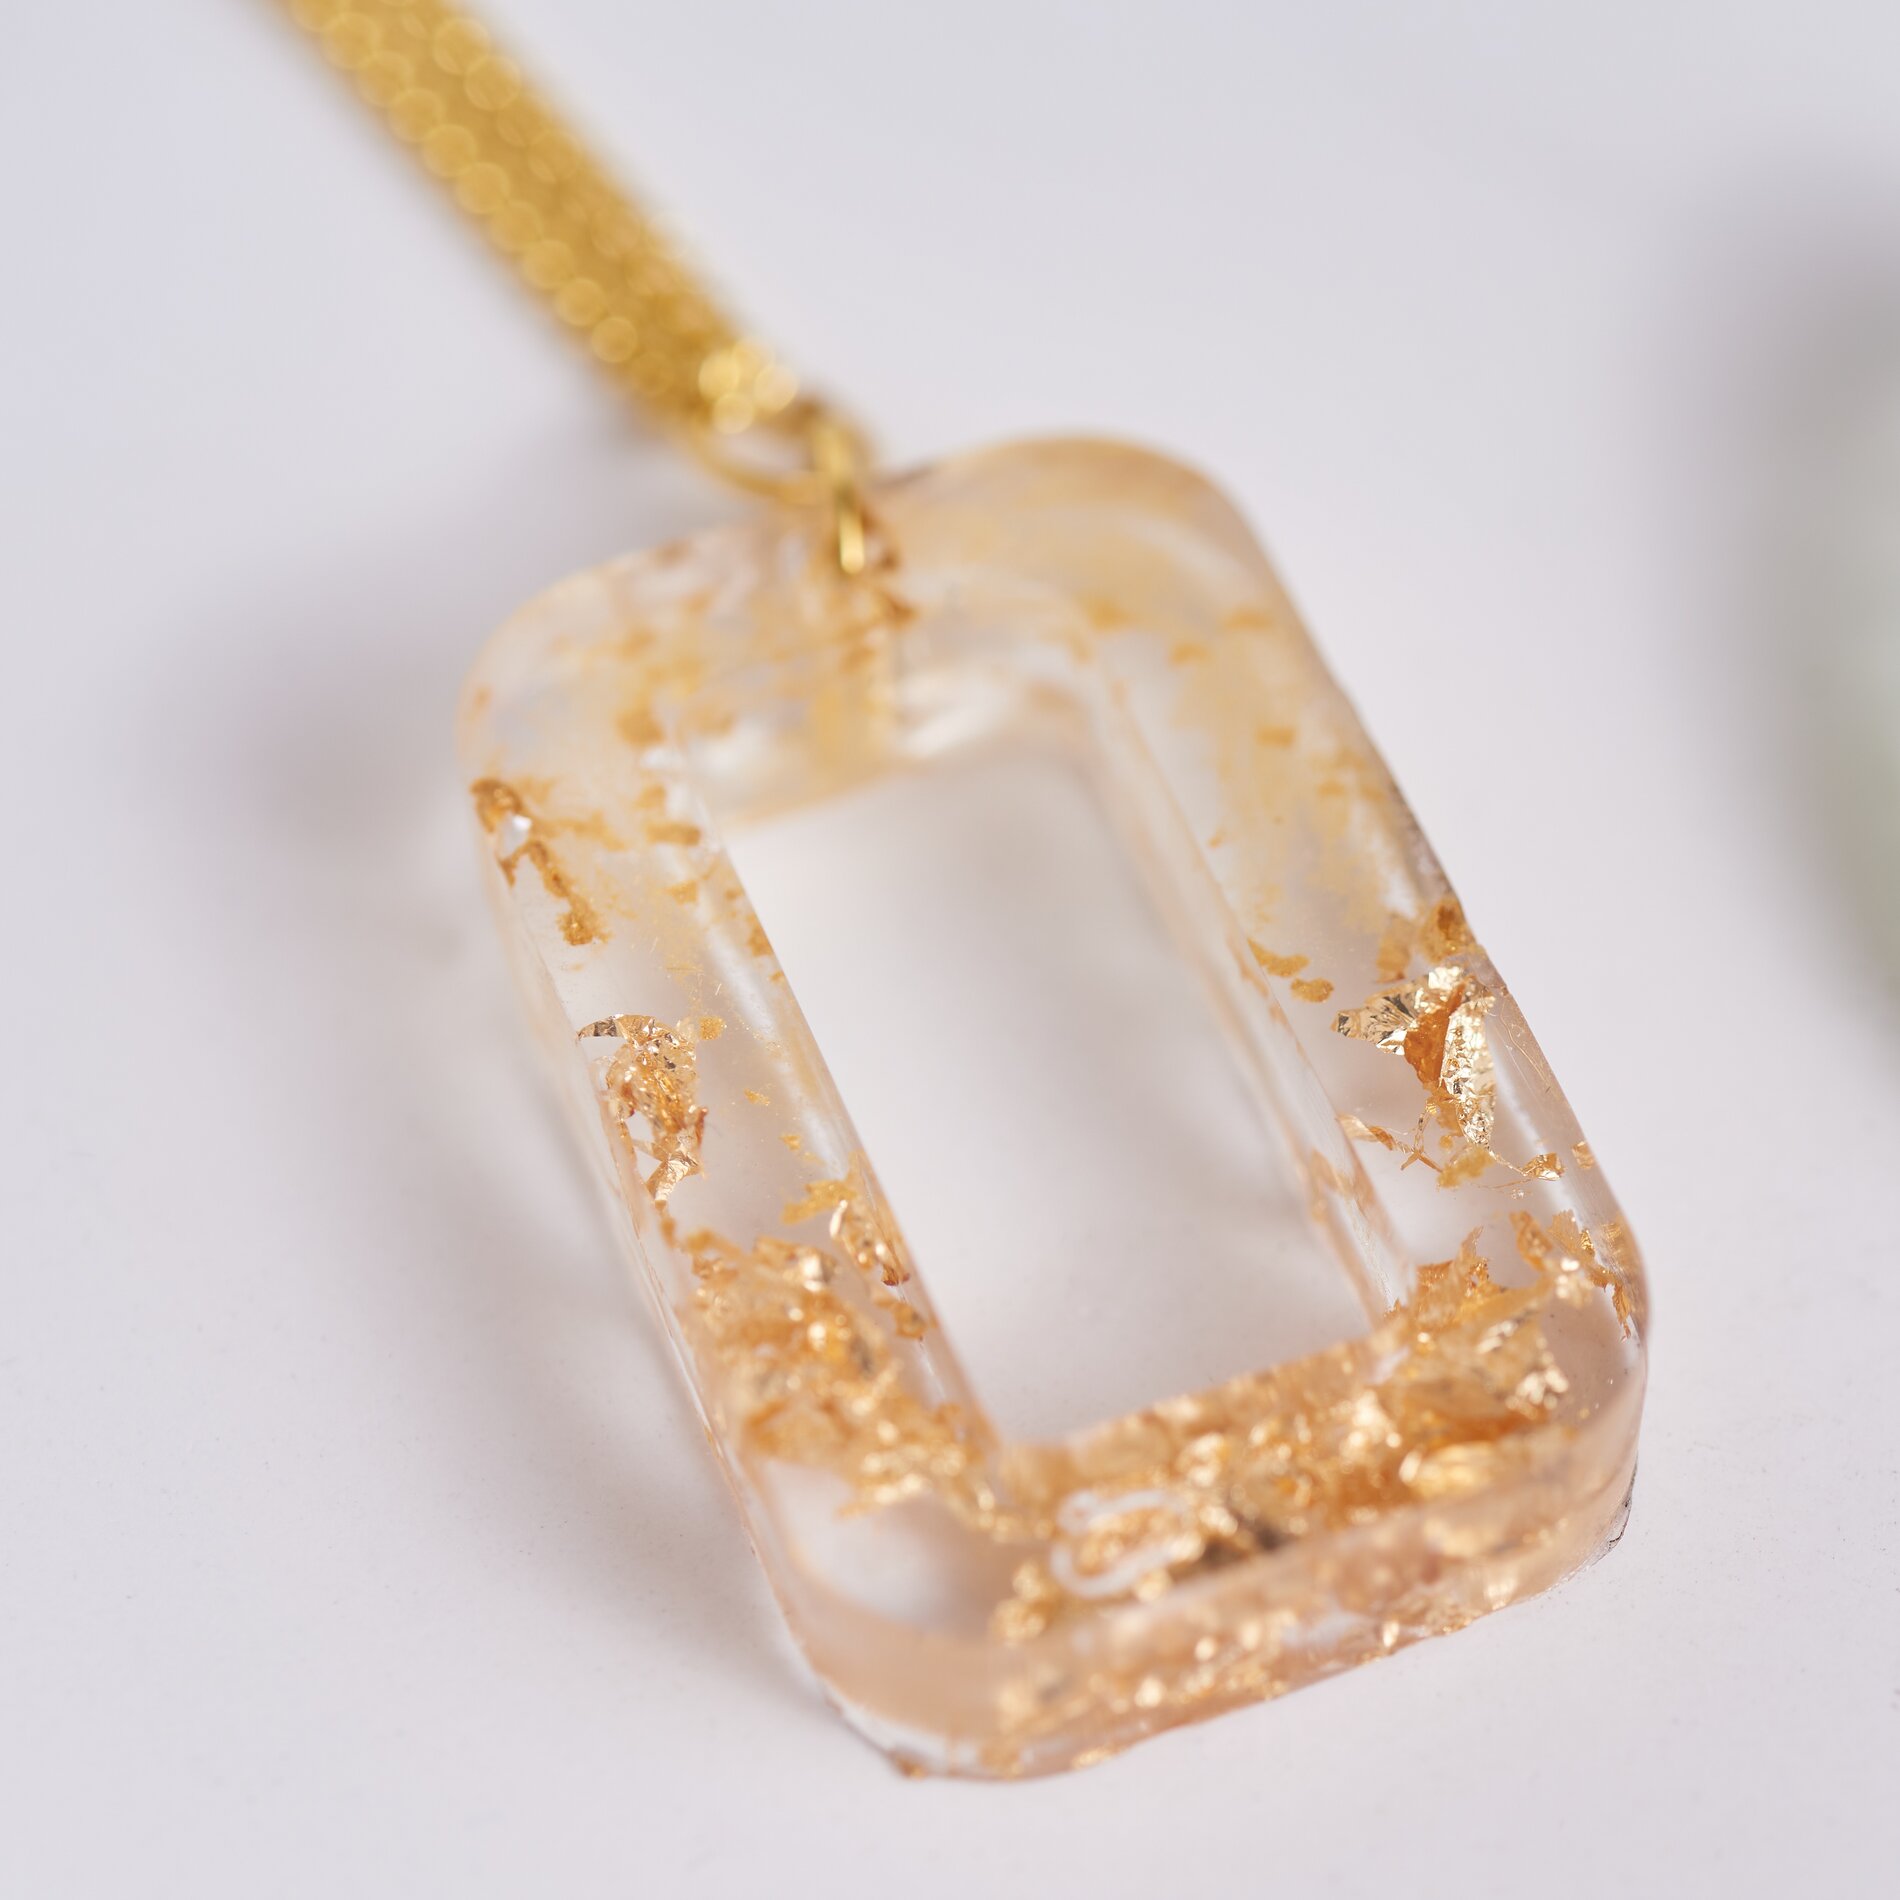
Stap 3: Nu is het tijd om je creativiteit de vrije loop te laten. Voeg decoratieve elementen toe zoals gedroogde bloemen, glitter of zelfs goudvlokken om je ontwerp een speciaal tintje te geven.
Stap 4: Bedek deze decoraties met nog een laag hars. Zorg ervoor dat alle elementen goed zijn ingebed in de hars zodat ze goed op hun plaats blijven zitten.
Stap 5: Laat de nieuwe laag ongeveer een minuut uitharden onder de UV-lamp. Neem tussen elk uithardingsproces een korte pauze om oververhitting te voorkomen.

Het sieraad afwerken
Stap 6: Als de hars volledig is uitgehard, haal je je creatie voorzichtig uit de mal. Als de hars nog plakkerig is, geef het dan een paar extra minuten onder de UV-lamp totdat het volledig is uitgehard.
Stap 7: Maak je ketting af met een bijpassend juwelenkoord of een elegante ankerketting. Kies iets dat goed bij je hanger past en bij je stijl.
Uw unieke sieraad wacht op u!
In slechts een paar stappen hebt u nu een unieke ketting gemaakt die zowel modieus als persoonlijk is. Neem een kijkje in onze online shop om alle materialen te bestellen die je nodig hebt en begin met je volgende knutselproject. Laat je fantasie de vrije loop - de mogelijkheden zijn eindeloos!