- Gratis verzending vanaf 75 € binnen België
- Eenvoudige retourzending
- Telefoon +32 50 89 35 27
Instructies Nee. 3336
Moeilijkheidsgraad: Beginners
Werktijden: 1 uur
Pasen staat voor de deur en het is tijd om de versieringen op te frissen! Kuikens en kippen horen net zo goed bij Pasen als paaseieren en konijntjes. Als je op zoek bent naar een natuurlijk en origineel DIY-Project, dan hebben wij precies wat je zoekt: kuikentjes in betonoptik! Deze charmante decoraties zullen een vleugje moderniteit en uniciteit aan je huis toevoegen. Laat je creativiteit de vrije loop en personaliseer elk kuiken volgens je eigen ideeën. Met onze eenvoudige stap-voor-stap handleiding heb je dit creatieve project in een handomdraai klaar.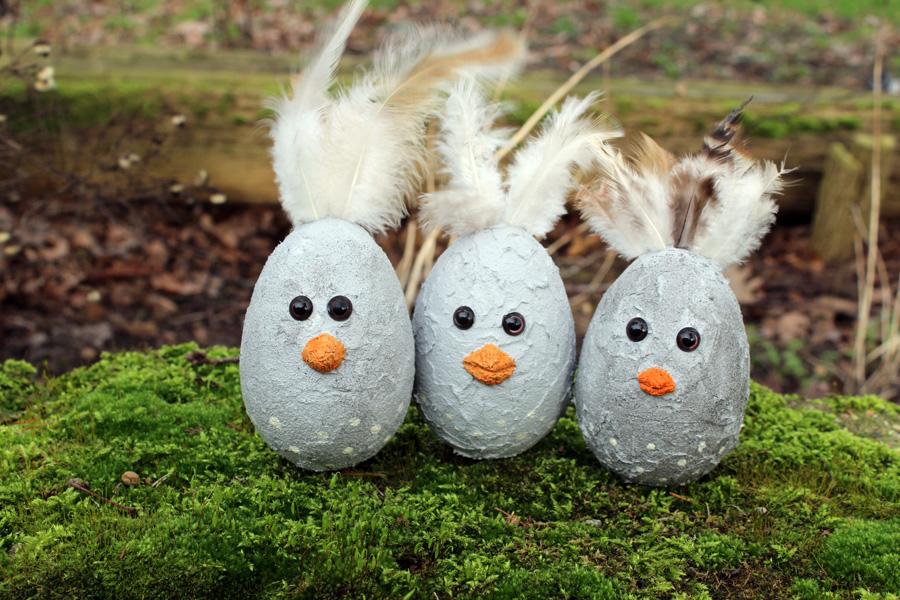
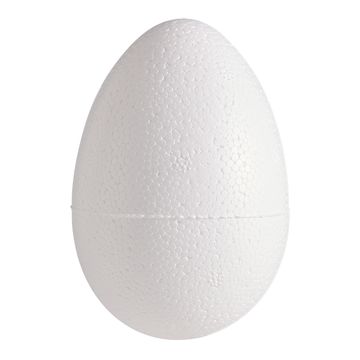
Stap 1: Betonnen eieren maken

Bereid eerst de piepschuim eieren voor: draai de ogen van de beer een beetje in de piepschuim, zodat ze nog niet helemaal vastzitten. Zo houden de ogen beter vast. Om de ogen gemakkelijker vast te schroeven, kun je van tevoren kleine gaatjes prikken met een satéprikker.
Tip: Om het werk gemakkelijker te maken, kun je de piepschuim eieren op kebabspiesjes of iets dergelijks prikken. Dit smeert minder uit en maakt het makkelijker om ze aan de kant te leggen om te drogen.
Tijd voor het betonmengsel! Roer het goed door en breng het eerst rond de ogen aan. Druk nu de ogen helemaal aan en bedek het hele ei met het betonmengsel. Wil je een gladder oppervlak? Gebruik de sponsjes in de set om het beton glad te strijken.

Nu wordt het spannend: boetseer de snavels met de spatel . Je hebt hier twee opties: Direct op het kuiken of apart op folie en ze later bevestigen. Als je kiest voor de optie met de snavel op de folie, kun je de snavel ook voorzichtig optillen en op het ei leggen terwijl het nog niet helemaal droog is. Het zal dan vanzelf drogen.
Als je een föhn bij de hand hebt, kun je het betonmengsel ook een beetje drogen zodat de buitenkant niet meer plakt en het dan voorzichtig met je handen kneden.

Laat het beton volledig drogen voordat je verdergaat met stap 2.
Stap 2: De kuikens verven en veren
Als de oppervlakken nog oneffen zijn, kun je ze voorzichtig gladstrijken met schuurpapier . Als dit gedaan is, is het tijd om de kuikens tot leven te brengen! De glazuren in de betonset versterken het betondeffect door het oppervlak donkerder of lichter te maken.
Pak nu de knutselverf en geef de snavel een mooie laag verf. Gebruik het penseel om decoratieve stippen toe te voegen aan de onderkant van de kuikens om ze nog meer karakter te geven.

Bijna klaar! Prik kleine gaatjes in de bovenkant van de eieren en steek er naar wens veren in. Als ze niet vanzelf blijven zitten, gebruik dan wat lijm knutsellijm.

Zodra de verf en lijm zijn opgedroogd, zijn je kuikentjes klaar om te schitteren in hun nieuwe pracht!

Veel plezier met het maken van je unieke paasdecoratie! 
Klaar om je creativiteit de vrije loop te laten? Koop alle materialen nu in onze online shop en laat je fantasie de vrije loop. Jouw DIY-Kuikens op betonoptik zullen het hoogtepunt van je paasdecoratie zijn!