- Gratis verzending vanaf 75 € binnen België
- Eenvoudige retourzending
- Telefoon +32 50 89 35 27
Instructies Nee. 3183
Moeilijkheidsgraad: Beginners
Werktijden: 30 Notulen

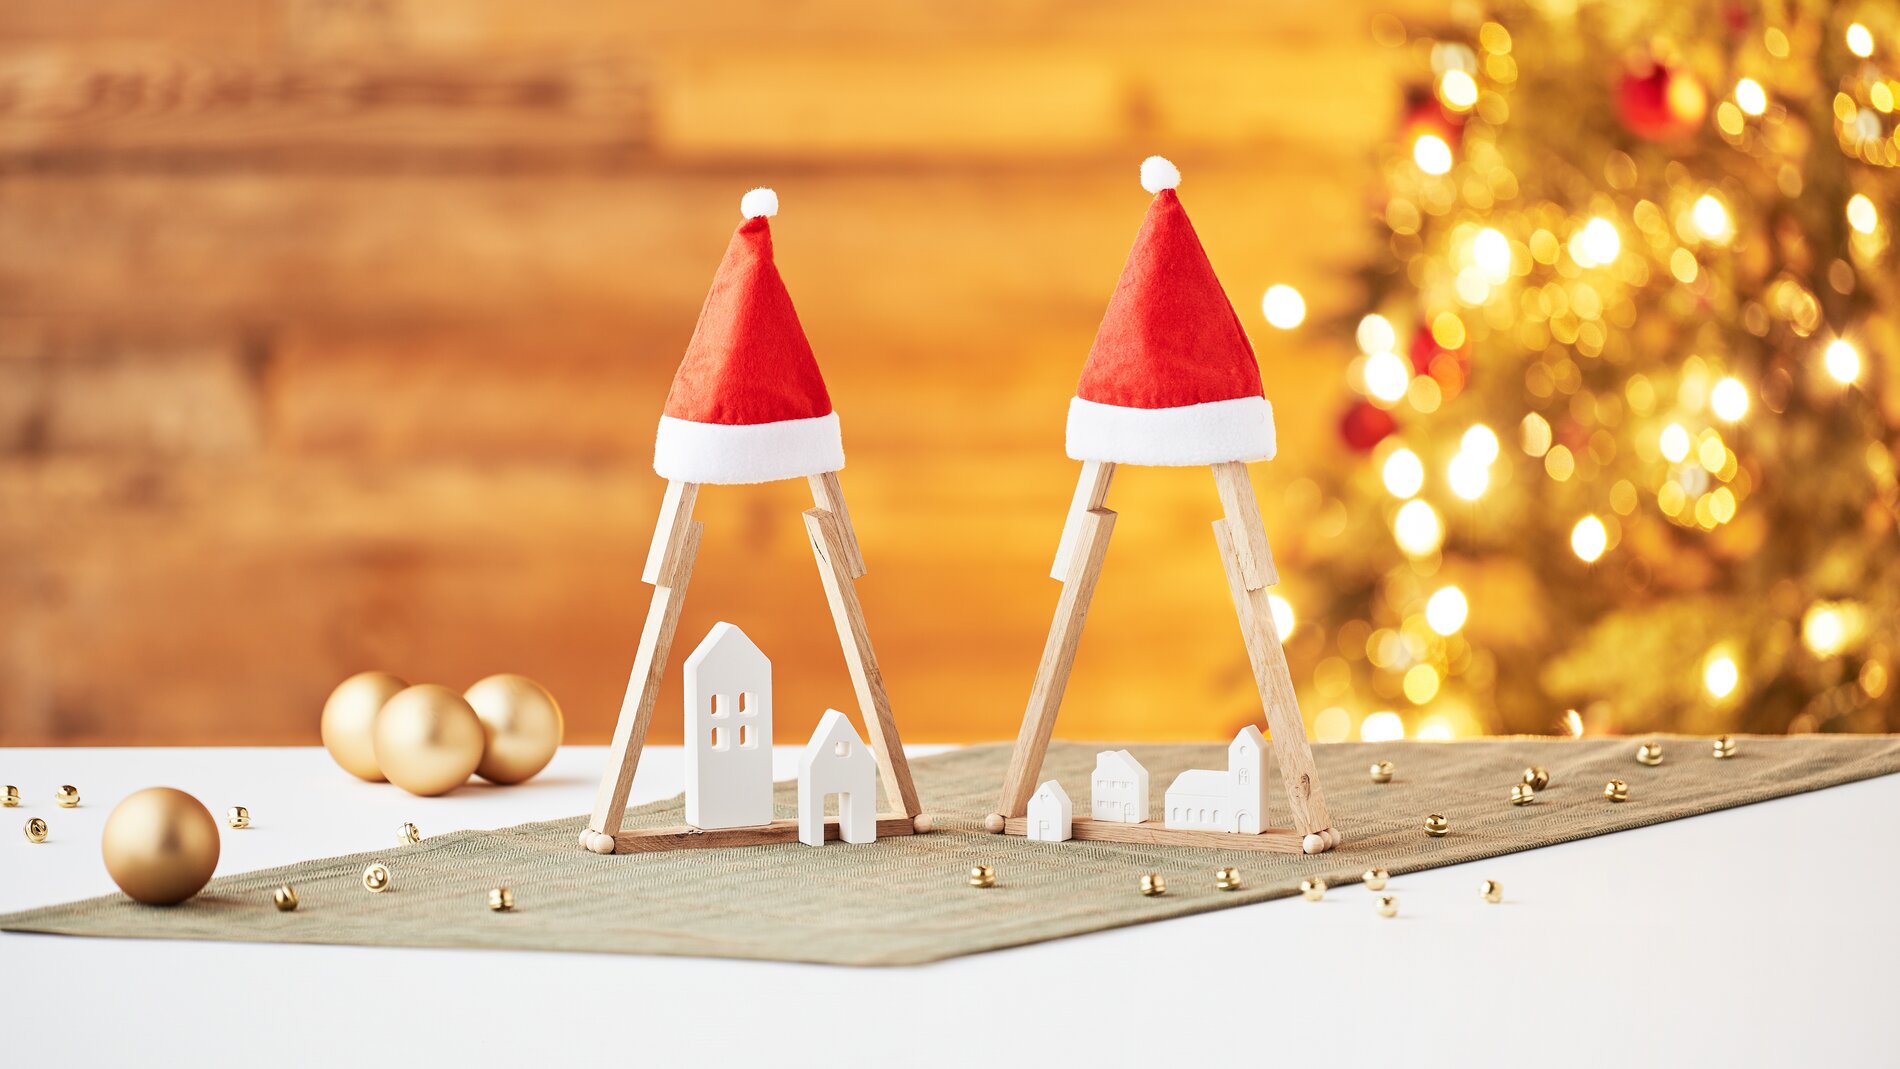
Stap 1: Vorm de basis van de spar
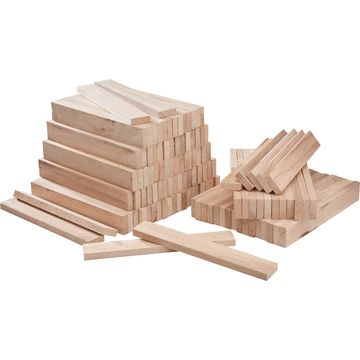
Begin met drie houten kogels drie keer aan elkaar te lijmen met knutsellijm . Zorg ervoor dat de lijm goed droogt voordat je verder gaat. Zodra de ballen stevig aan elkaar vastzitten, lijm je twee van deze formaties op de korte zijden van een knutselblok. Dit vormt de stabiele basis van je feest spar.
Stap 2: Bouw de structuur van de spar
Neem nog twee knutselblokken en lijm ze aan elkaar met een overlapping van ongeveer 3,5 cm. Lijm deze nieuwe structuur rechtop op de al voorbereide houten kogels van de vurenhouten basis. Om de bovenkant van de spar vast te zetten, lijm je de laatste 3 rijen houten kogels aan de bovenkant vast. Dit geeft je spar slechts niet alleen een stevig houvast, maar geeft het ook een decoratieve bovenkant.
Stap 3: Ontwerp creatieve huizen
Voor de volgende stap meng je het vormpoeder tot een romig mengsel volgens de instructies. Giet dit mengsel in de gewenste mallen die je toekomstige huisjes zullen vormen. Na een wachttijd van ongeveer 45 minuten kun je de huisjes boetseren. Laat ze nog een paar uur aan de lucht drogen om ervoor te zorgen dat ze stabiel zijn. Nu kun je ze op of voor je spar plakken om een winters tafereel te creëren.
Stap 4: Maak de spar af met een kerstmuts
Om het helemaal af te maken, zet je een kerstmuts op je spar . Deze kleine maar effectieve toevoeging geeft je decoratie een extra vleugje feestelijkheid en finishing touch.
slechts Nu je weet hoe je je eigen feestelijke spar kunt maken, hoef je nog maar één ding te doen: bezoek onze online shop en bestel de creatieve en ambachtelijke benodigdheden die je nodig hebt om aan je gepersonaliseerde project te beginnen. We kijken ernaar uit om je te ondersteunen op je creatieve avontuur!