- Gratis verzending vanaf 75 € binnen België
- Eenvoudige retourzending
- Telefoon +32 50 89 35 27
Instructies Nee. 3173
Moeilijkheidsgraad: Beginners
Werktijden: 3 Uren

Stap 1: De sjablonen afdrukken en overbrengen
Druk eerst de sjablonen af. breng het sjabloon voor de grote ster over op een vel vouwpapier. Je hebt in totaal twee stukken vouwpapier nodig voor één doos. De kleine, eenvoudige ster dient als deksel op de achterkant van de doos.
Stap 2: Bereid de grote ster voor
Je kunt de grote ster het beste overbrengen met blauw papier. Knip de ster voorzichtig uit en begin dan met het vouwen van de lijnen. Vouwen betekent dat je langs de lijnen gaat en ze een beetje kreukt zodat de vouwlijnen duidelijk zichtbaar zijn.
Stap 3: Knippen en plakken
Knip nu de stippellijnen uit. Deze sneden zijn nodig zodat de hoeken van de ster elkaar overlappen als ze aan elkaar worden gelijmd. Lijm de overlappende hoeken aan elkaar om de kenmerkende sterpunten te maken. Zorg ervoor dat de lijm goed droogt voordat je verder gaat.
Stap 4: Vul de minidoos
Nu komt het spannende gedeelte: vul het voltooide doosje! Dit is bijzonder geschikt voor kleine cadeautjes zoals juwelen of andere kleine verrassingen. Plaats het cadeautje voorzichtig in het doosje en bereid je voor op de laatste stap.
Stap 5: Verzegel de achterkant
Om het doosje te verzegelen, plak je de open achterkant vast met de kleine ster. Druk de kleine ster stevig aan tot de lijm volledig droog is. Zo blijft het cadeautje stevig in de doos zitten.
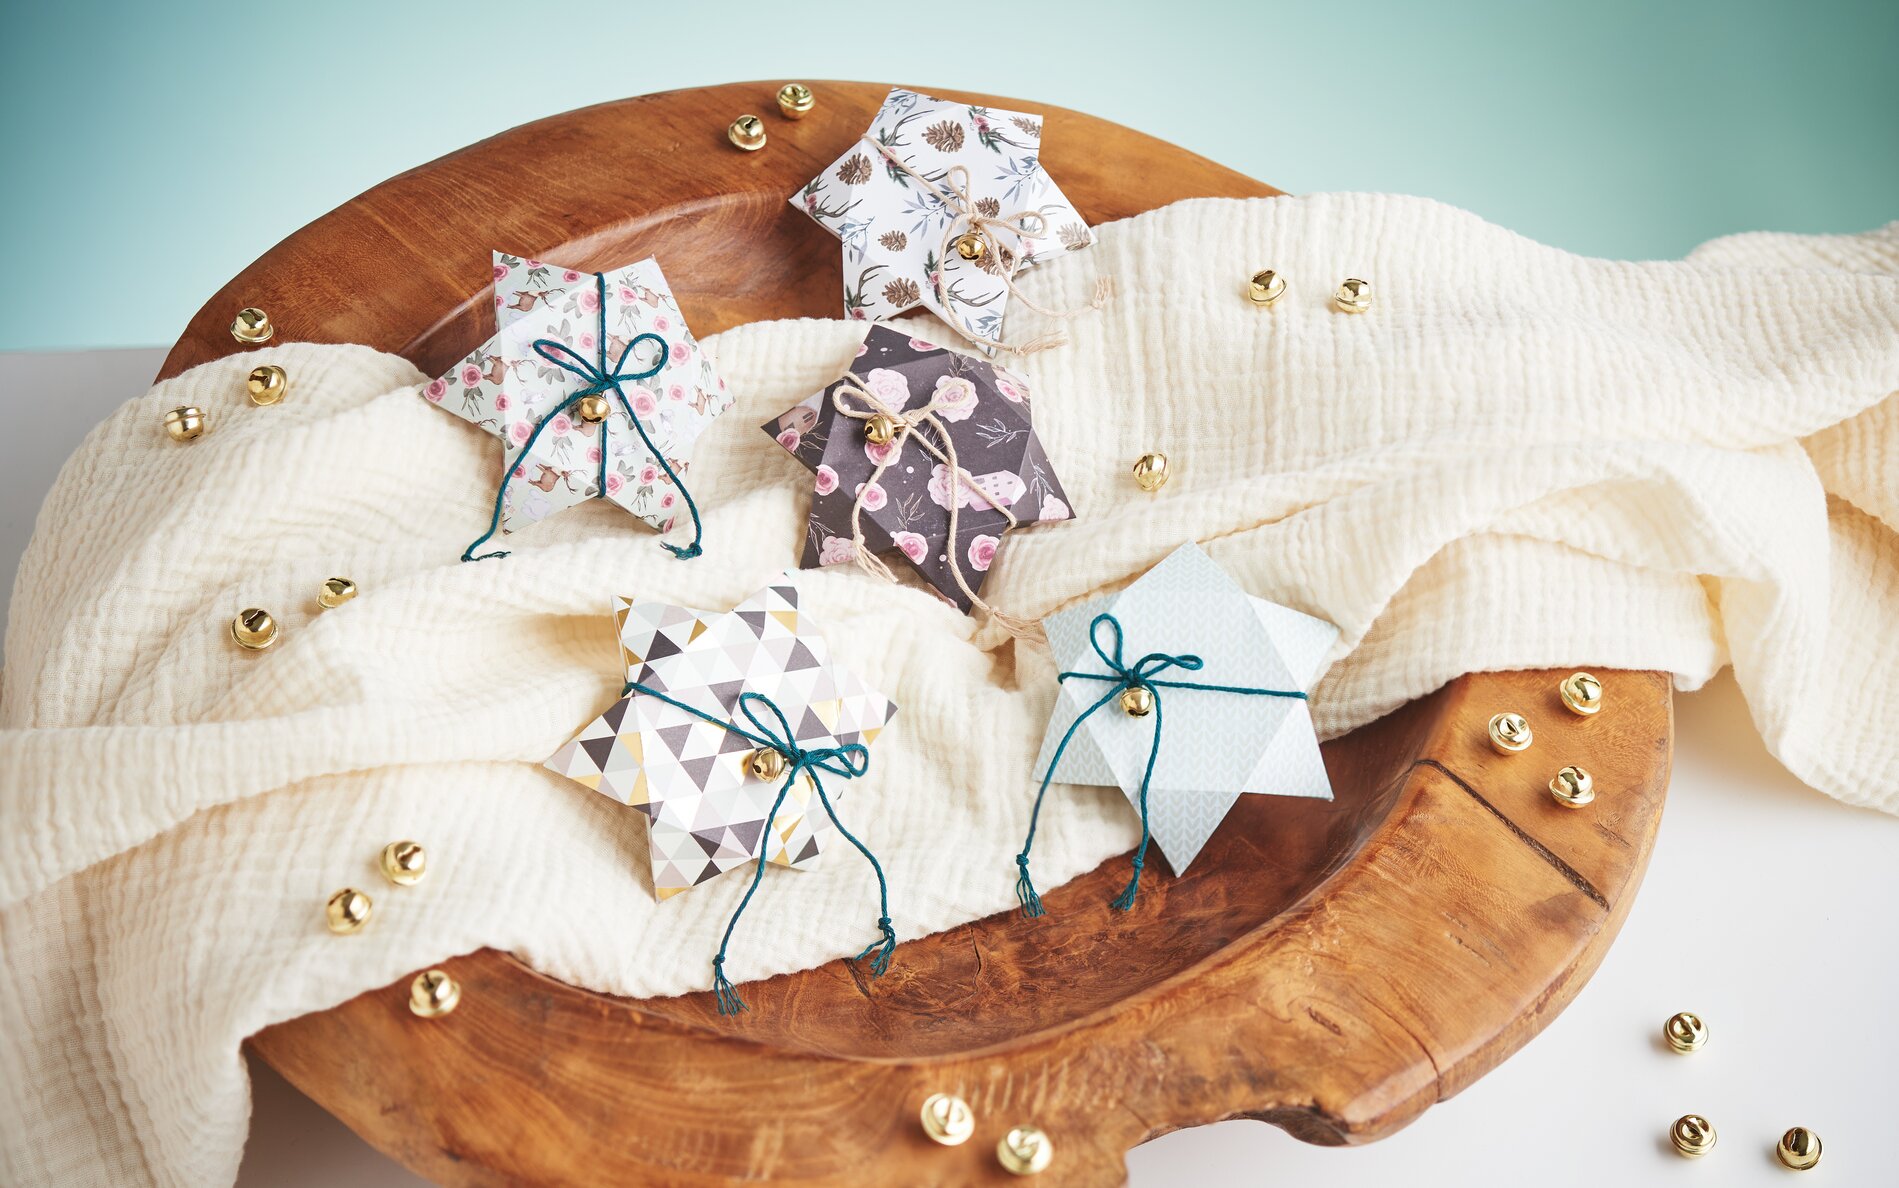
Stap 6: Maak de versieringen vast
Maak je cadeauverpakking helemaal af door hem te versieren met een mooie lint en een kleine clip. Deze kleine details maken je doosje extra speciaal en laten zien dat er veel liefde en moeite is gestoken in deze cadeauverpakking .
Nu ben je klaar om met je eigen handen een magische doos te vouwen en te vullen zoals jij wilt. Het is niet alleen slechts leuk, maar ook een mooi gebaar om geluk en vreugde te schenken.