- Gratis verzending vanaf 75 € binnen België
- Eenvoudige retourzending
- Telefoon +32 50 89 35 27
Instructies Nee. 3165
Moeilijkheidsgraad: Beginners
Werktijden: 2 Uren


servet bevestigen
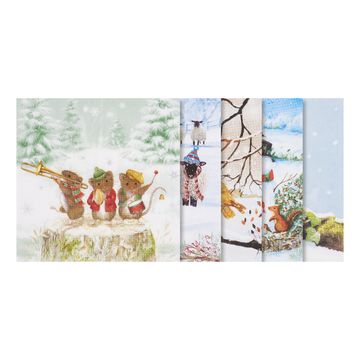
Knip het motief uit: Snijd het gewenste motief voorzichtig uit op een servet . Voor deze techniek moet je slechts de bovenste, bedrukte laag van het glas snijden servet.
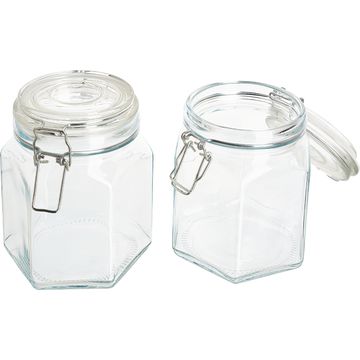
Bereid het glas voor: Smeer het glas gelijkmatig in met servetlak. Zorg ervoor dat de laag niet te dik is om te voorkomen dat er luchtbellen ontstaan.
Plaats het motief: Plaats de uitgesneden en bovenste bedrukte laag van servet voorzichtig op het glas en druk het lichtjes aan. Gebruik een zachte borstel of je vingers om eventuele vouwen glad te strijken.
servetlak aanbrengen: Bestrijk het motief nogmaals met servetlak. Zorg ervoor dat je vanuit het midden naar buiten werkt om vouwen en luchtbellen te voorkomen. Laat de verf volledig drogen.
Vorsteffecten bereiken
Breng frost effect paint aan: Voor een frost effect kun je het glas eerst deppen met frost effect paint. Deze speciale effectverf zorgt voor een ijzige look op het glas. Je kunt het frosty effect versterken door de verf te kleuren met een kleurconcentraat.
Deppen en sprenkelen: Breng de frost effect verf met een schilderspons met lichte, deppende bewegingen aan op het glas. Zo krijg je de gewenste textuur. Strooi er vervolgens wat micavlokken over terwijl de kleur nog nat is.
Versier en gebruik het glas
Laat drogen: Wacht tot het glas helemaal droog is. Dit kan een paar uur duren, afhankelijk van de dikte van de aangebrachte lagen.
Vullen en decoreren: Nu kun je de pot naar wens vullen. Snoepjes, snoer lampjes of LED waxinelichtjes zijn ideaal. Versier de pot tot slot met mooie linten, hagelslag en kleine bellen, om het ontwerp af te maken.
Met deze instructies en een beetje creativiteit kun je prachtige ijskoude glazen maken die gegarandeerd de aandacht zullen trekken. Bezoek onze online shop om alle materialen te kopen die je nodig hebt voor servettentechniek en vorsteffect . Begin vandaag nog met je creatieve project en laat je fantasie de vrije loop!
Ervaar het plezier van knutselen en decoreren met ons uitgebreide assortiment creatieve en ambachtelijke artikelen!