- Gratis verzending vanaf 75 € binnen België
- Eenvoudige retourzending
- Telefoon +32 50 89 35 27
Instructies Nee. 3270
Moeilijkheidsgraad: Gevorderde
Werktijden: 2 Uren
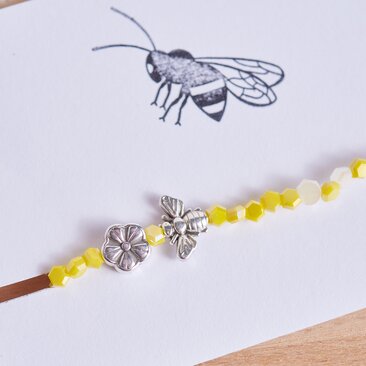
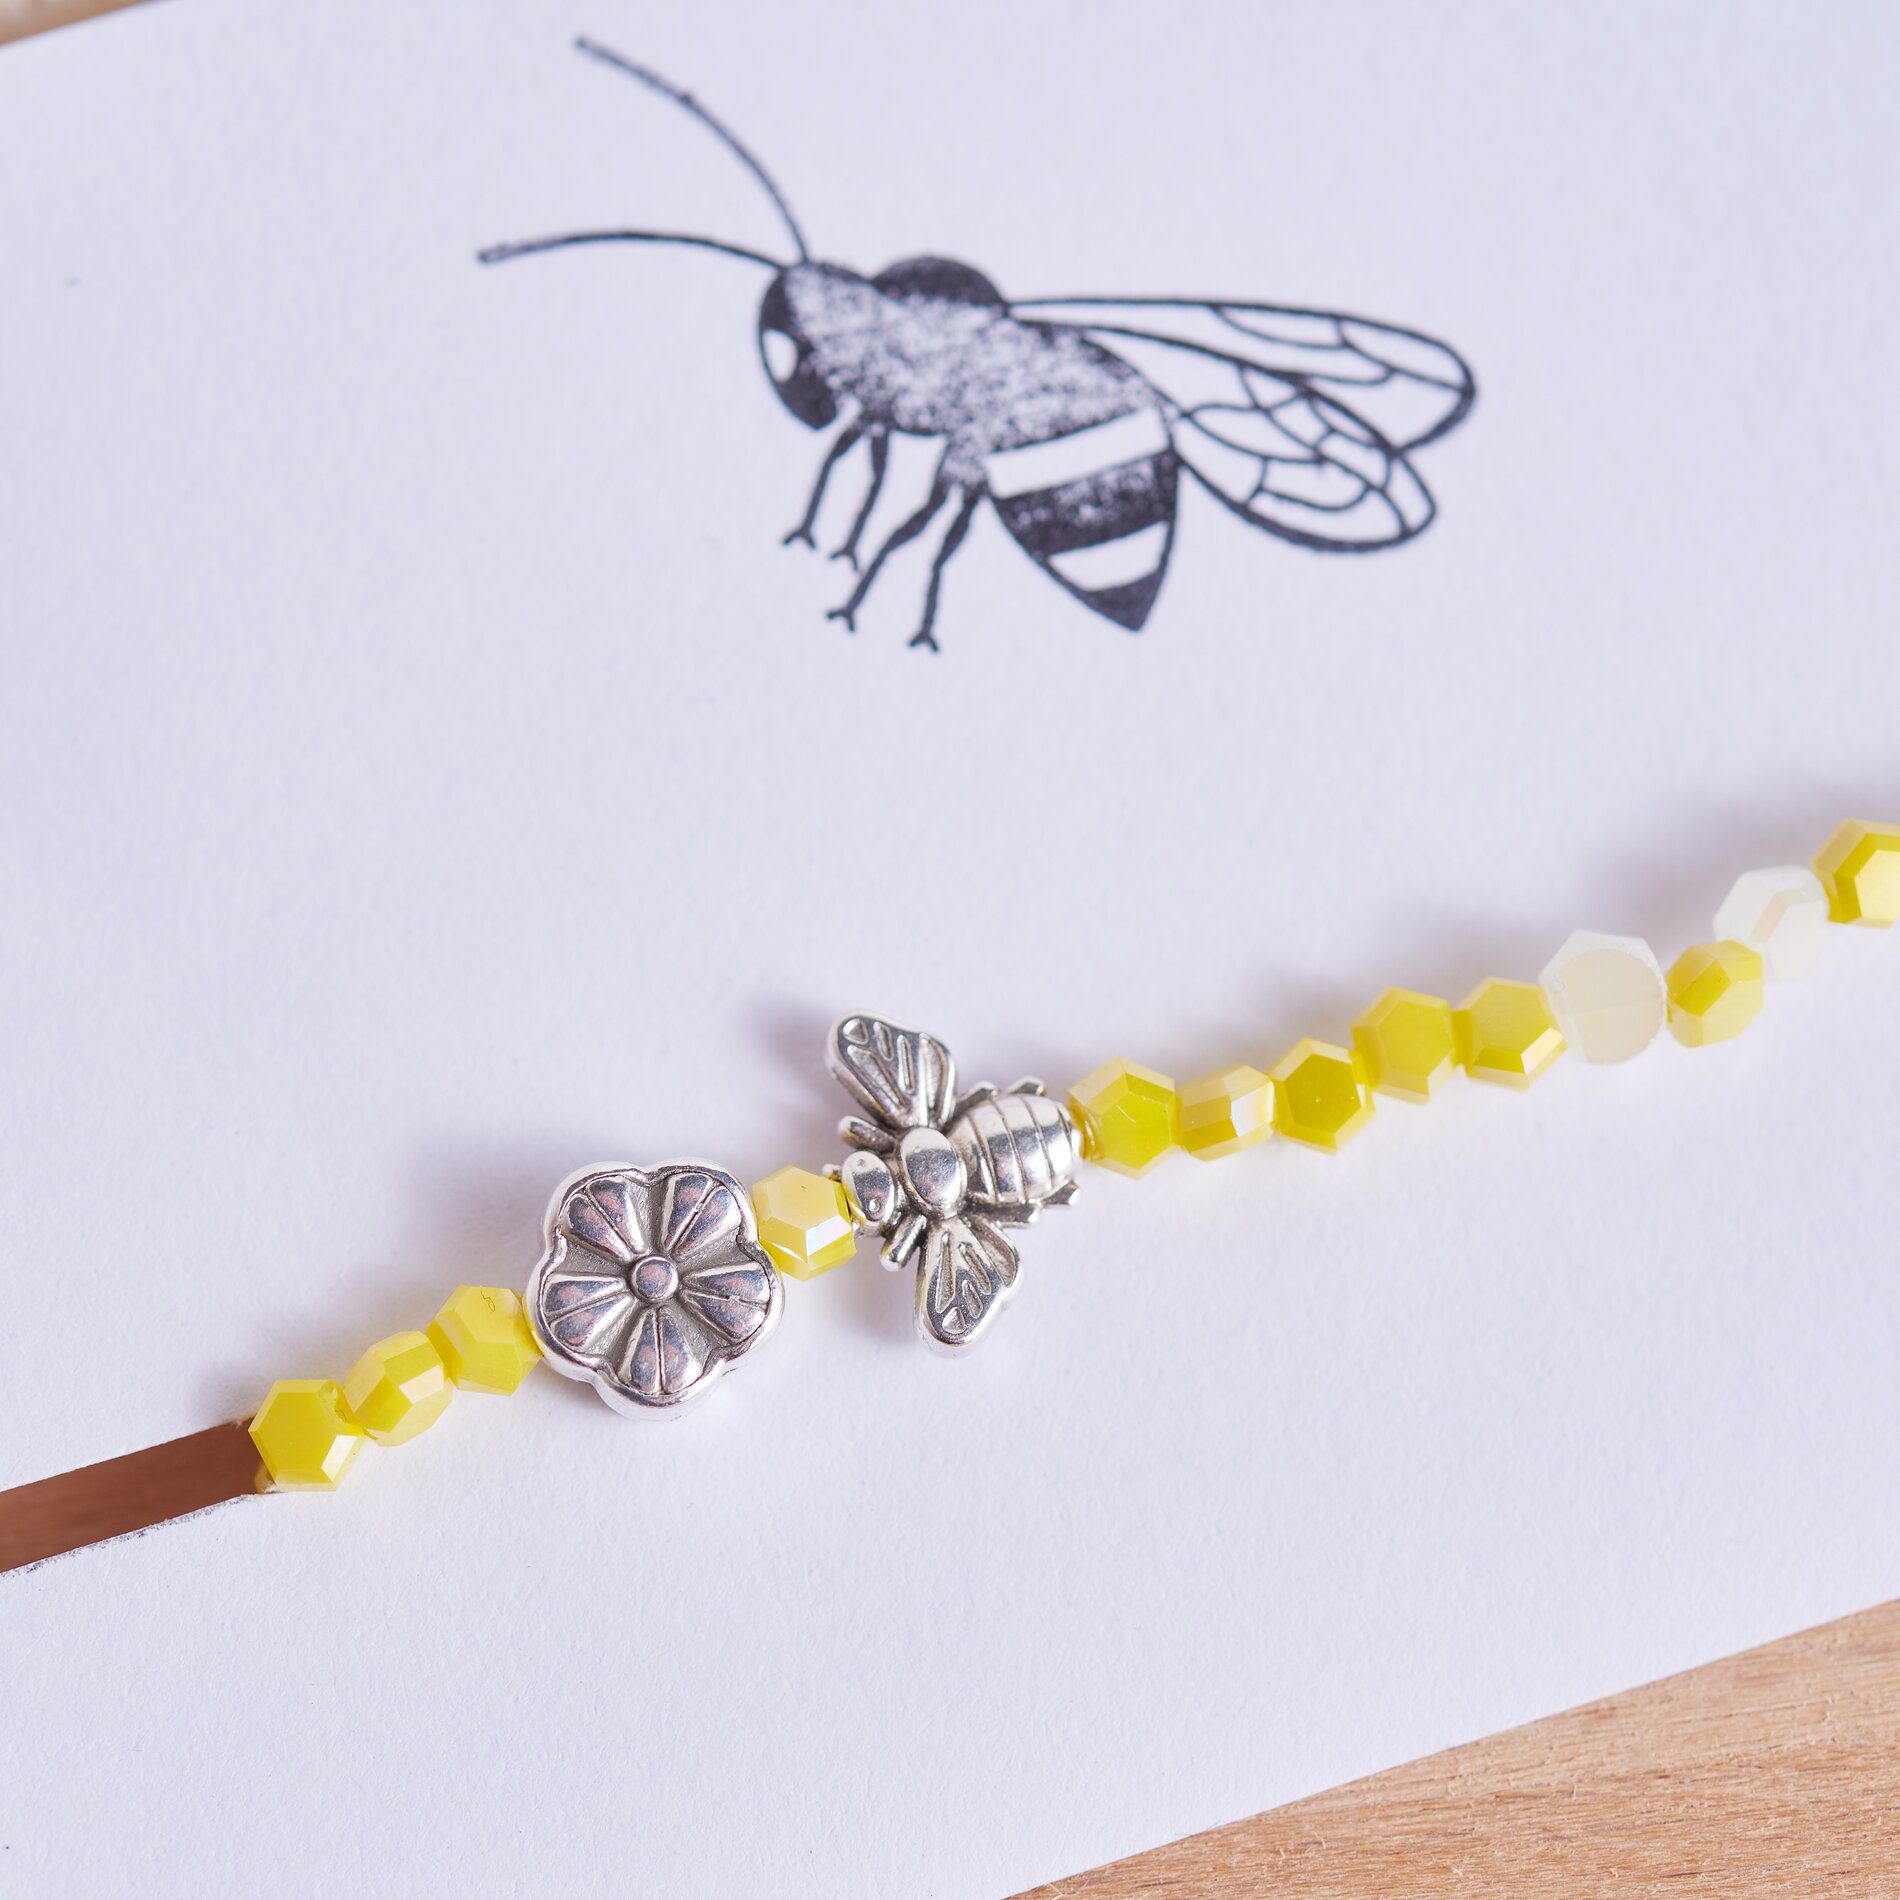
armband:
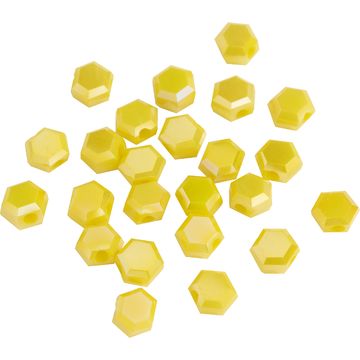
Stap 1: Rijg de kralen op Begin met de gewenste kralen achter elkaar op een nylondraad te rijgen. Zorg ervoor dat de kralen goed uitgelijnd zijn en dat er geen openingen zijn om een effectief honingraatpatroon te creëren.
Stap 2: Bevestig de sluitingen Rijg nu een crimp-kraal aan elk uiteinde van de draad. Rijg vervolgens een karabijnsluiting aan een van de uiteinden en een jump rings. aan het andere uiteinde. Je hebt deze elementen later nodig om de armband stevig te sluiten.
Stap 3: Aanpassen en vastzetten armband Rijg de Perlon draad terug door de krimpkralen om de armband aan te passen aan de gewenste lengte. Druk de krimpkralen stevig samen met een sieraden tang zodat de uiteinden goed vastzitten. Je armband is nu klaar!
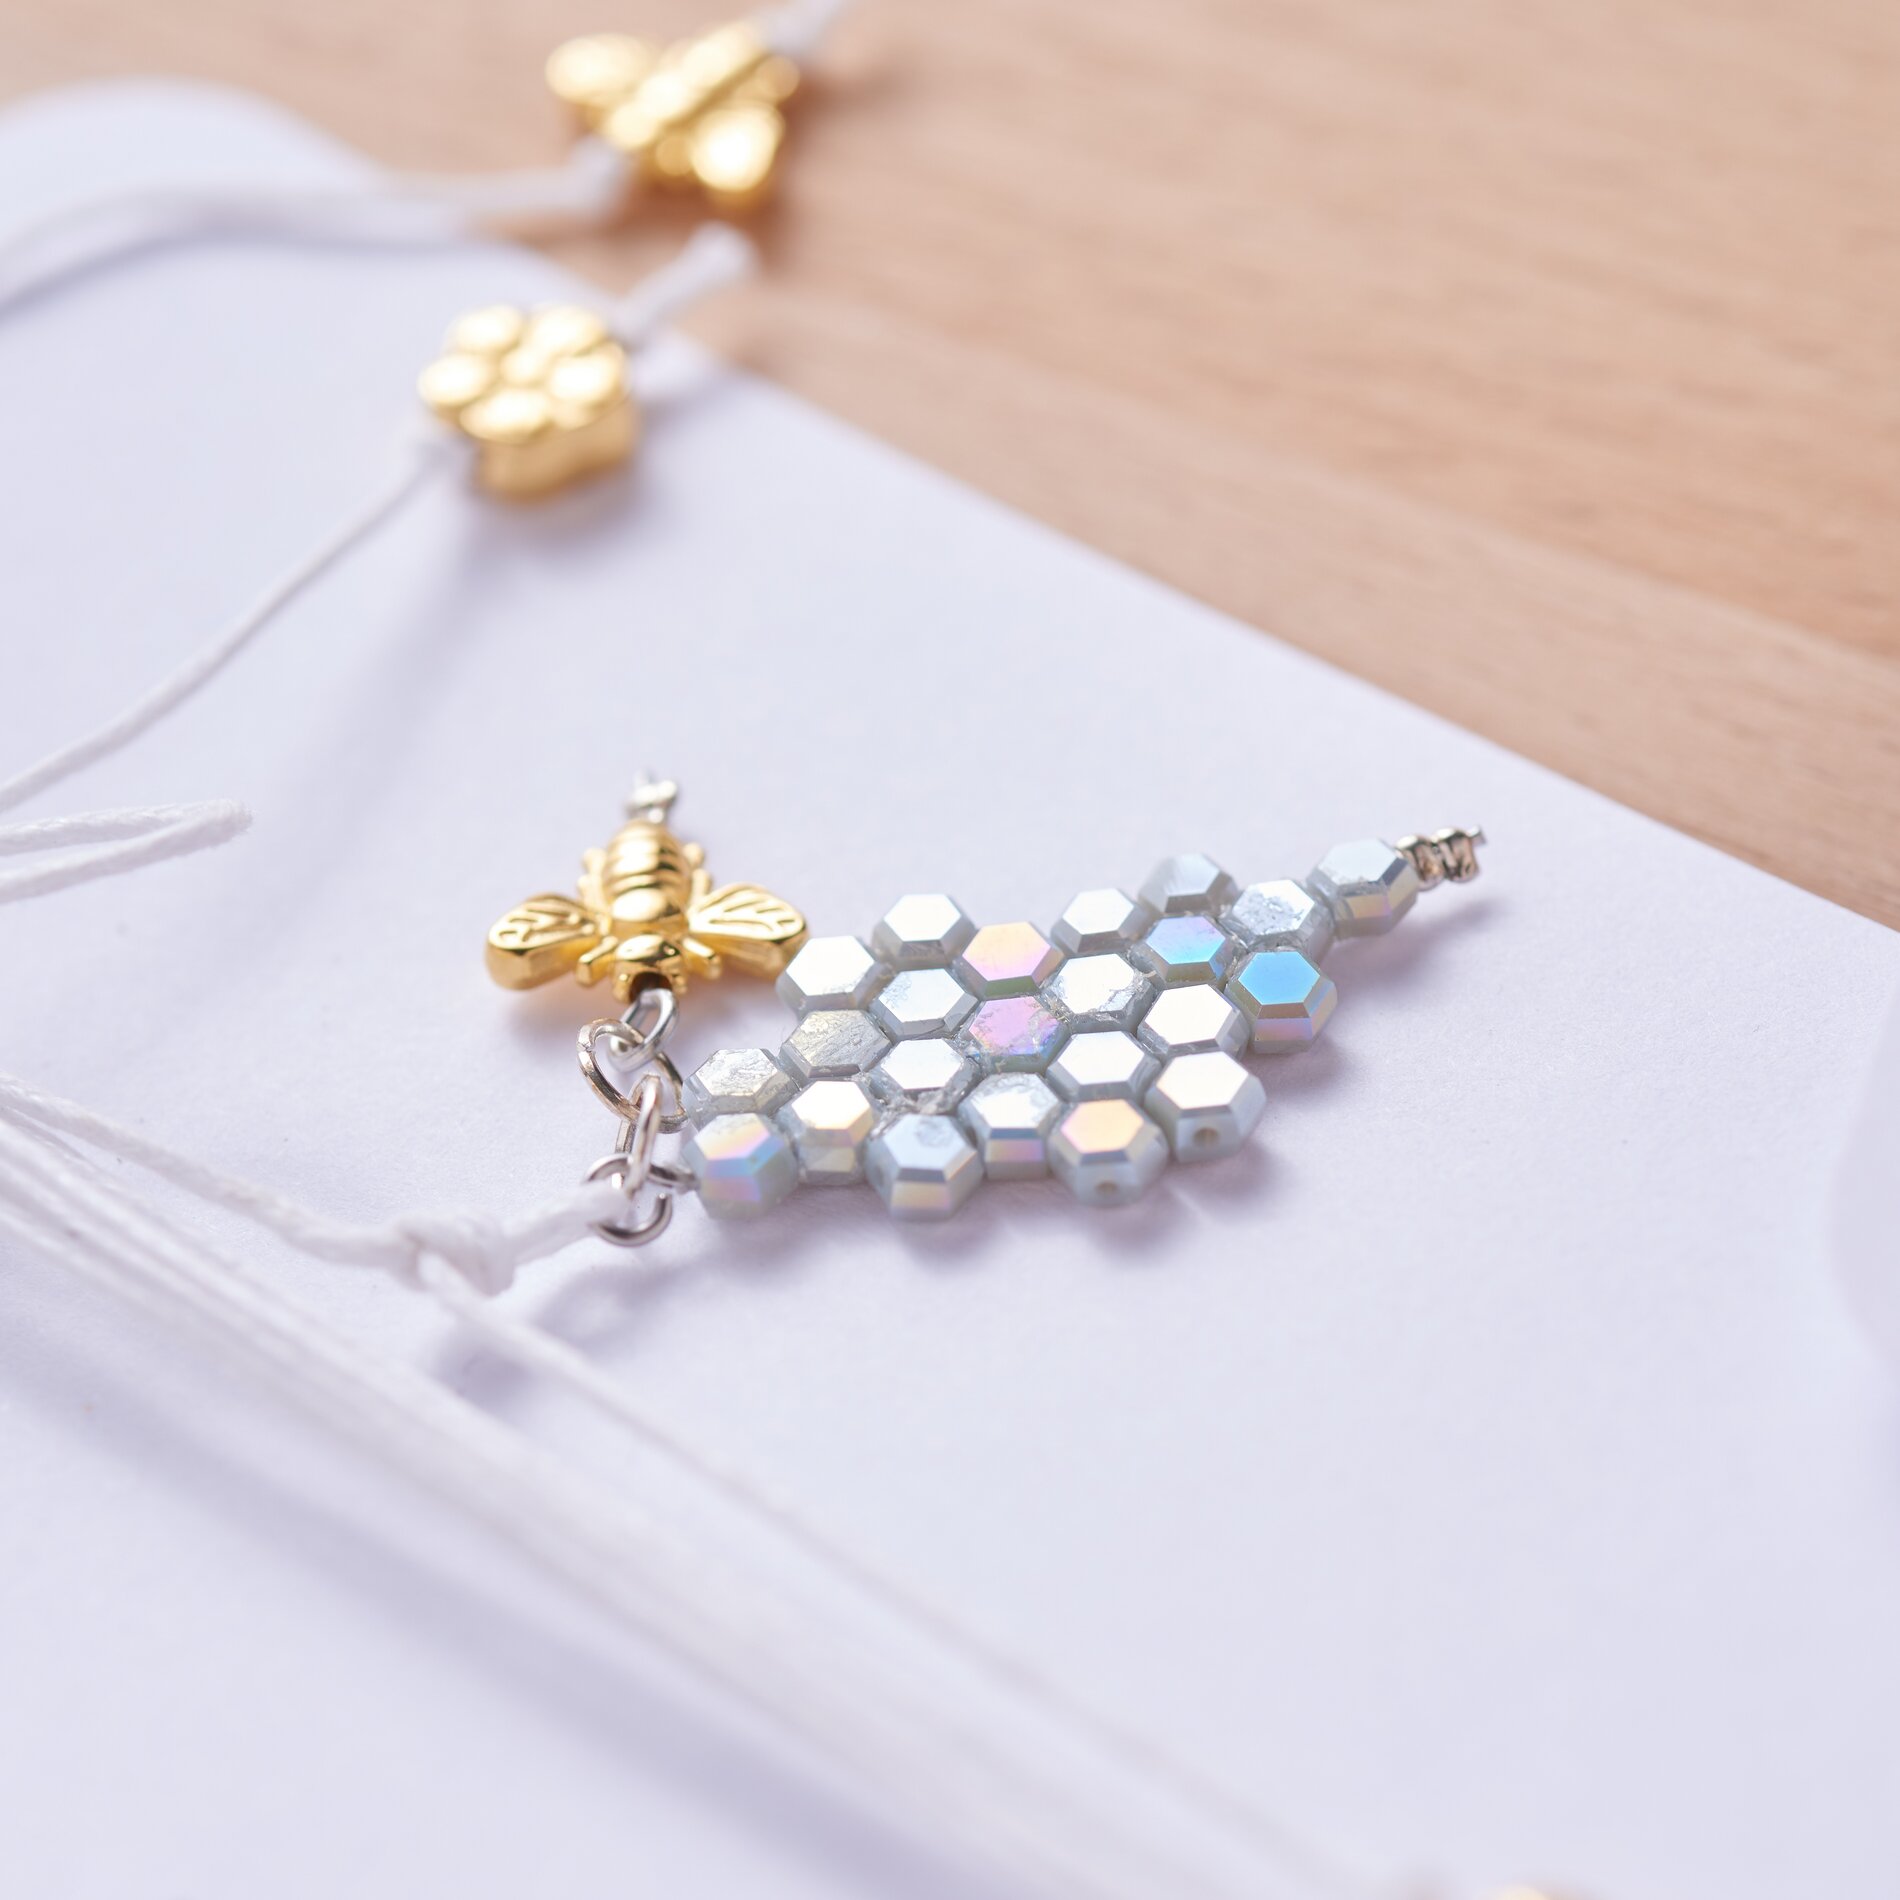
Ontwerp een ketting met honingraathanger en bijen
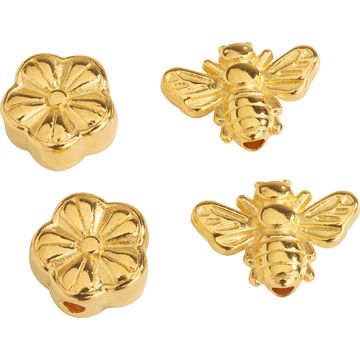
Stap 1: Maak een honingraathanger Neem een kettelstift en rijg er acht kralen aan. Deze vormen het middelpunt van je honingraathanger. Voeg tot slot twee krimpkralen toe en druk ze aan het uiteinde stevig samen om de kralen vast te zetten. Knip het overtollige uiteinde van de kettelstift af.
Stap 2: Stabiliseer de kralen Lijm de andere honingraatkralen samen met een geschikte lijm en laat alles goed drogen. Knip een stukje pinwheel folie dat iets kleiner is dan de hanger en bevestig het aan de achterkant voor extra stabiliteit.
Stap 3: Voeg de bijenhanger toe Schuif de bijenhanger op een andere kettelstift. Voeg ten slotte twee krimpkralen toe en druk ze aan het uiteinde stevig samen om de bij vast te maken. Knip het overtollige uiteinde van de kettelstift af.
Stap 4: Verbind de elementen met elkaar Verbind de bijenhanger met de honingraathanger door twee jump rings ringetjes te gebruiken. Deze ringen zorgen ervoor dat de hangers flexibel kunnen bewegen en geven je ketting extra dynamiek.
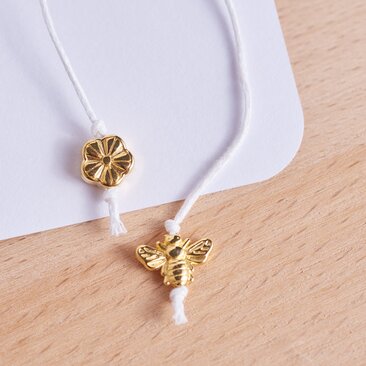
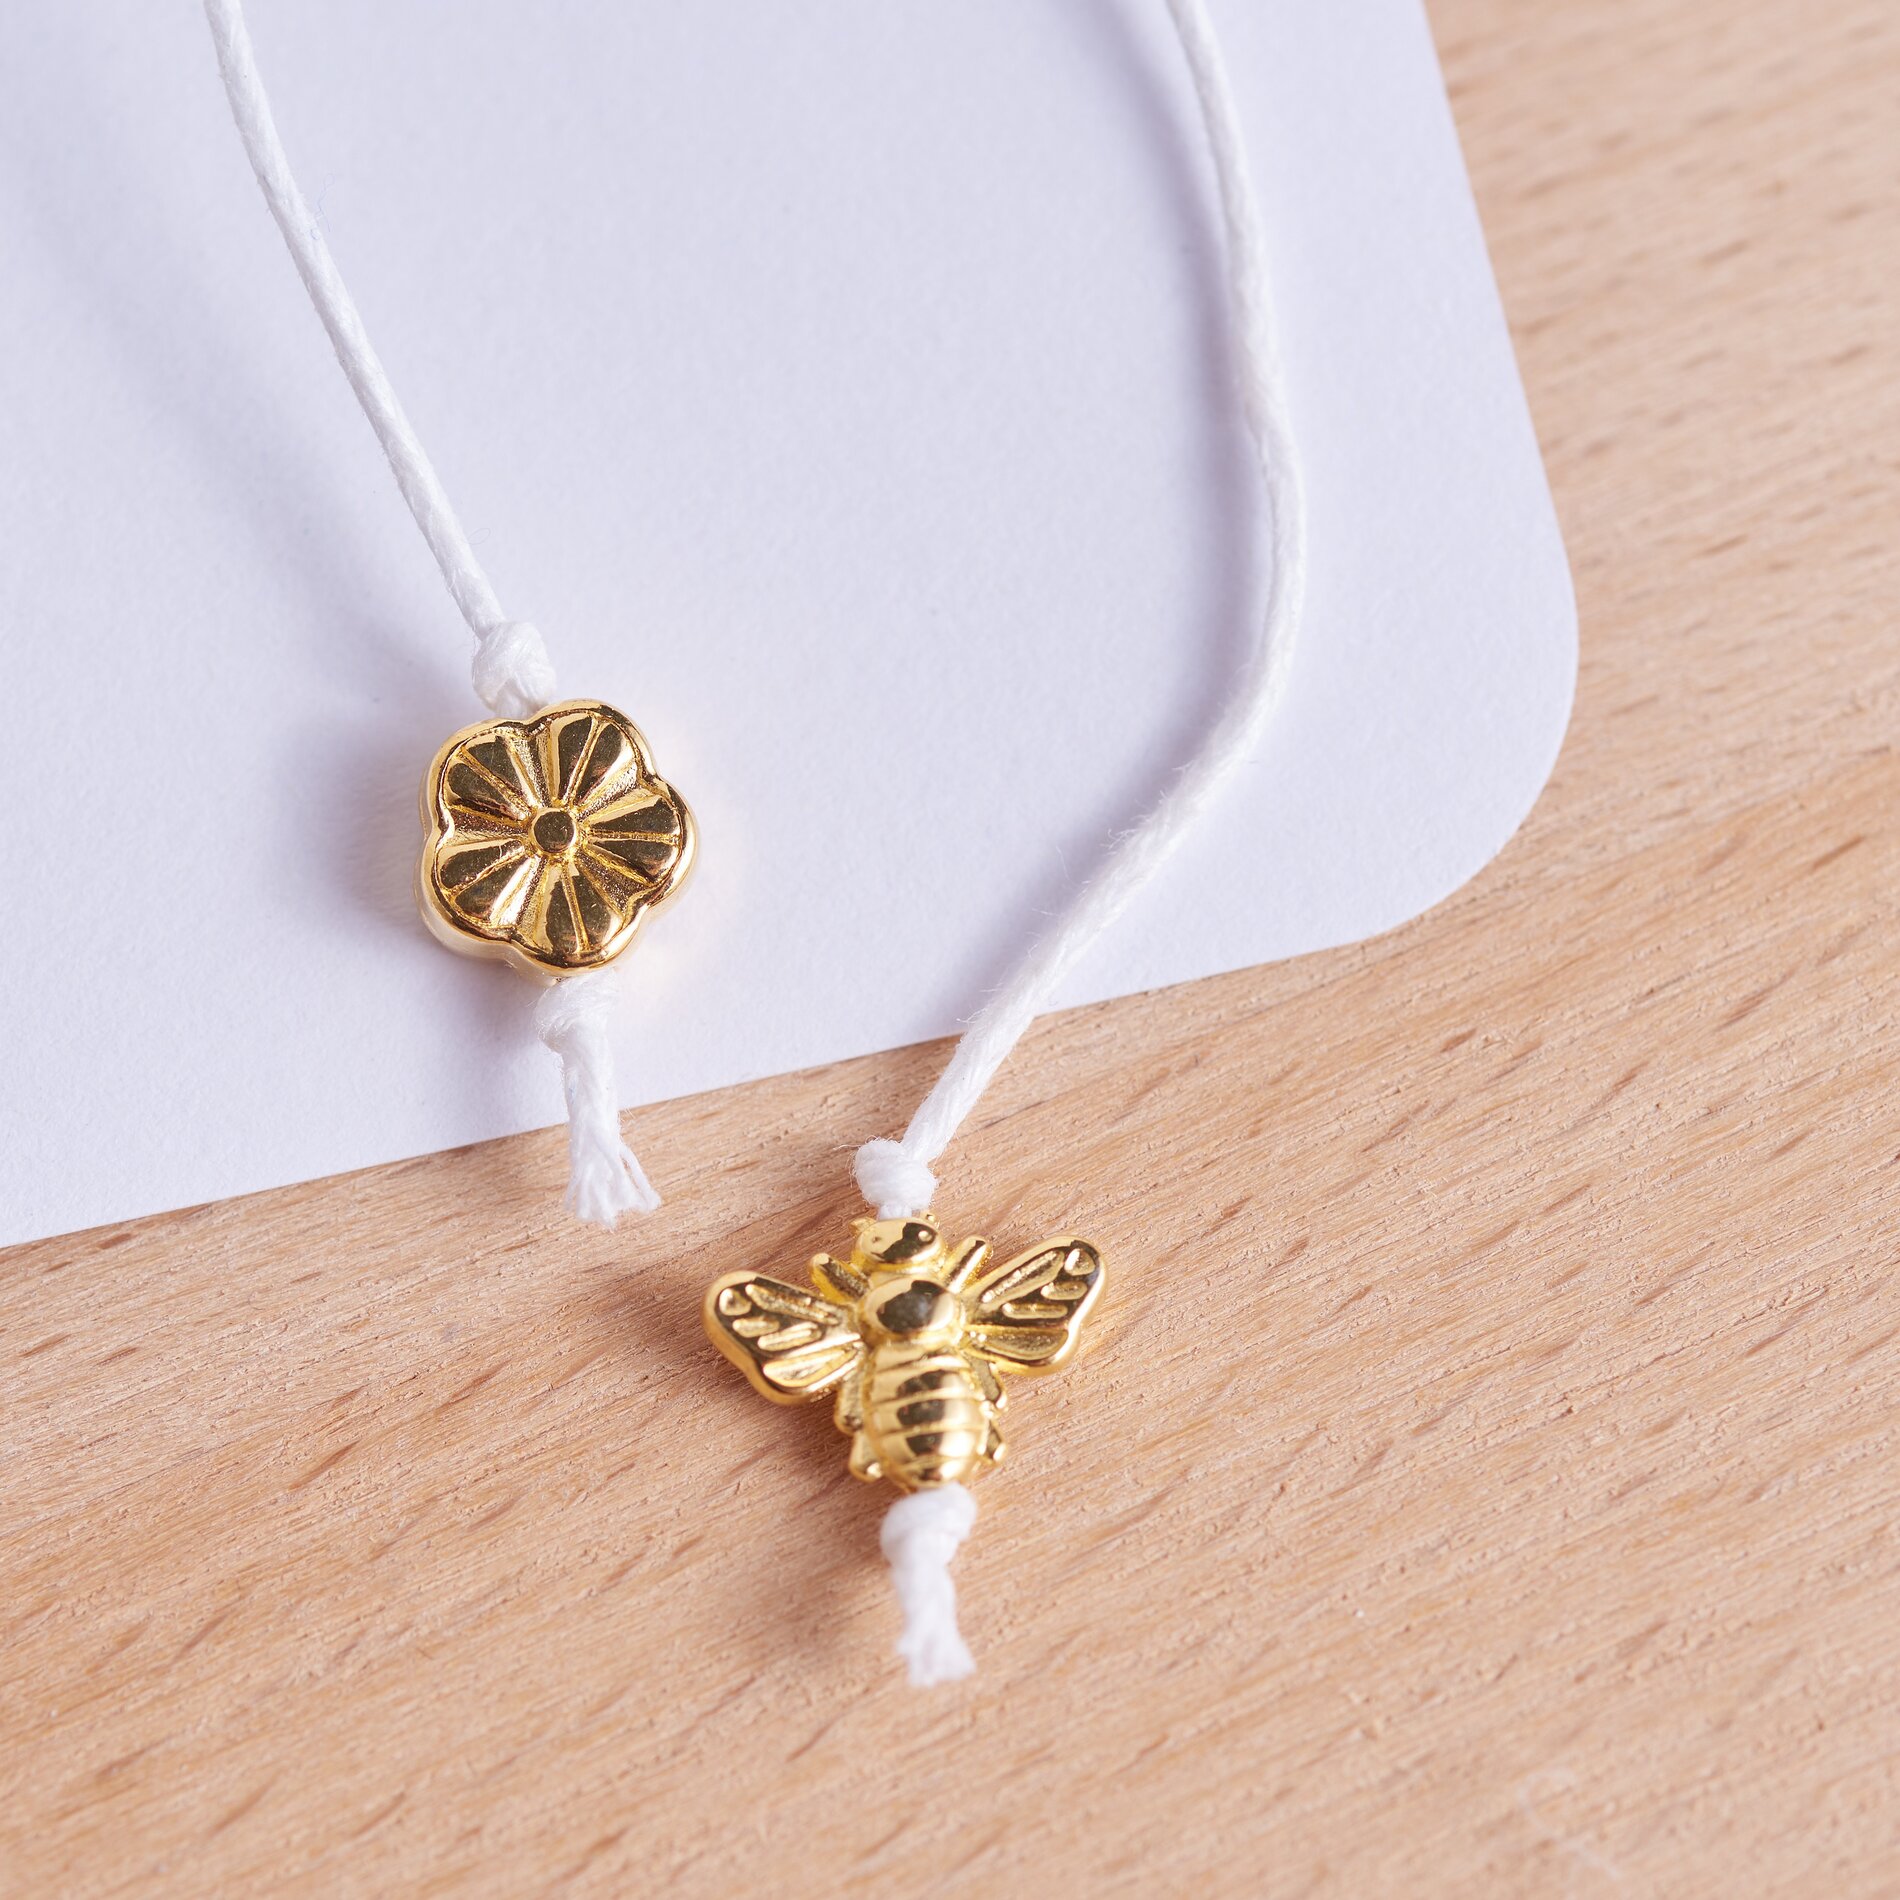
Stap 5: Zet ketting in elkaar Knip het sieradenkoord op de gewenste lengte. De maat van koord moet zo zijn dat de ketting goed om je nek past terwijl de strik aan de zijkant zit. Rijg de afgewerkte honingraathanger en andere decoratieve elementen zoals bloemen aan de koord. Knoop een sieraad-parel aan elk uiteinde.
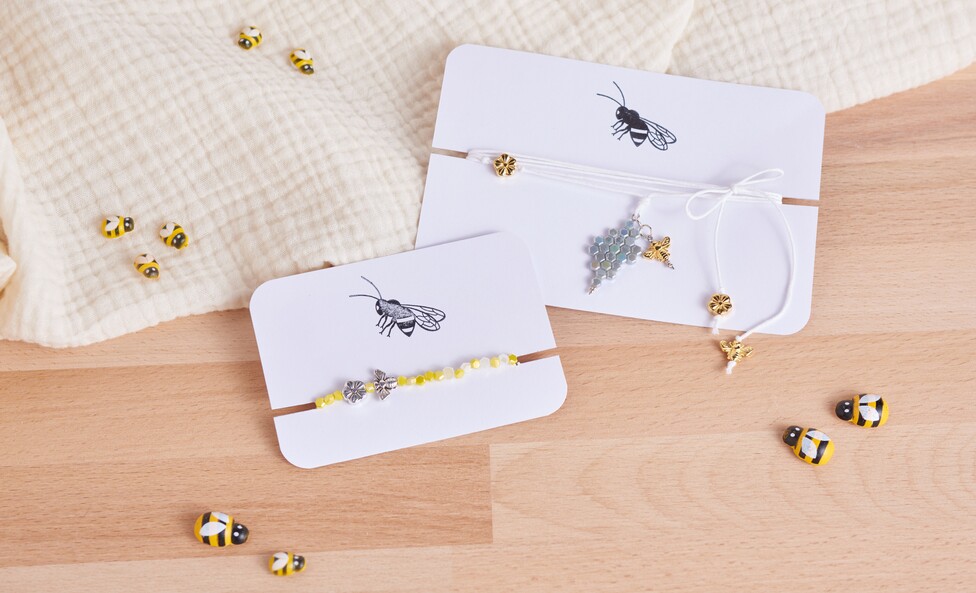
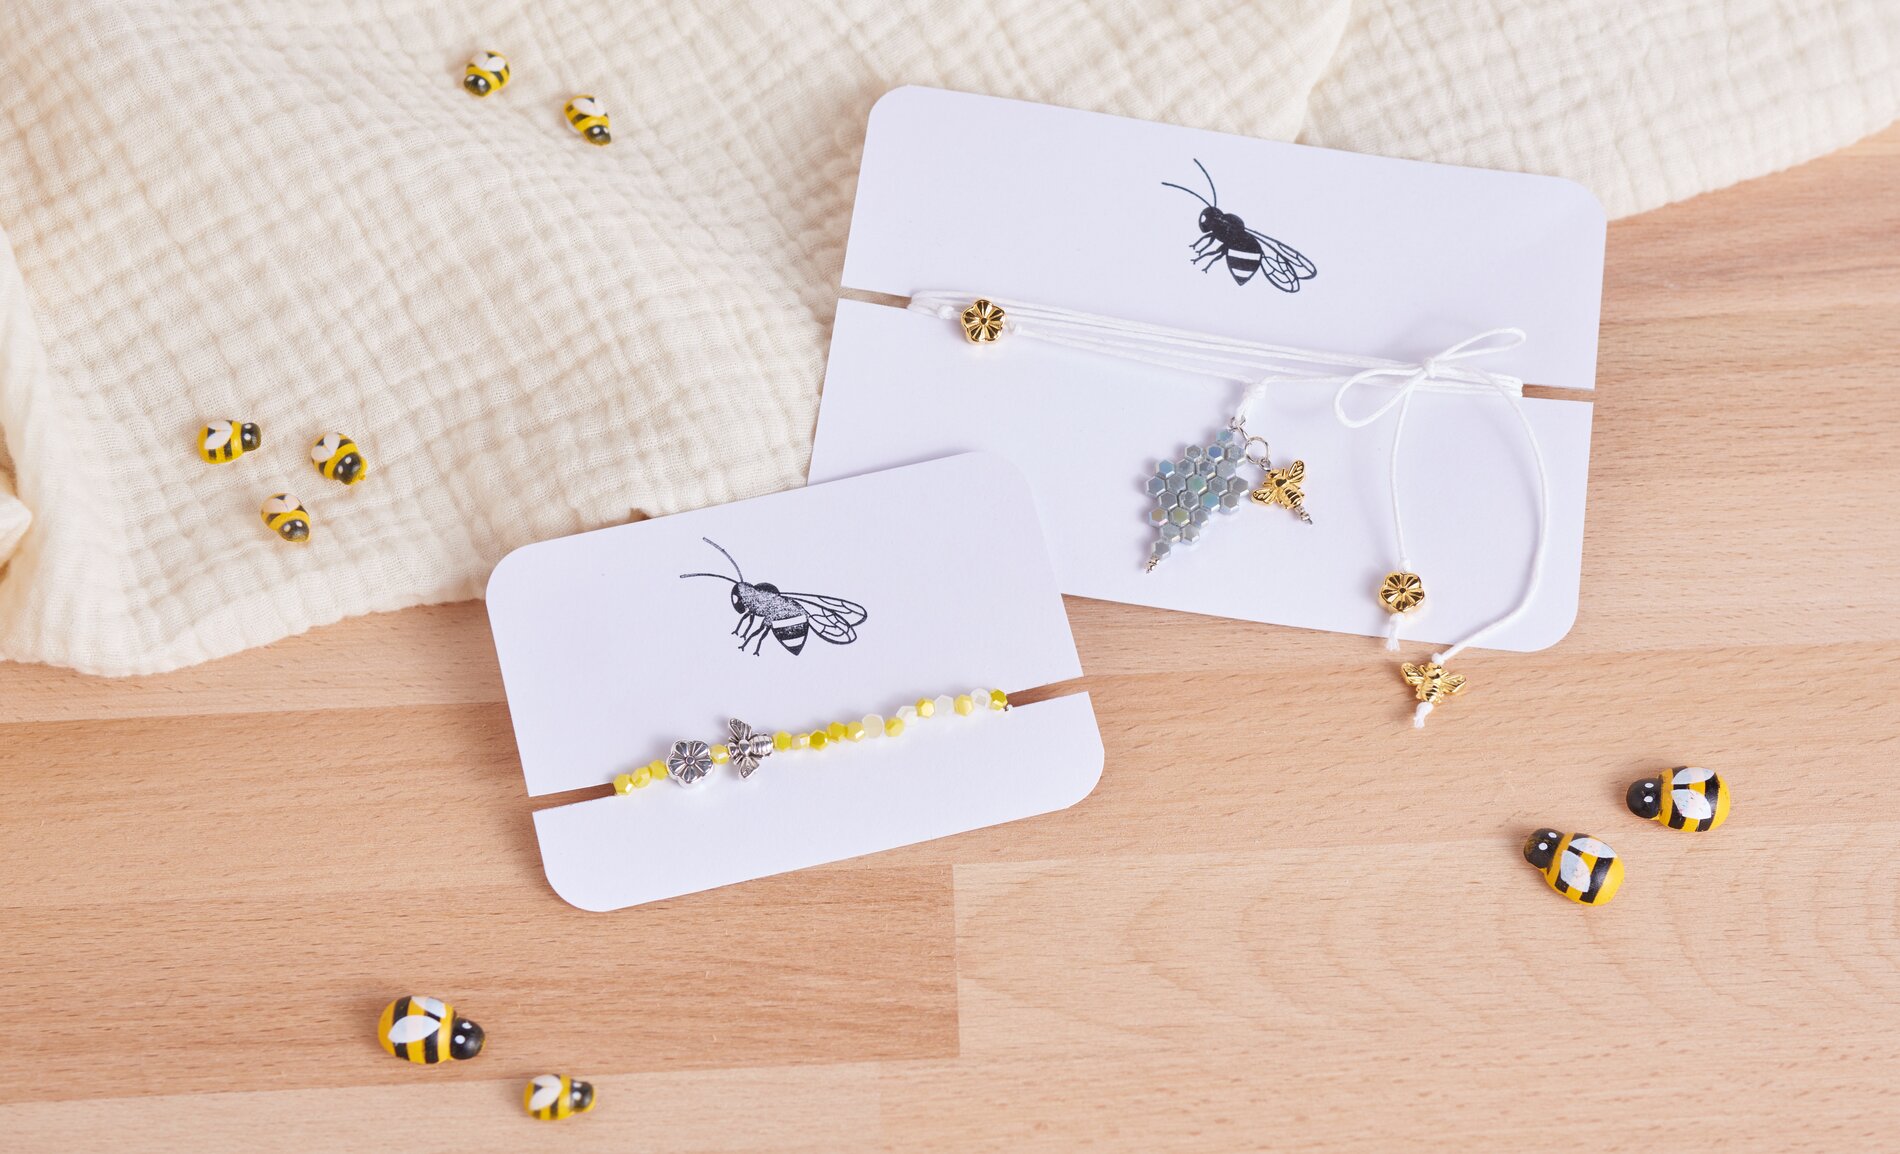
Inpakken en afwerken
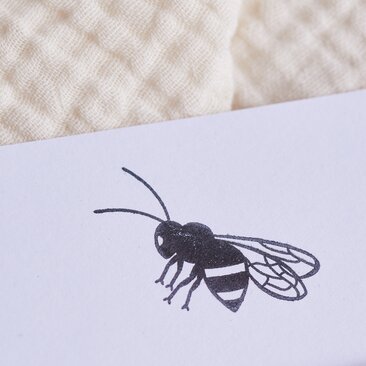
Final touch: creatieve verpakking Knip stukken karton, bestempel ze met patronen of motieven naar keuze en rond de hoeken af. Knip bijpassende gleufjes om de armband en ketting stevig vast te maken en te presenteren. Zo zijn de armband en de ketting mooi verpakt als cadeau.