- Gratis verzending vanaf 75 € binnen België
- Eenvoudige retourzending
- Telefoon +32 50 89 35 27
Instructies Nee. 3233
Moeilijkheidsgraad: Beginners
Werktijden: 1 uur

Stap 1: Bereid de perfecte mal voor
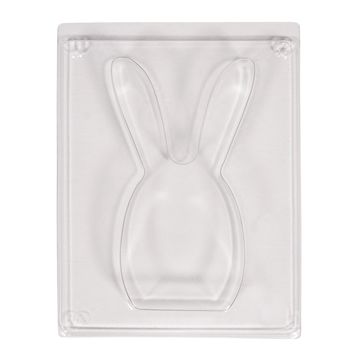
Giet eerst ongeveer 9 volle eetlepels gietpoeder in een mengbeker . Voeg langzaam water toe en roer het mengsel krachtig tot er geen klontjes meer zijn en er een dikke pasta is ontstaan. Giet voor het grote konijn het mengsel voorzichtig in de PET mal en zorg ervoor dat de mal slechts tot ongeveer 0,5 cm onder de rand wordt gevuld. Dit maakt het makkelijker om de mal te verwijderen nadat hij gedroogd is. Tik een paar keer lichtjes op het oppervlak van de mal zodat eventuele luchtbellen kunnen ontsnappen. Voor het konijntje heb je ongeveer 4 volle eetlepels gietpoeder nodig en ga op dezelfde manier te werk.
Tip: Zorg ervoor dat er geen klontjes zijn bij het mengen voor het best mogelijke resultaat.
Stap 2: Drogen en ontvormen van de gietmassa
Laat de gietmassa ca. 2 uur rusten zodat deze voldoende droogt. Draai dan de mal om en druk met de vlakke hand gelijkmatig op de mal om de gietaarde vanaf los te maken. Houd nu de mal in je handen en tik zachtjes aan alle kanten op het oppervlak totdat het gietstuk langzaam uit de mal glijdt. Strijk de randen van de konijntjes glad met een beetje schuurpapier voor een schone afwerking. Laat de gietstukken nu nog ongeveer 8 uur volledig drogen.
Stap 3: Versier de konijntjes creatief
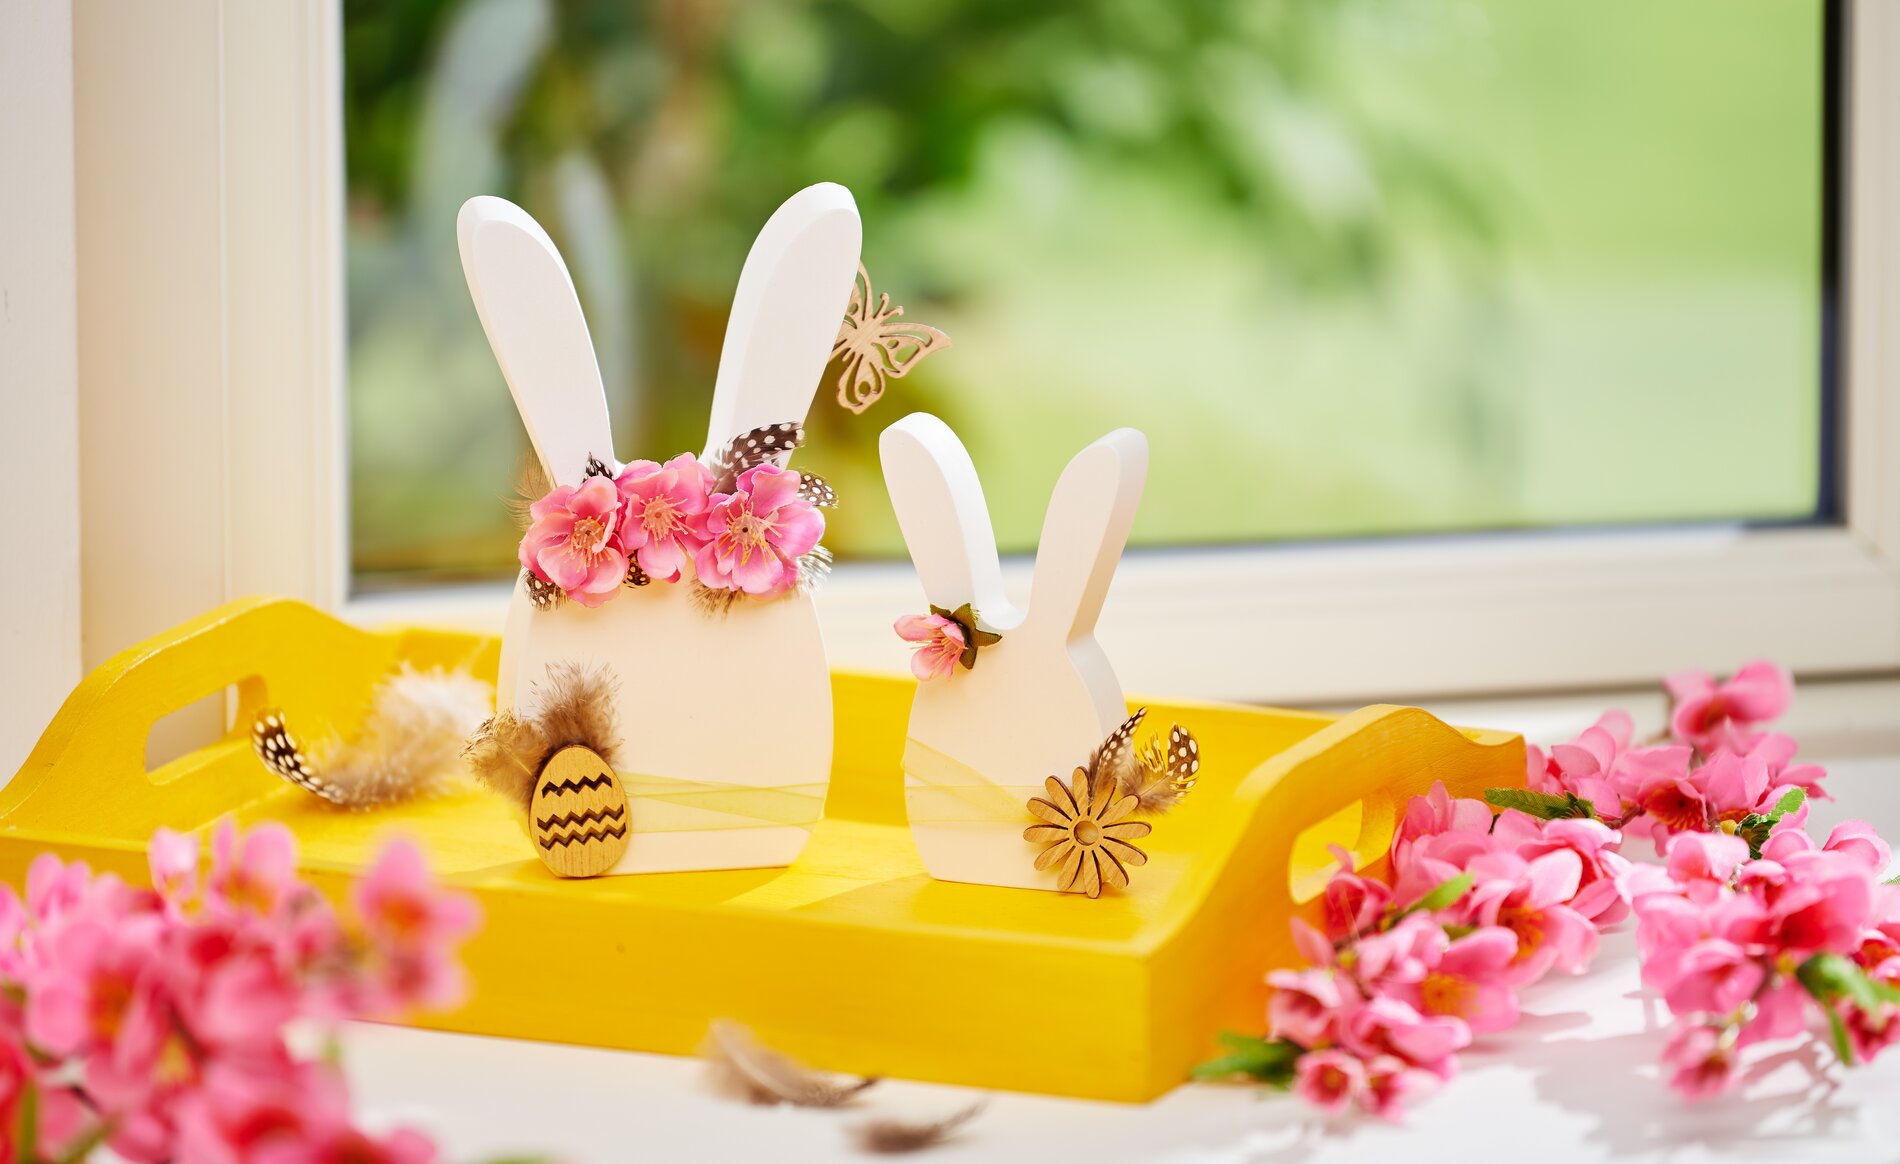
Breek een paar bloesems af van een kersenbloesemtak en knip de plastic delen aan de achterkant voorzichtig af met een schaar. Bevestig de bloemen en veren aan je konijntje met knutsellijm . Om het konijntje de finishing touch te geven, knoop je een bijpassende organza lint om het lijfje en maak je er een elegante knoop in. Je kunt ook veren en andere strooidelen op deze lint kleven om je konijntje een persoonlijk tintje te geven.
Je persoonlijke paasproject wacht op je
Met deze prachtig versierde konijntjes kun je niet alleen slechts je huis versieren, maar ook je geliefden verrassen met handgemaakte decoraties. Je vindt alle materialen die je nodig hebt in onze uitgebreide online shop. Laat je creativiteit de vrije loop en begin nu met je paasproject! DIY-Paasproject nu!