- Gratis verzending vanaf 75 € binnen België
- Eenvoudige retourzending
- Telefoon +32 50 89 35 27
Instructies Nee. 3323
Moeilijkheidsgraad: Beginners
Werktijden: 1 uur

1. Sjablonen overnemen en uitknippen
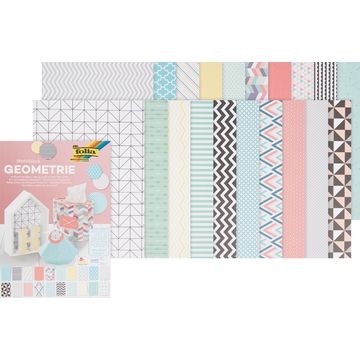
Download eerst het sjabloon en knip het uit. breng vervolgens de buitenste contouren over op de Papier, die de basis moet vormen voor de betreffende boekentas.
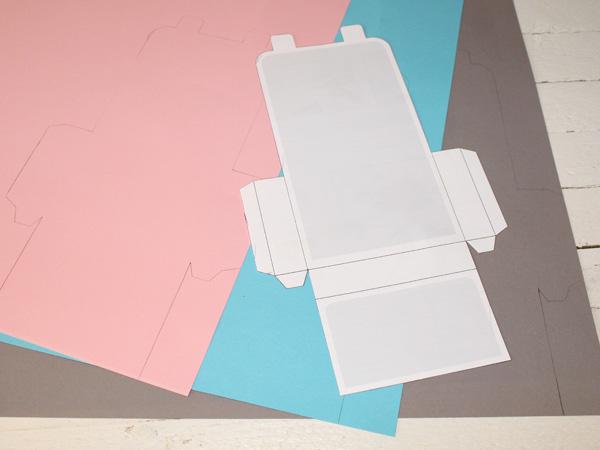
Als je genoeg boekentassen hebt getekend, knip je de grijze gebieden van het sjabloon uit, zet je ze over op motief karton en knip je ook de panelen uit.
<img src="/tn.php?id=322464&width=600&height=450&templang=nl" alt="papier knutselen: Maak je eigen minirugzak voor schoolinschrijving" data-mid="322464" title="Schoolinschrijving_rugzak_stap2" width="600" height="450">Plak vervolgens de panelen op de Papier op de rugzak. Zorg ervoor dat de tussenruimte aan de zijkanten ongeveer gelijk is. Dubbelzijdig plakband werkt het beste. Als je knutsellijm gebruikt, moet je er iets bovenop leggen om het te verzwaren, zodat het niet Papier niet omkrult tijdens het drogen.
<img src="/tn.php?id=322466&width=600&height=450&templang=nl" alt="Knutsel voor inschrijving op school. Kleine rugzak gemaakt van<protected> <protected>papier</protected>" data-mid="322466" title="Einschulung_Rucksack_Schritt3" width="600" height="450">2. Lijm de tas in elkaar
Vouw de Papier langs de randen volgens het sjabloon. De zijkanten (zonder te lijmen) en de bodem moeten allemaal even breed zijn, in dit geval 2 cm.
<img src="/tn.php?id=322468&width=600&height=450&templang=nl" alt="Knutselinstructies voor schoolinschrijving. Rugzak als<protected> cadeau idee </protected>van<protected> <protected>papier</protected>" data-mid="322468" title="Einschulung_Rucksack_Schritt4" width="600" height="450">Bevestig een strook dubbelzijdig plakband, op de plakstrips, verwijder de beschermfolie en lijm de rugzak in etappes aan elkaar.

Houd de rugzak in beide handen en vorm het deksel voorzichtig met je handen. Pas de Papier afhankelijk van hoe hoog of laag de boekentas sluit. Vouw de uitnodiging zo dat hij in de boekentas past en plak hem dicht met een strook dubbelzijdig tape plakband.
3. Bevestig de afzonderlijke delen
Knip twee stroken van ongeveer 1,5 cm breed en 8 cm lang en een strook van 1 cm breed en 10 cm lang uit het basispapier. Lijm de smalle strook aan de bovenkant van de tas met een beetje knutsellijm aan beide uiteinden. Zolang de lijm nog niet is uitgehard, kun je het handvat uitlijnen.
Gebruik de brede stroken voor de rugriemen, buig de uiteinden een beetje en lijm ze aan de achterkant van vanaf de boekentas. Als de stroken goed vastzitten, kun je ze voorzichtig in vorm trekken of drukken.
Lijm ook twee houten knopen in bijpassende kleuren op de voorkant als sluiting.

De boekentassen hebben nu hun basisvorm. Maar je kunt ze nu versieren zoals je wilt verder , bijvoorbeeld met hagelslag, labels of naamkaartjes.

Veel plezier met zelf maken en met school beginnen! Ontdek nu alle materialen die je nodig hebt in onze online shop en begin met je project! DIY-Project!