- Gratis verzending vanaf 75 € binnen België
- Eenvoudige retourzending
- Telefoon +32 50 89 35 27
Instructies Nee. 3135
Moeilijkheidsgraad: Beginners
Werktijden: 2 Uren

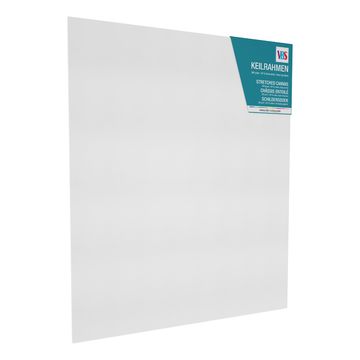
Begin met het tekenen van een grote driehoek op schildersdoek met een sublimatiepen. Deze driehoek bepaalt de omtrek van je kerstballen boom. Zorg ervoor dat de driehoek gelijk is om later een harmonieuze boomvorm te krijgen.
De kerstballen rangschikken
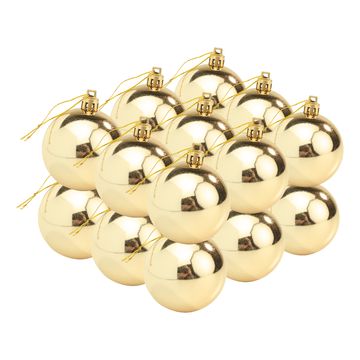
Plaats vervolgens de kerstballen in de driehoek die je hebt getekend om te zien hoeveel je er nodig hebt. Zo kun je de ruimte optimaal benutten en de kerstballen gelijkmatig verdelen.
De kerstballen bevestigen
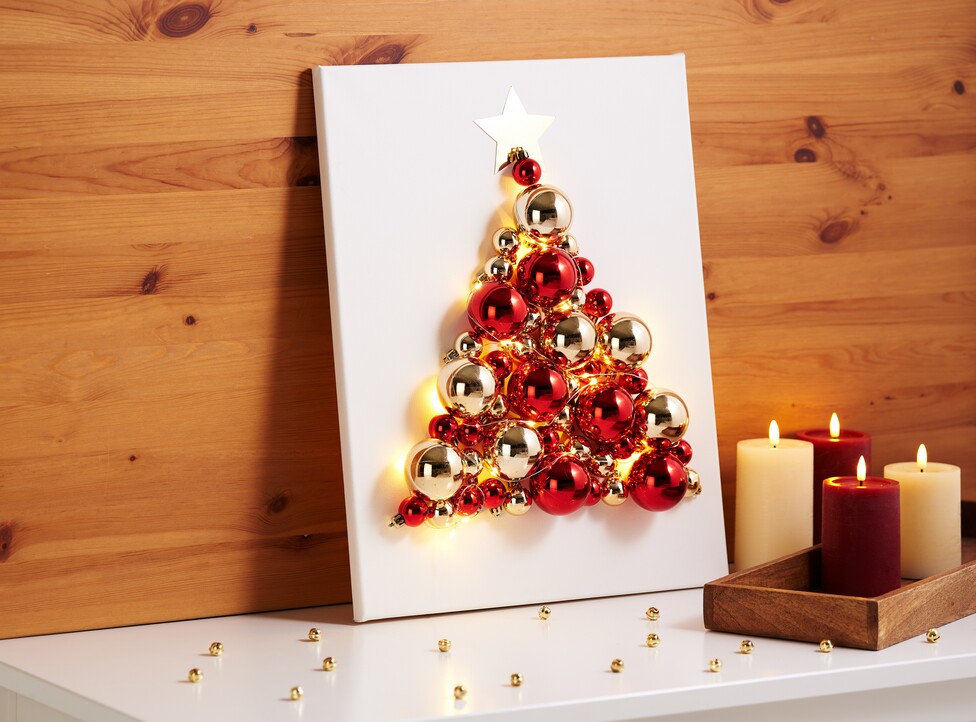
Gebruik nu een lijmpistool om de kerstballen op de eerder bepaalde plekken te bevestigen. Druk elke kerstbal enkele seconden stevig aan zodat de lijm goed hecht. Pas op dat je je niet brandt met de hete lijm.
Een ster toevoegen
Knip een ster uit goud Papier uit. Hiermee versier je de bovenkant van je boom. Bevestig de ster aan de bovenkant van je kerstboom met hete lijm. Zorg ervoor dat de ster goed zichtbaar is en netjes is uitgeknipt.
snoer lampie bevestig
Plaats tot slot tijdelijk de snoer lampie rond de kerstballen. Begin bovenaan met het uiteinde van de snoer lampie, dat geen batterijvakje heeft. Leg de snoer lampie zo dat het batterijcompartiment de rand van de afbeelding rechts of links van de bovenkant van je kerstboom verlaat.
Bevestig het batterijvak
Bevestig tot slot het batterijvak achter de schildersdoek. met hete lijm. Zorg ervoor dat het goed vastzit zodat de snoer lampie goed werkt en het batterijvak niet zichtbaar is.
Klaar om je eigen boom te maken van kerstballen ? Bezoek onze online shop en ontdek een groot Selectie assortiment creatieve en ambachtelijke artikelen van hoge kwaliteit. Koop nu alles wat je nodig hebt voor je volgende project en DIY-Project en tover een feestelijke sfeer in je huis!