- Gratis verzending vanaf 75 € binnen België
- Eenvoudige retourzending
- Telefoon +32 50 89 35 27
Instructies Nee. 3039
Moeilijkheidsgraad: Beginners
Werktijden: 1 uur 30 Notulen

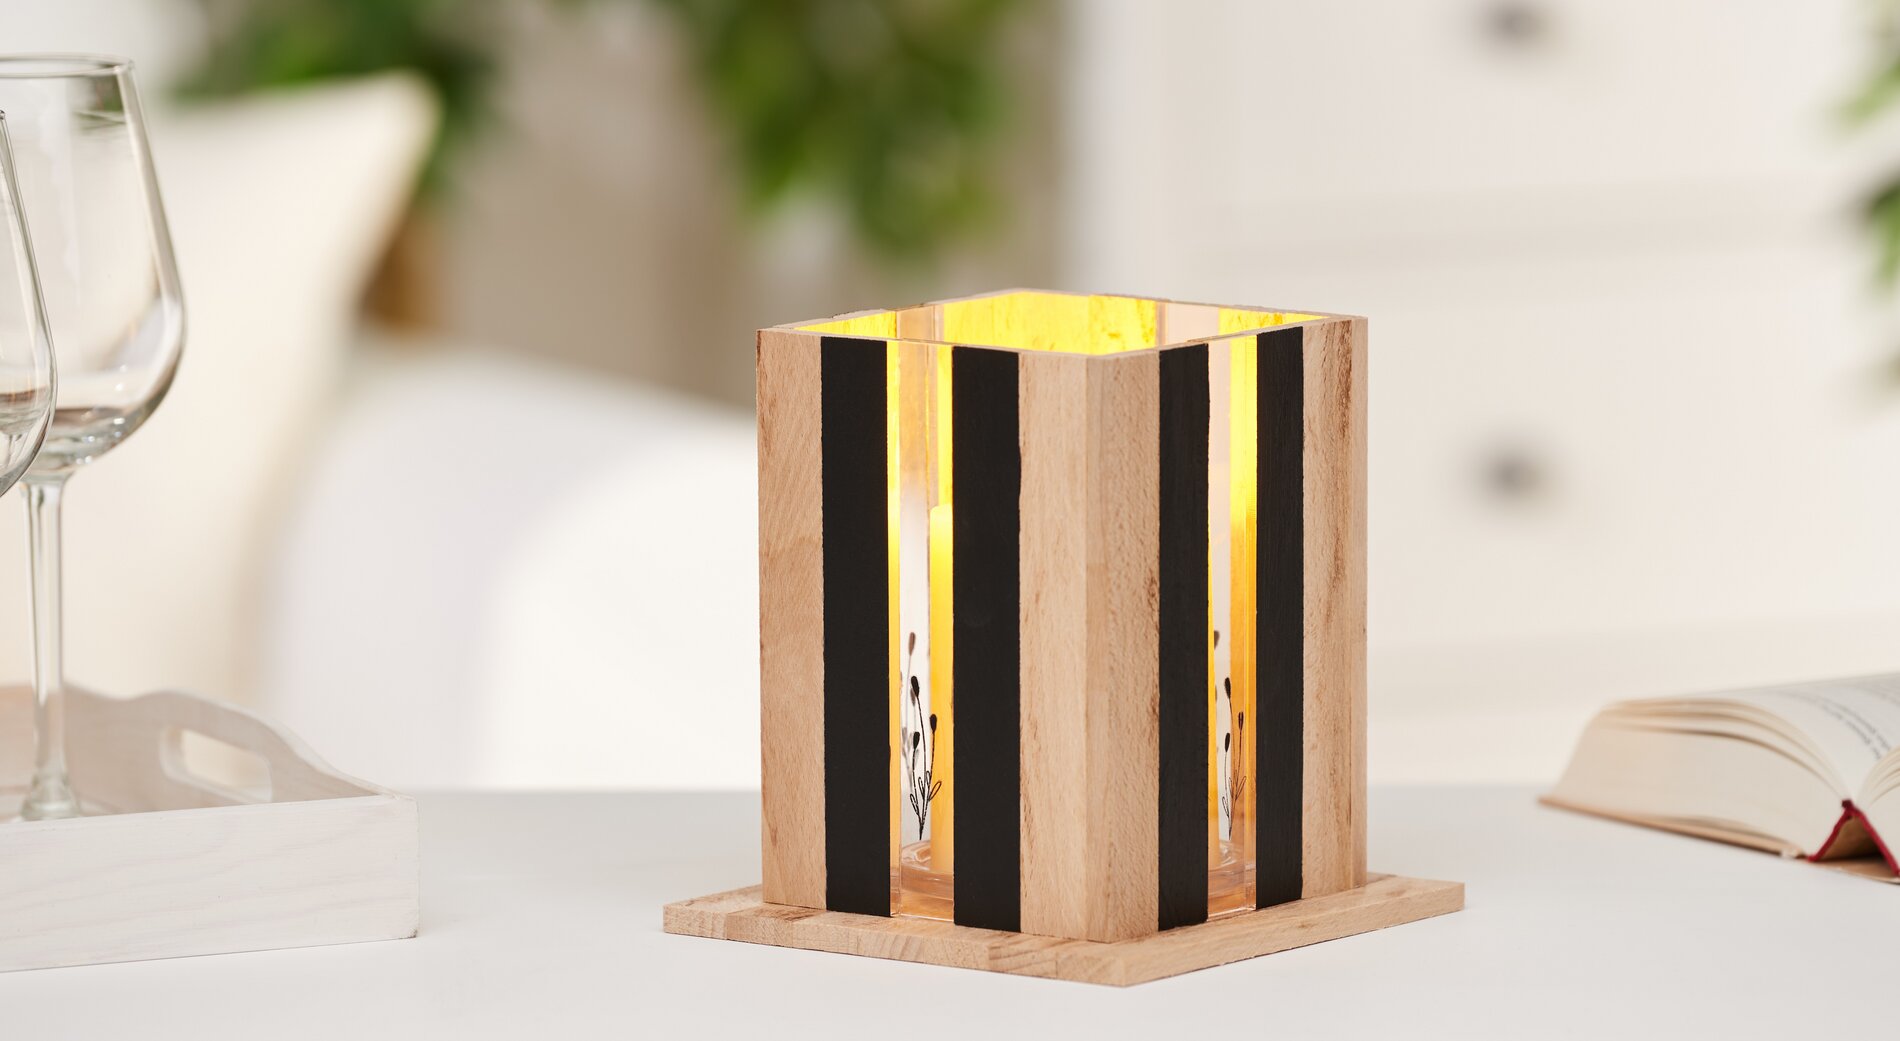
Voor de lantaarn heb je 23 knutselblokken nodig van hout naar keuze en 4 transparante acrylblokken. Indien nodig kun je de knutselblokken een keer schuren voordat je ze aan elkaar lijmt.
Stempel eerst de acrylblokken. Plaats hiervoor de siliconen stempel op de houder met de goede kant naar boven. Dep het vervolgens met de stempelkussens. Nu kun je het acrylblok stempelen. Herhaal dit proces voor de andere drie acrylblokken.
Tip: Als het stempelmotief vlekkerig is of als je de plaatsing niet mooi vindt, kun je het er snel afvegen. De stempelinkt is na ongeveer 5 minuten watervast.
Verf vervolgens acht van de knutselblokken met zwarte acrylinkt acrylverf kleur. Zodra deze ook gedroogd zijn, kun je beginnen met lijmen. Lijm eerst 5 blokken voor elke muur in de volgende volgorde aan elkaar:
1x knutselblok - 1x zwart knutselblok - 1x acrylblok - 1x zwart knutselblok - 1x knutselblok.
Zodra de muren zijn gelijmd en gedroogd, volgt de vloer. Lijm hiervoor zeven knutselblokken aan elkaar langs de lange kant.
controleer of er lijmresten op de acrylblokken van de ontworpen muren zitten. Je kunt dit nu wegvegen met een vochtige doek of voorzichtig afschrapen met een bamboeprikker.
Info: Je kunt zien dat de lijm is doorgedroogd omdat hij doorzichtig is geworden.
Nu kun je de wanden aan de zijkanten aan elkaar lijmen zodat er een vierkant ontstaat. Lijm tot slot het midden van de vloer vast.
Je kunt een kaars of een lamp in het vierkant plaatsen om het te verlichten snoer lampie in het vierkant om het te verlichten.


