- Gratis verzending vanaf 75 € binnen België
- Eenvoudige retourzending
- Telefoon +32 50 89 35 27
Instructies Nee. 3212
Moeilijkheidsgraad: Beginners
Werktijden: 2 Uren

Stap 1: Print de sjablonen uit
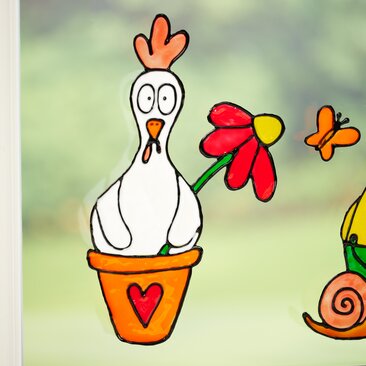
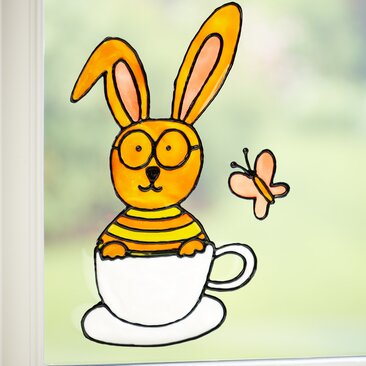
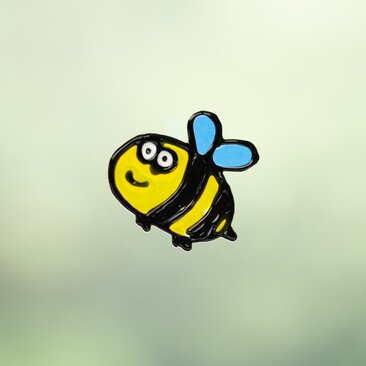
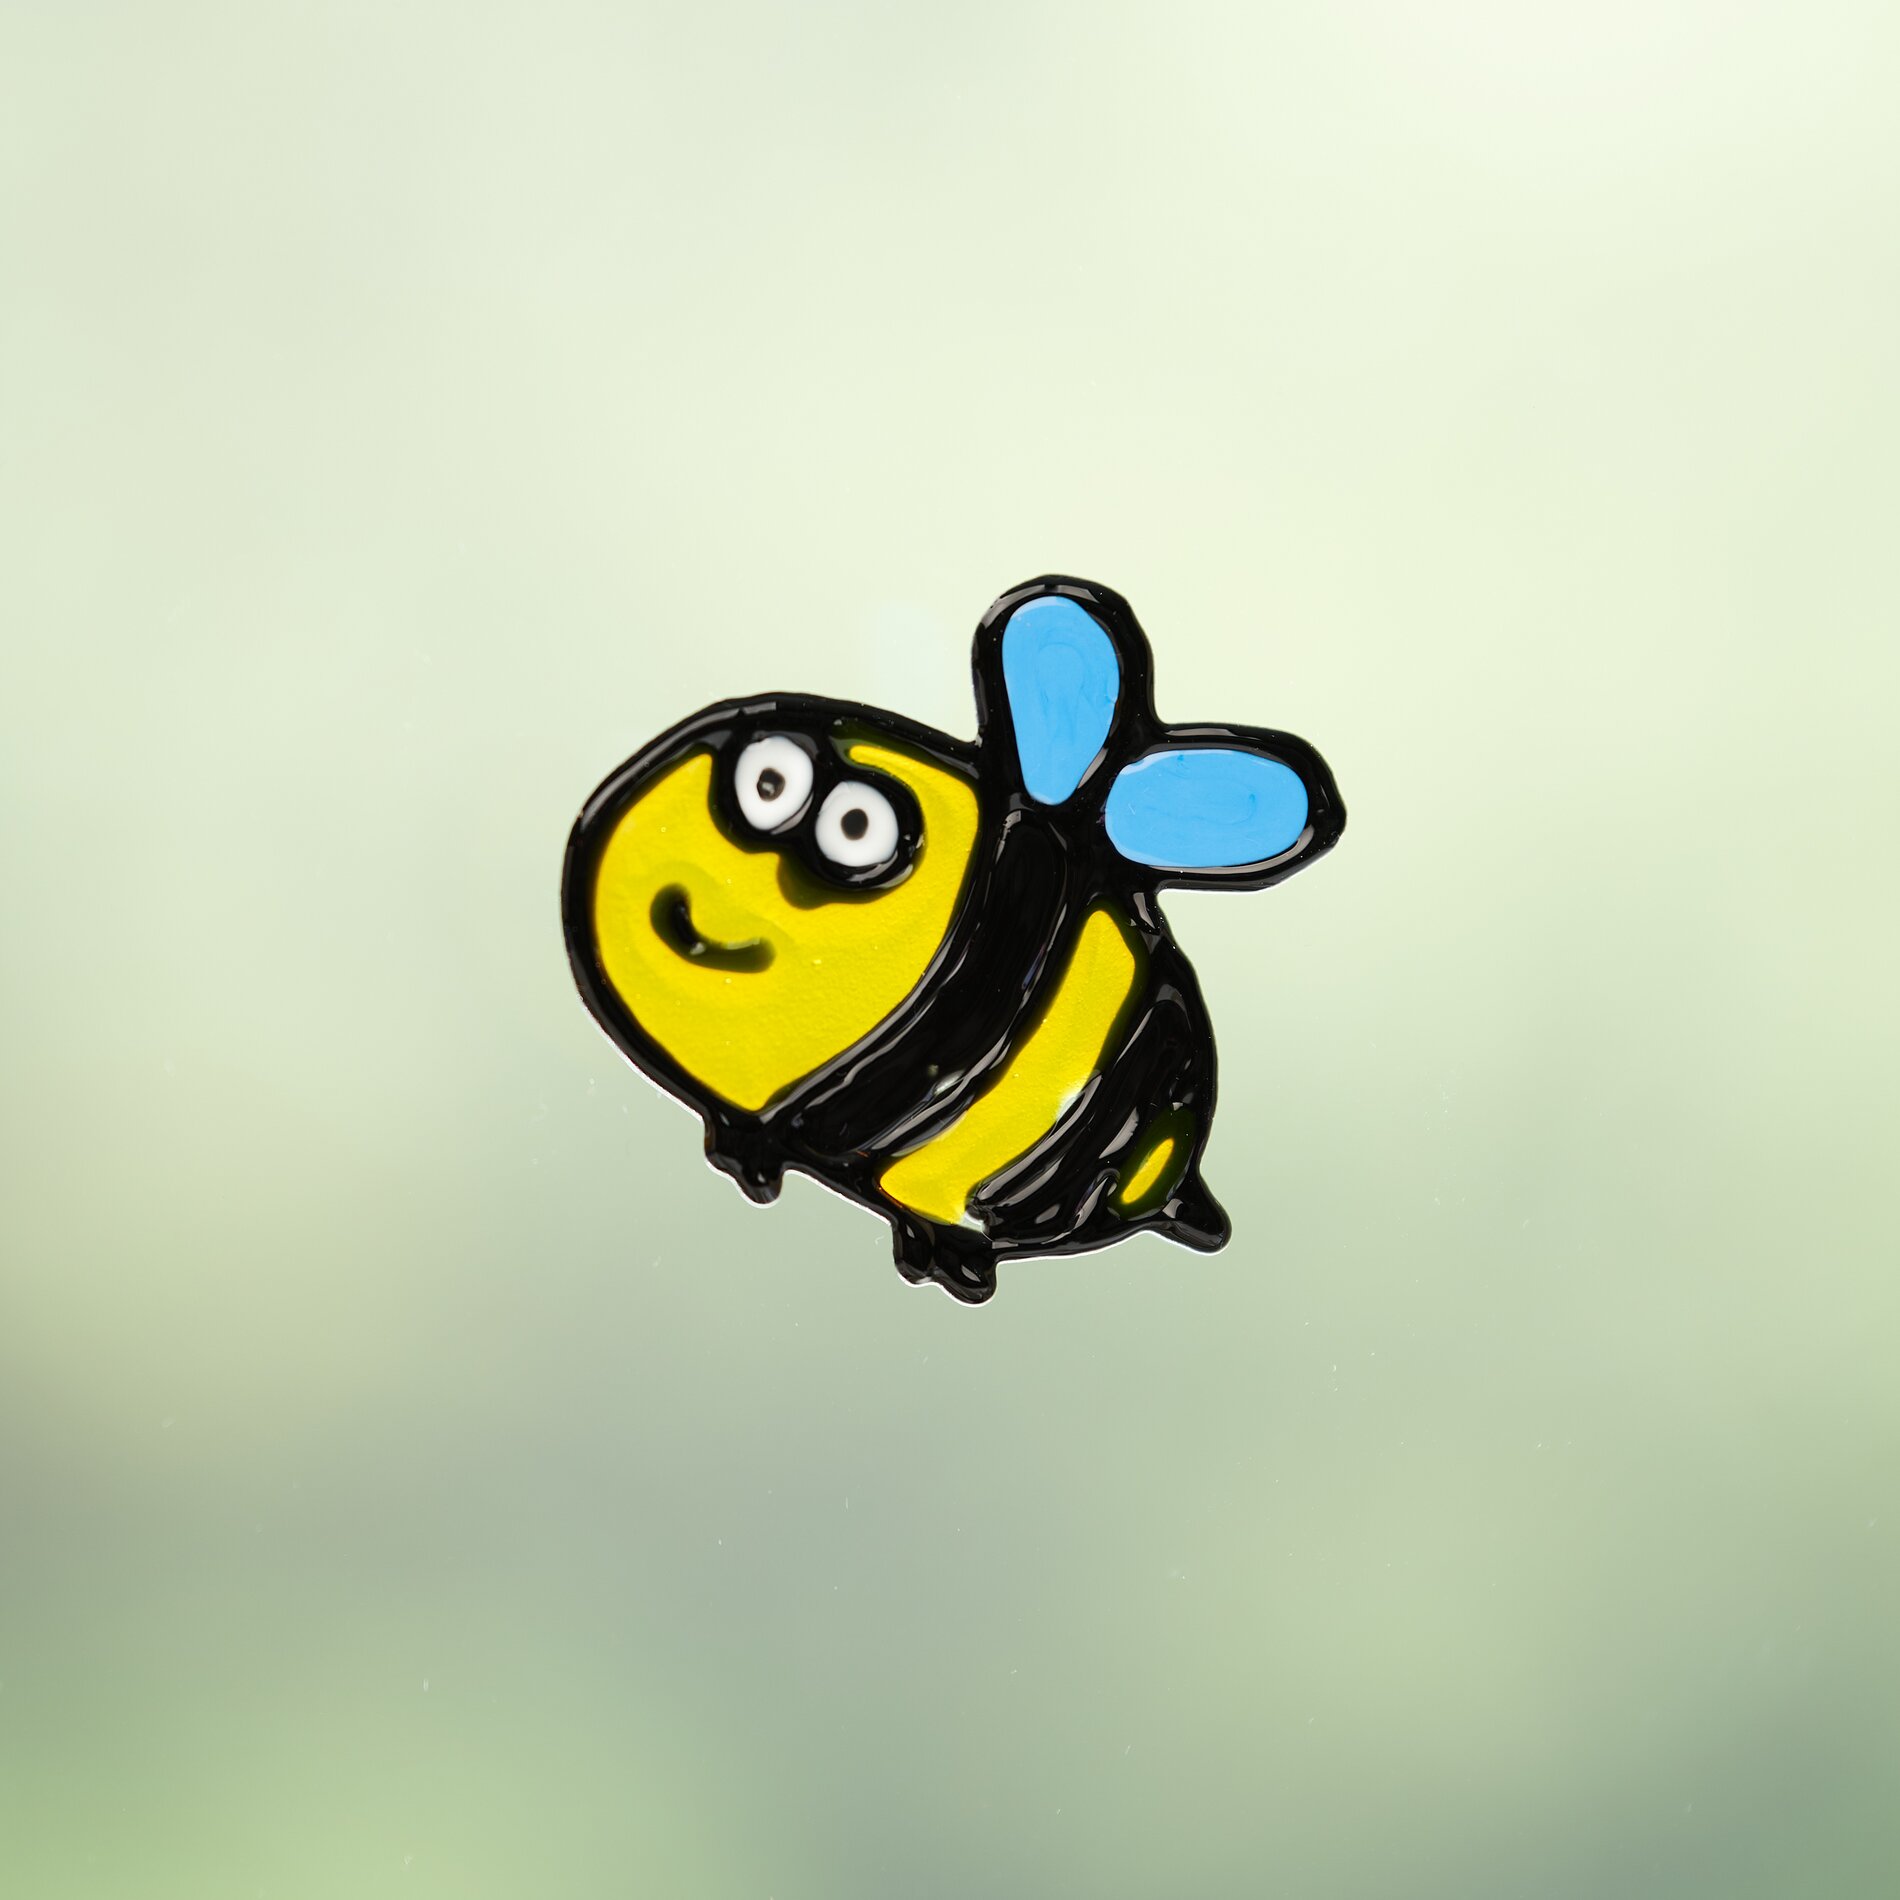
Begin je creatieve reis door de paasmotieven die je wilt uit te printen. Deze dienen als de perfecte basis voor je raamschilderingen.
Stap 2: Voorbereiding in de transparante envelop
Neem je sjablonen en doe ze in een transparante envelop. De transparante omslag dient als basis voor het inkleuren en zorgt ervoor dat je de contouren duidelijk kunt natekenen. Zorg ervoor dat de sjablonen plat en zonder vouwen liggen.
Stap 3: De contouren overtrekken
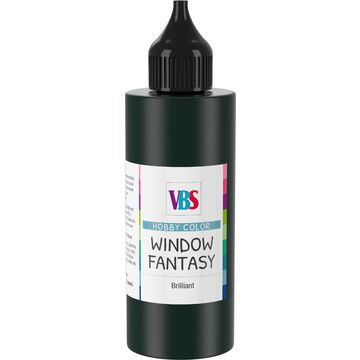
Gebruik de Window Fantasy contourpen in zwart, om de contouren van de motieven op de transparante omslag over te trekken. Dit geeft je raamtekening structuur en zorgt ervoor dat de kleuren later niet in elkaar overlopen. Laat de contouren volledig drogen voordat je verder gaat met de volgende stap.
Stap 4: Breng kleur in het spel
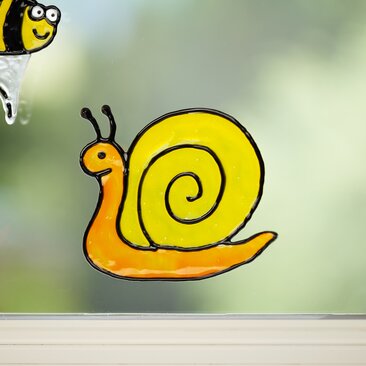
Nu wordt het kleurrijk! Gebruik de kleuren van Window Fantasy om de motieven voorzichtig in te kleuren. Kies felle of pastelkleuren die bij je paasthema passen. Laat ook hier elke kleurlaag goed drogen voordat je andere tinten aanbrengt.
Stap 5: Drogen en afpellen
Zodra de kleuren volledig droog zijn, kun je het raamschilderij voorzichtig van de transparante hoes halen. Pas op dat je de kwetsbare structuren van de motieven niet beschadigt.
Stap 6: De raamstickers bevestigen
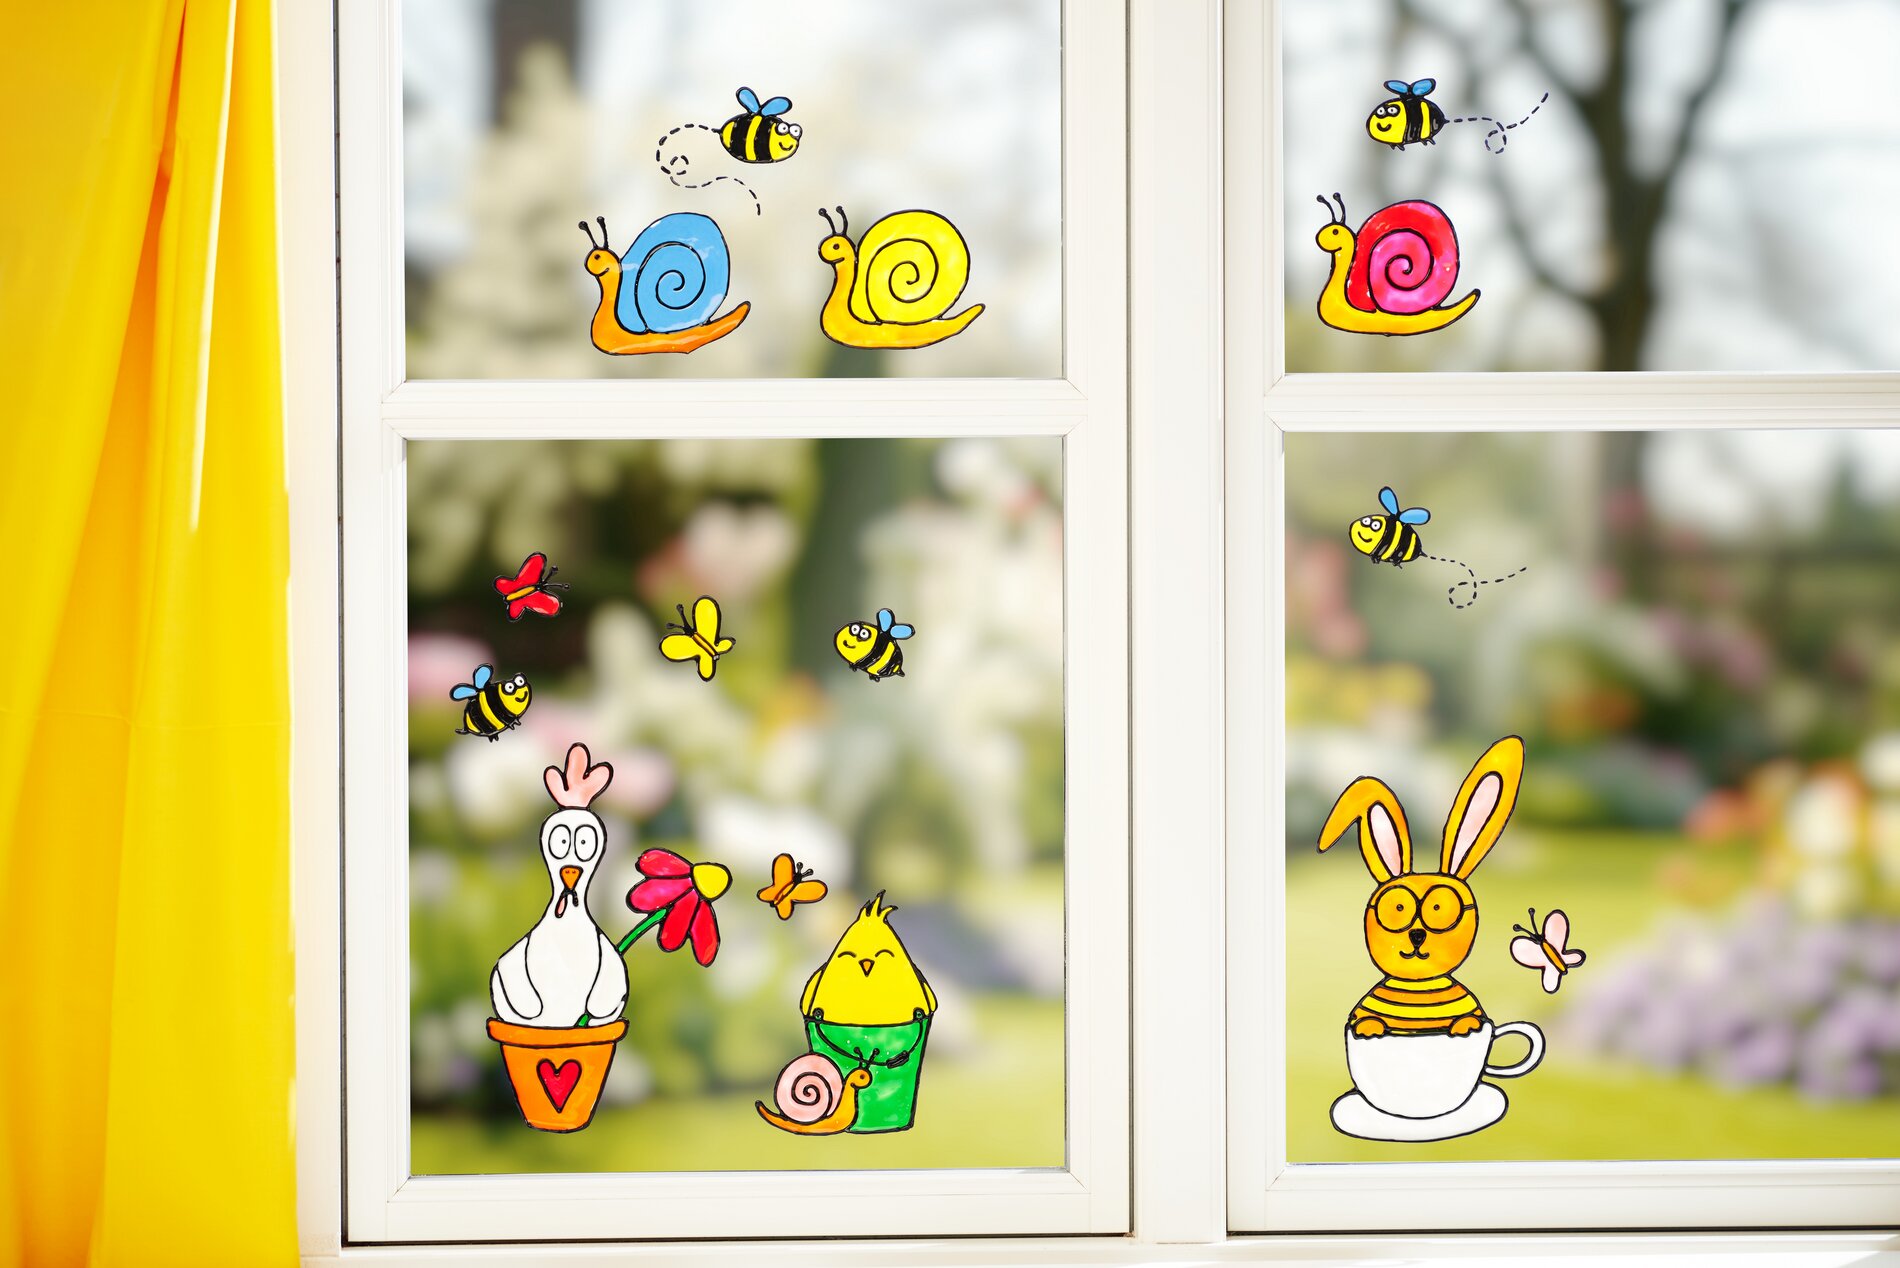
Nu komt het spannende moment: plaats je voltooide kunstwerk op het raam. De afbeeldingen kleven vanzelf zonder extra lijm - bevestig ze gewoon en verplaats ze naar wens.
Extra tip: pinwheel folie voor meer flexibiliteit
Als je je afbeeldingen niet direct op het raam wilt plakken, kun je de motieven ook op pinwheel folie schilderen. Houd er rekening mee dat je deze na droging niet meer kunt verwijderen. Knip in plaats daarvan de motieven uit, bevestig er een lint aan en hang ze decoratief op. Zo maak je mobiele kunstwerken die je kamer opfleuren.